Quform UTM Tracking Integration
Set up Quform with HandL UTM Grabber to capture UTM parameters, GCLID, FBCLID, referrer, and landing page data in hidden fields for lead attribution.
Quform UTM Tracking Integration
UTM attribution overview
This guide explains Quform UTM Tracking Integration with HandL UTM Grabber. It helps you capture UTM source, medium, campaign, term, content, click IDs, referrer, and landing page data and keep the marketing context needed for accurate reporting across forms, bookings, signups, and sales.
1-)Go to your form and add a hidden field.
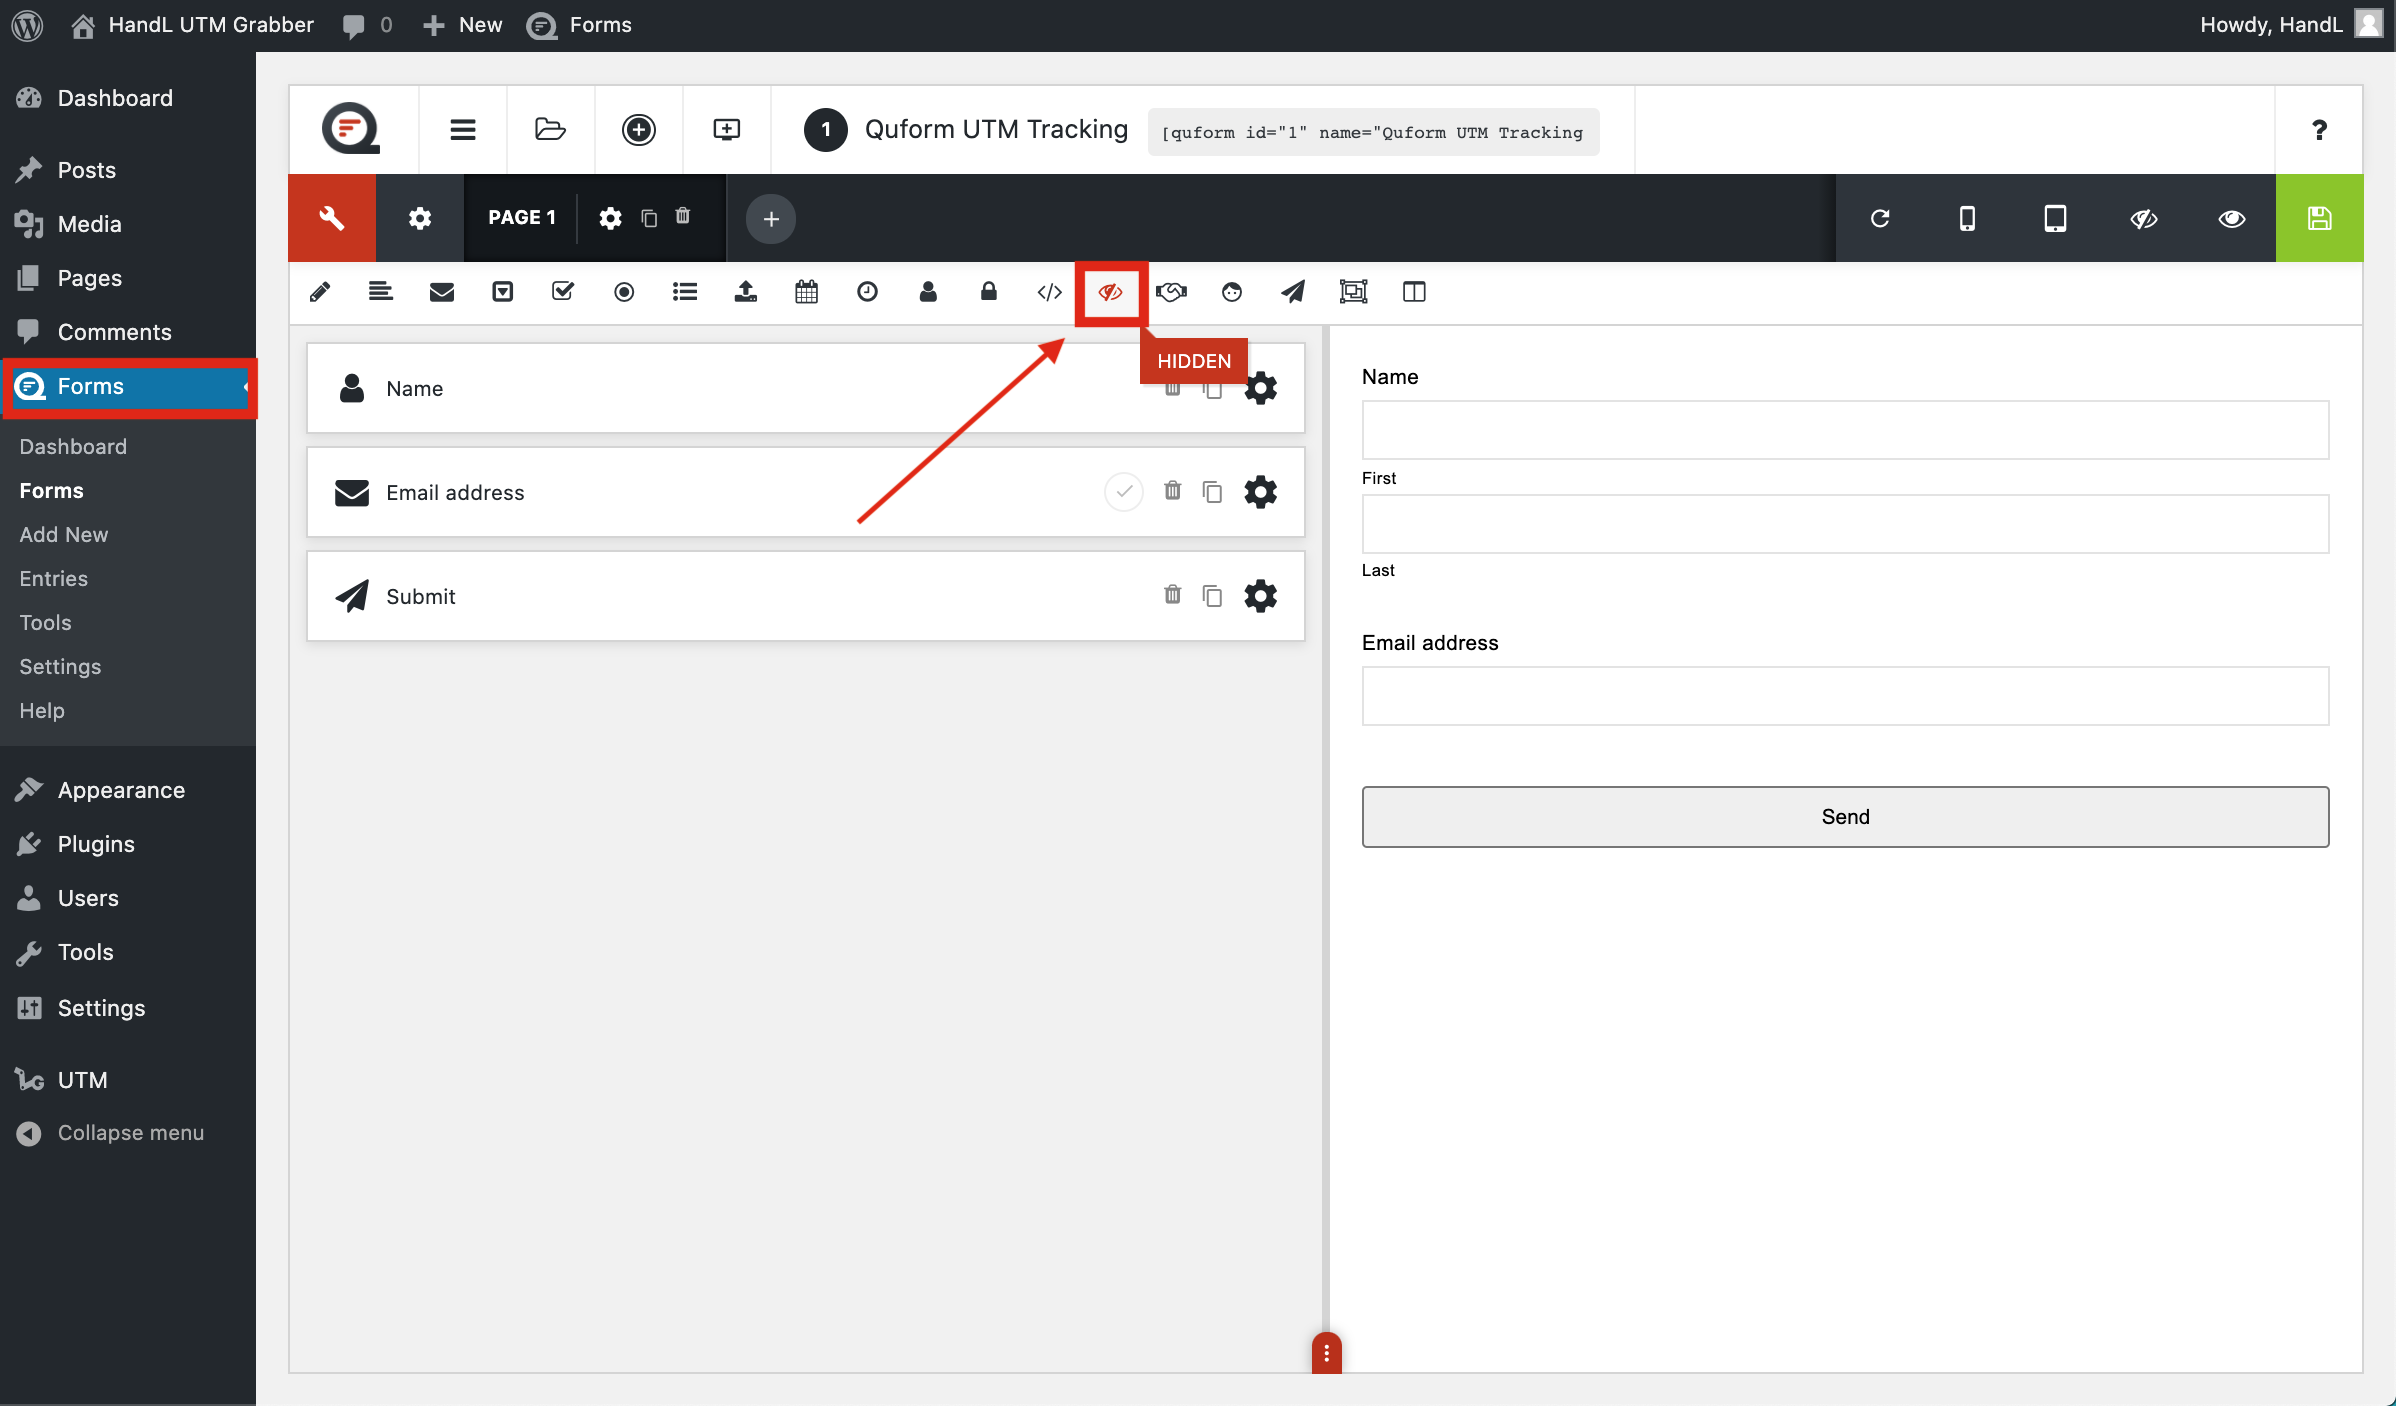
2-)Click this button to add parameters.
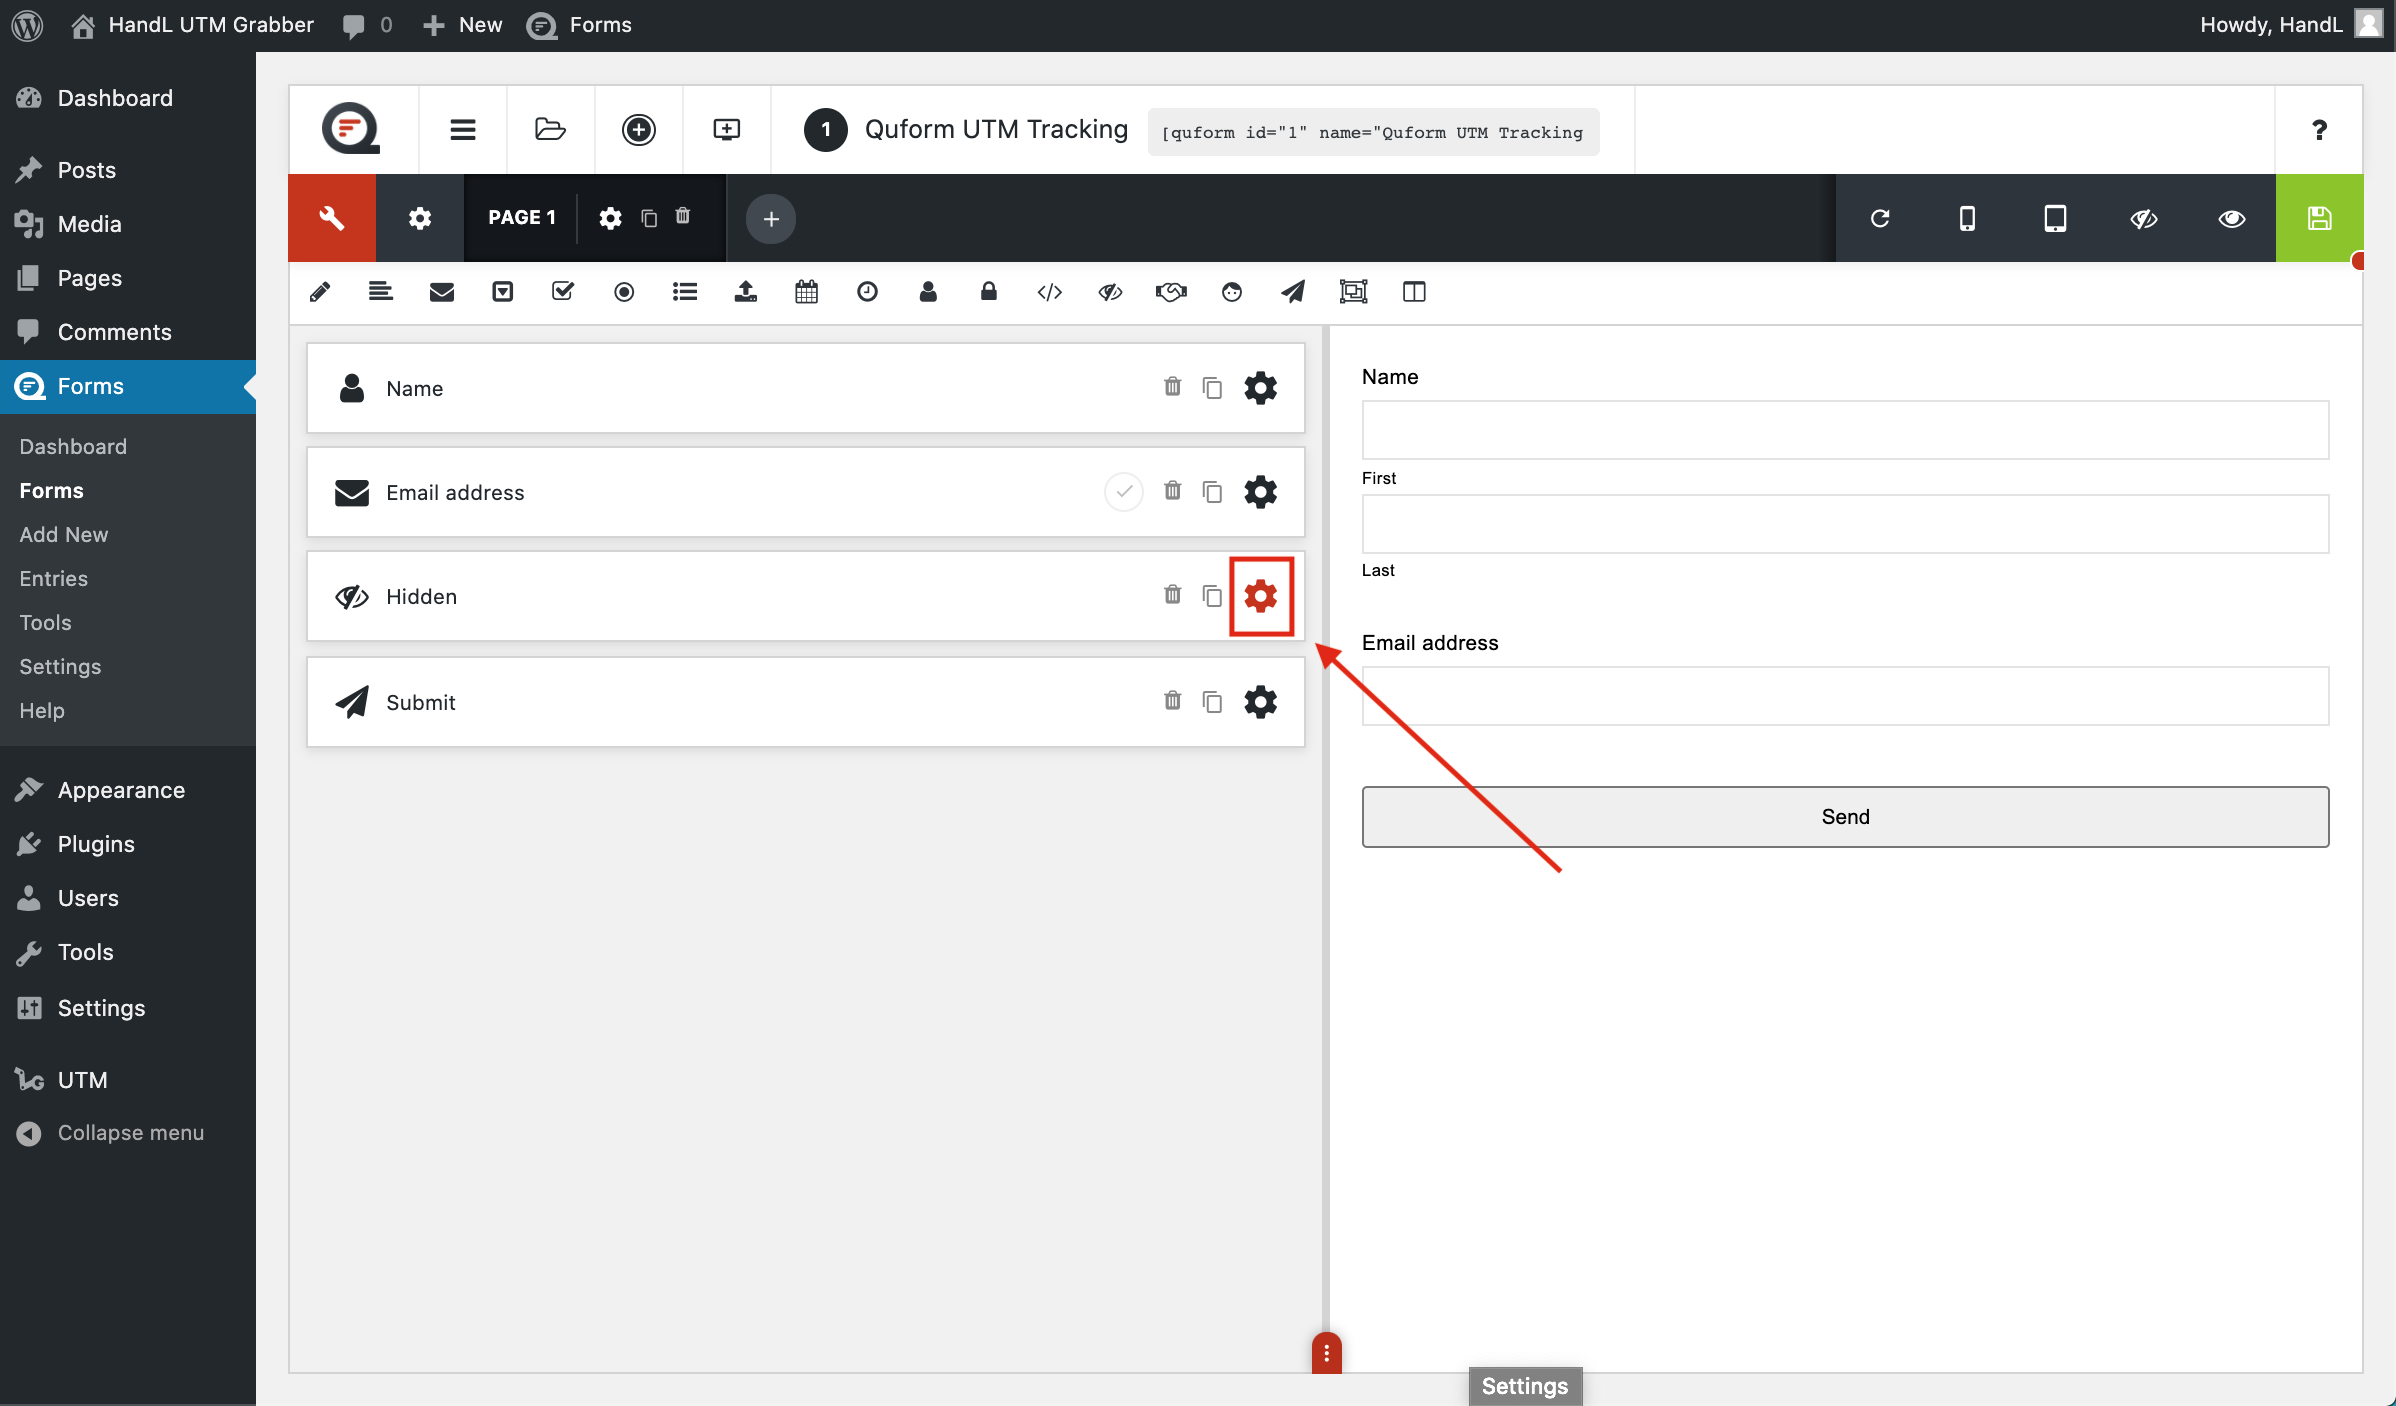
3-)First add a label for recognize the parameter.
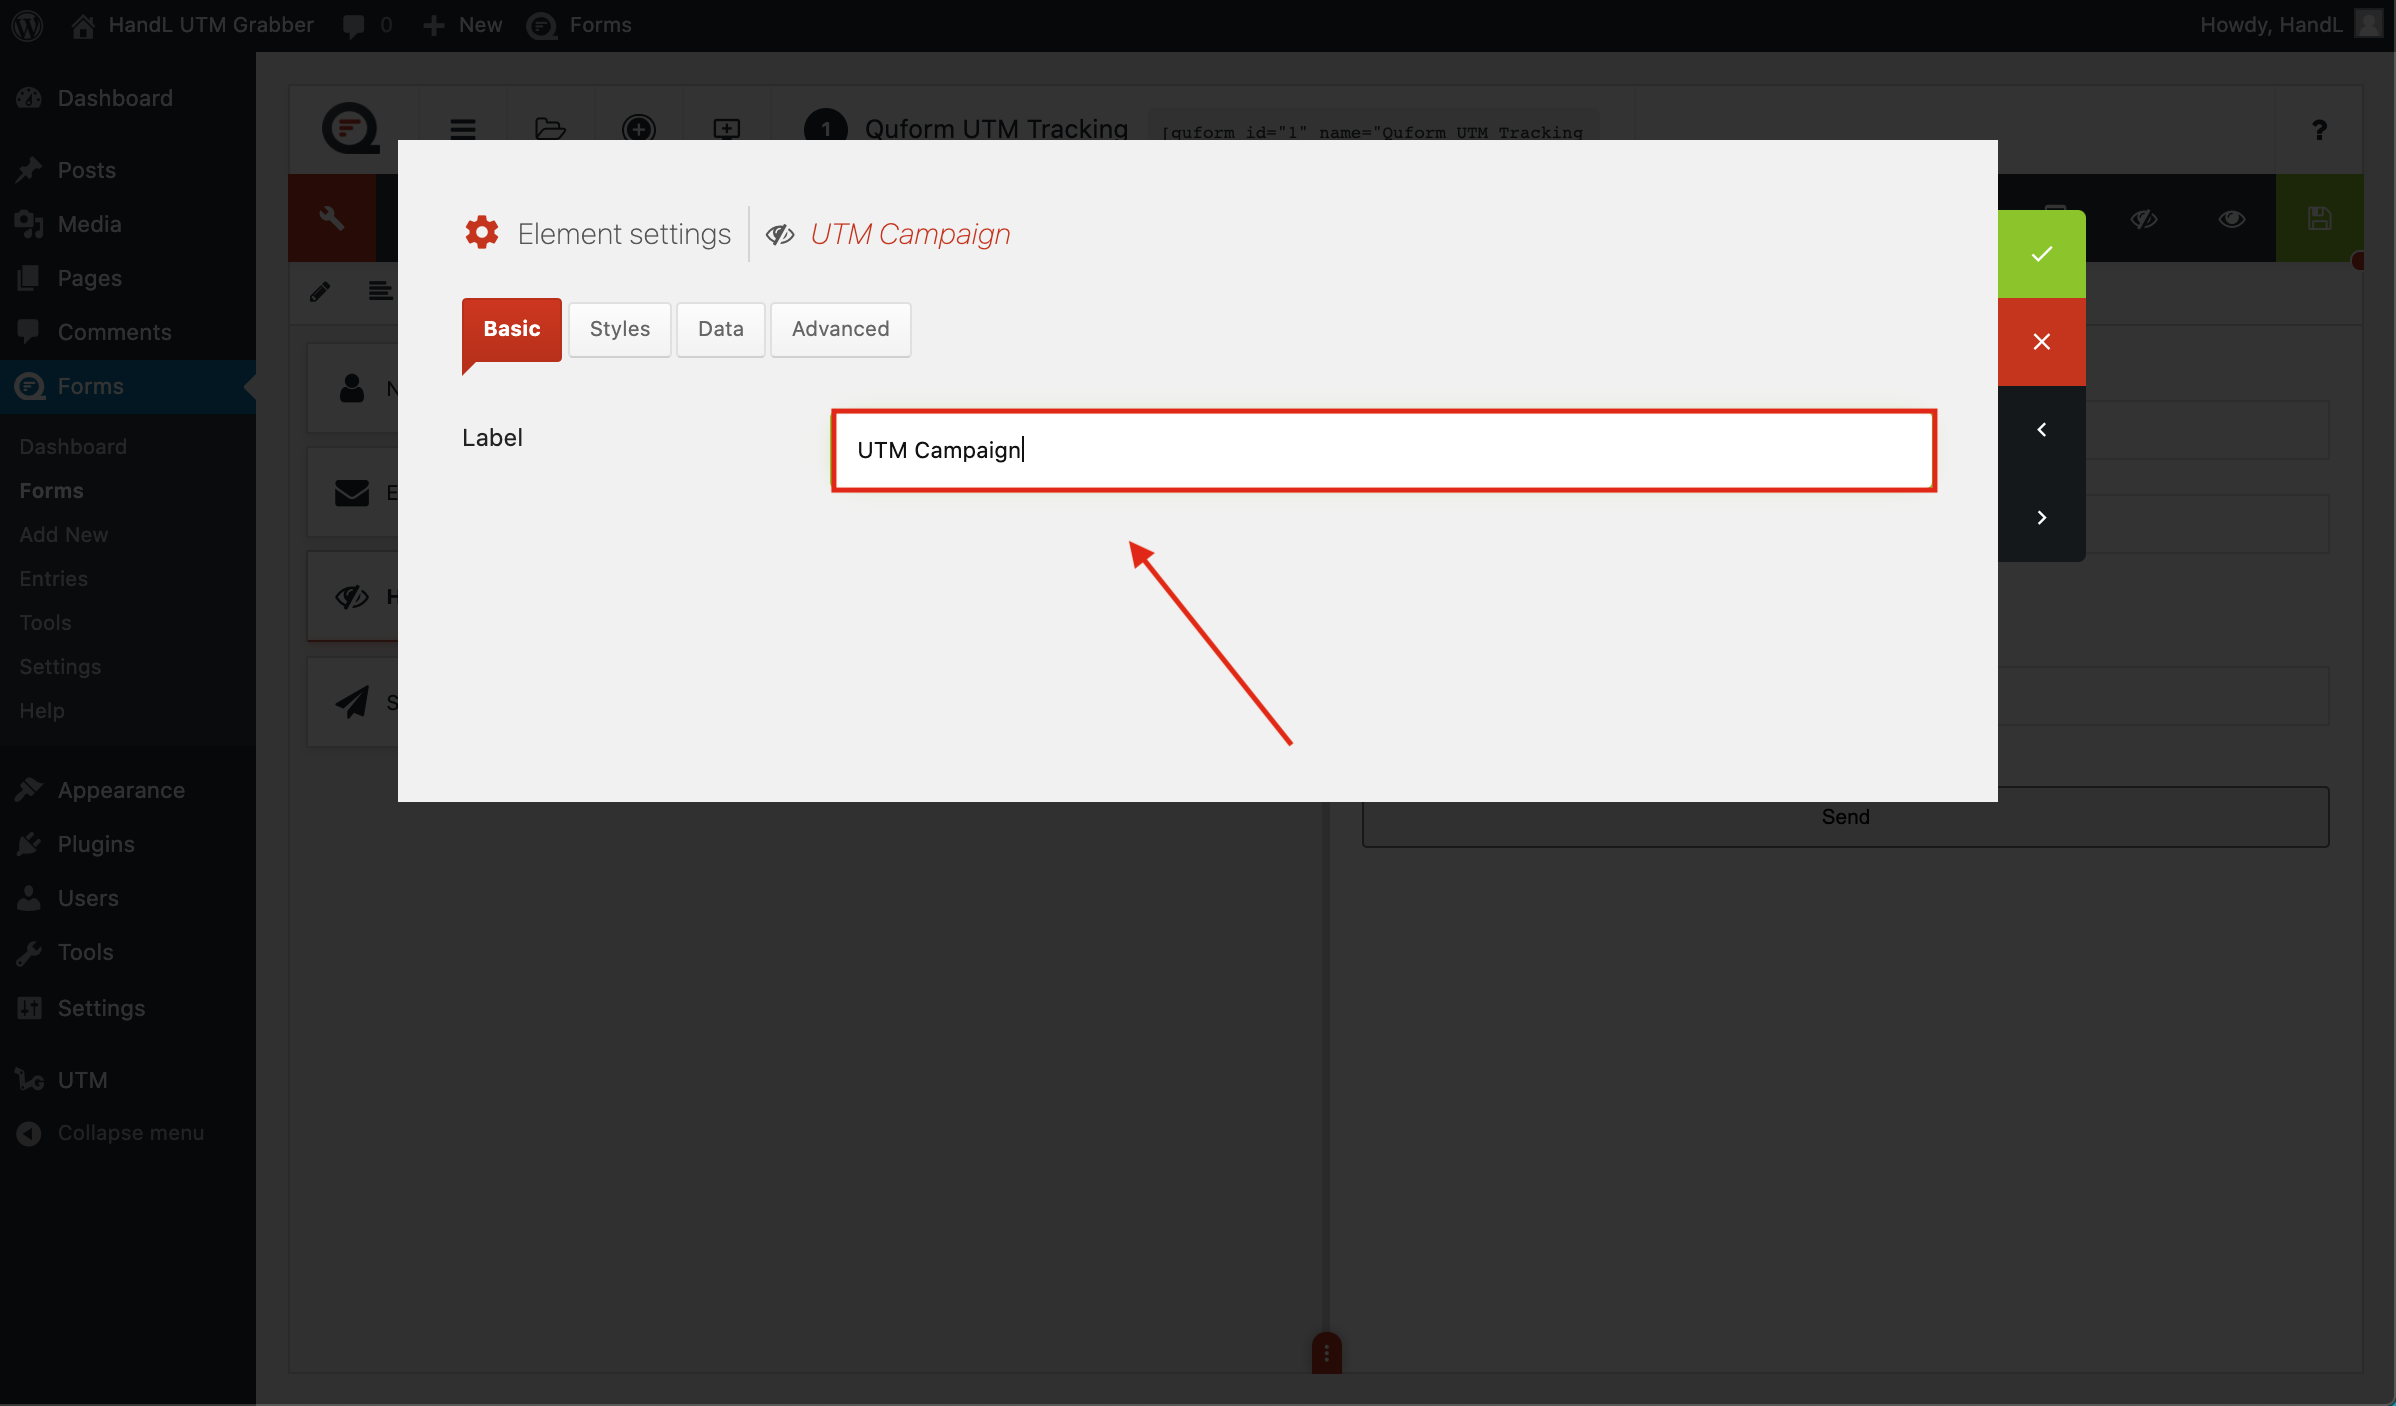
4-)Enter your parameter to the Custom CSS Class.
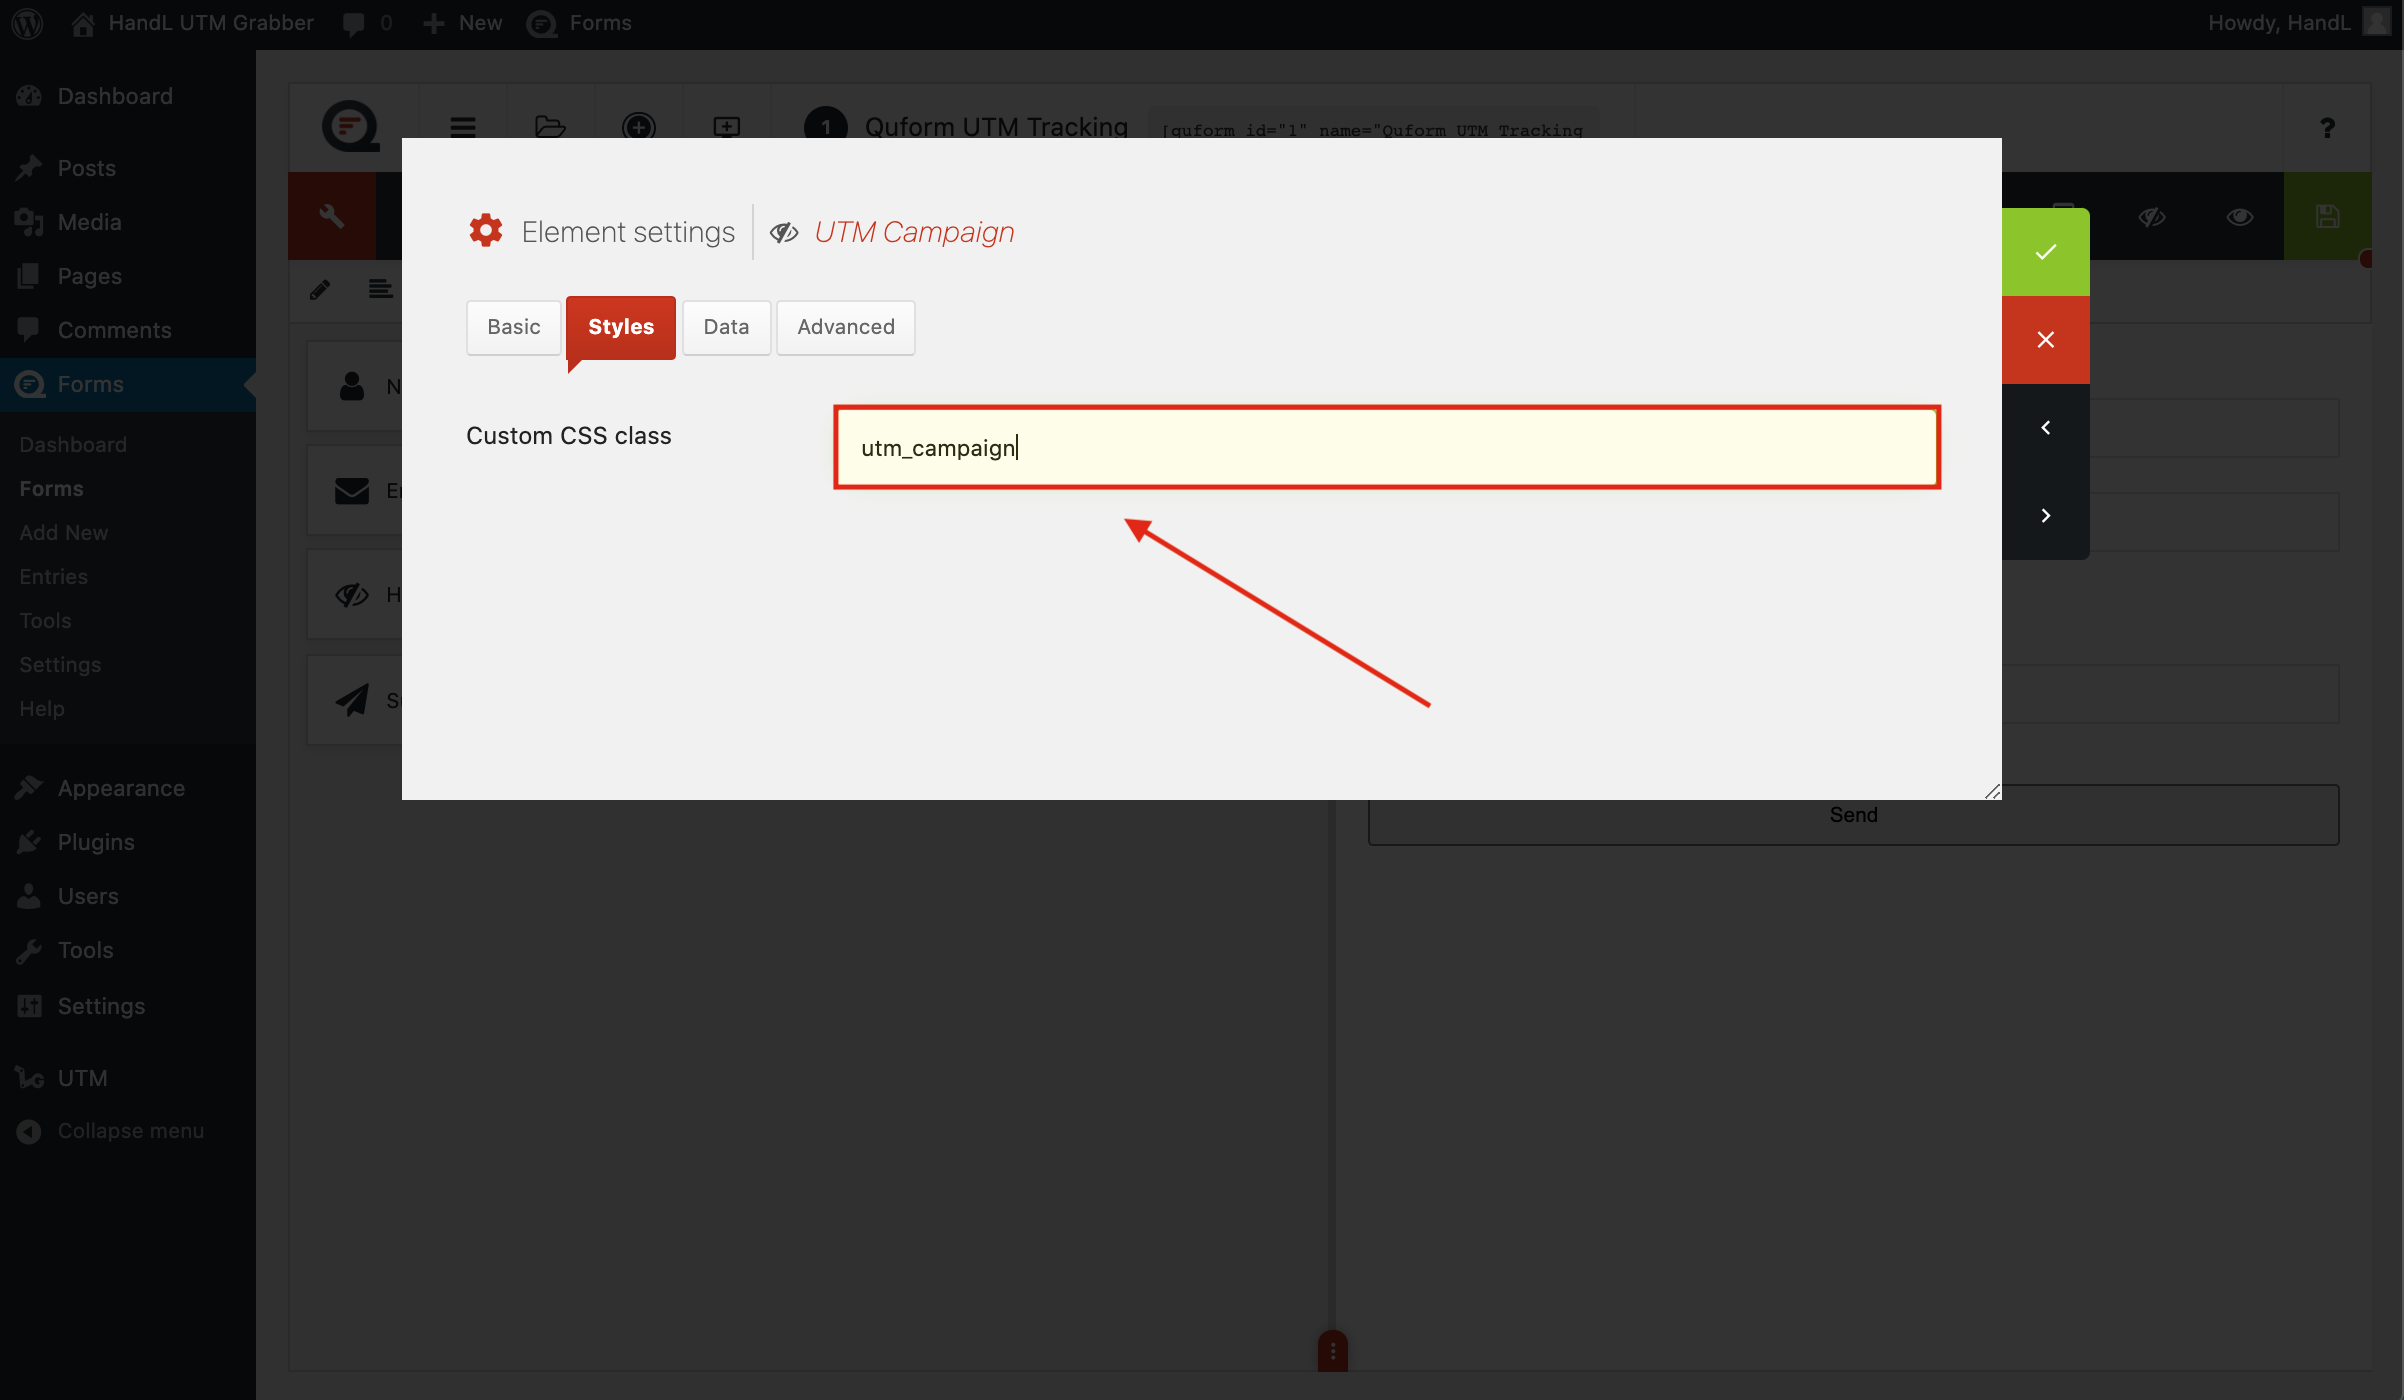
5-)Make the same changes to the other hidden fields.
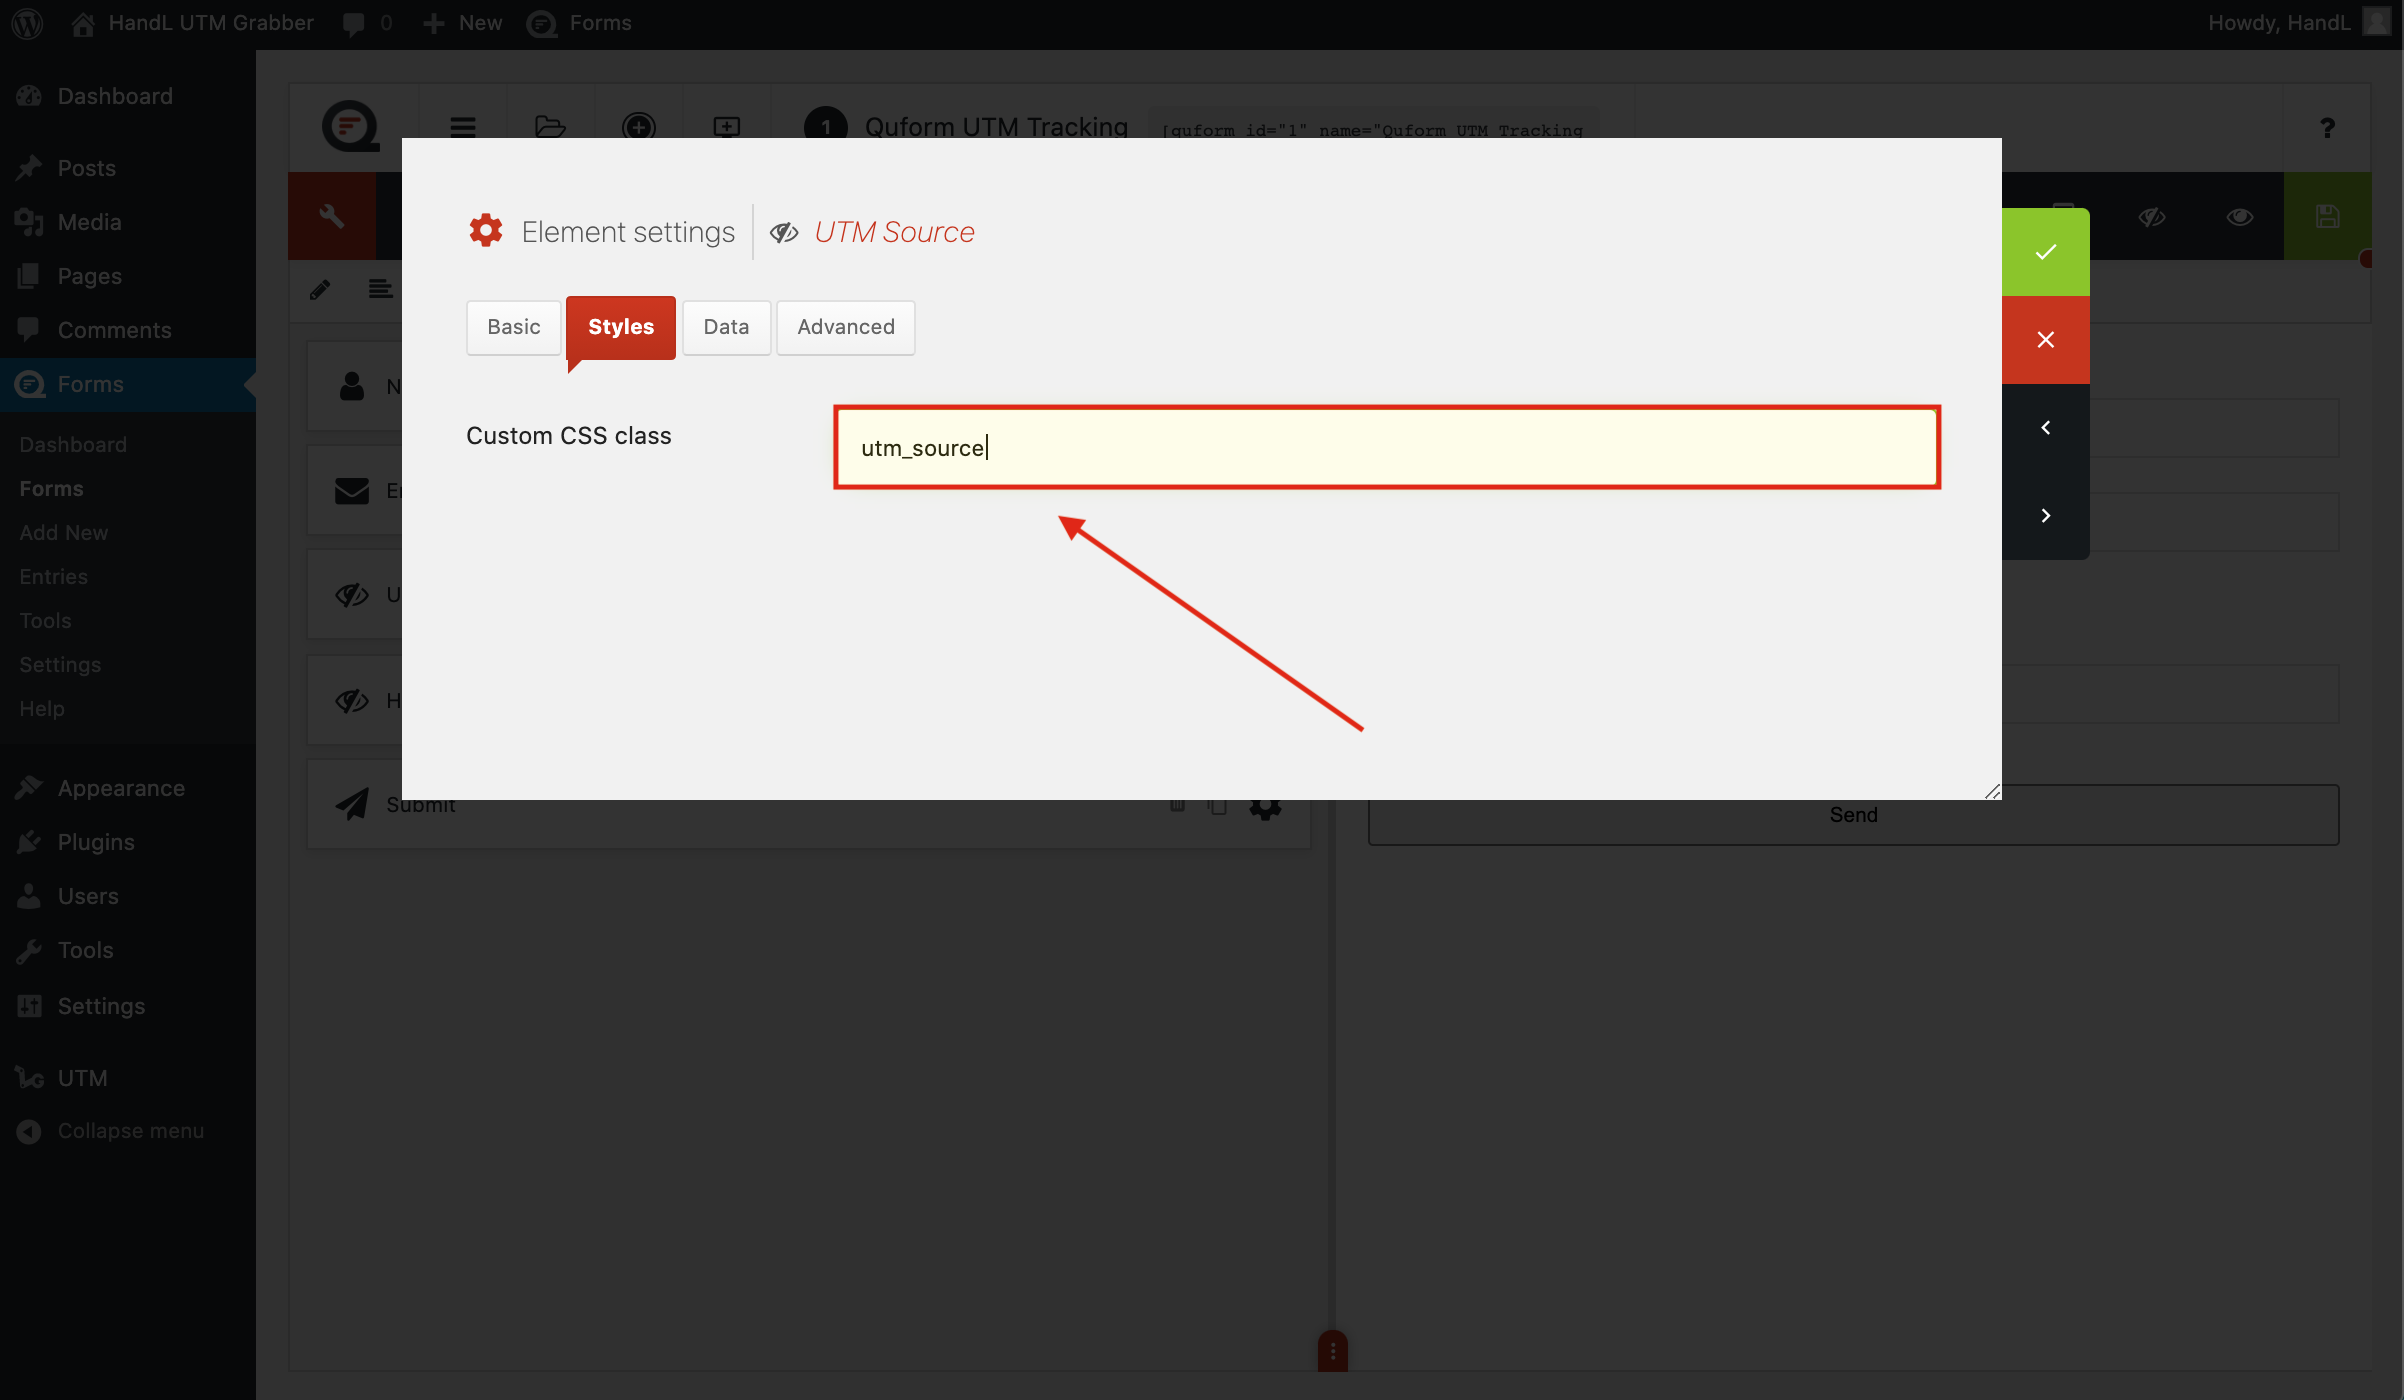
6-)Make the same changes to the other hidden fields.
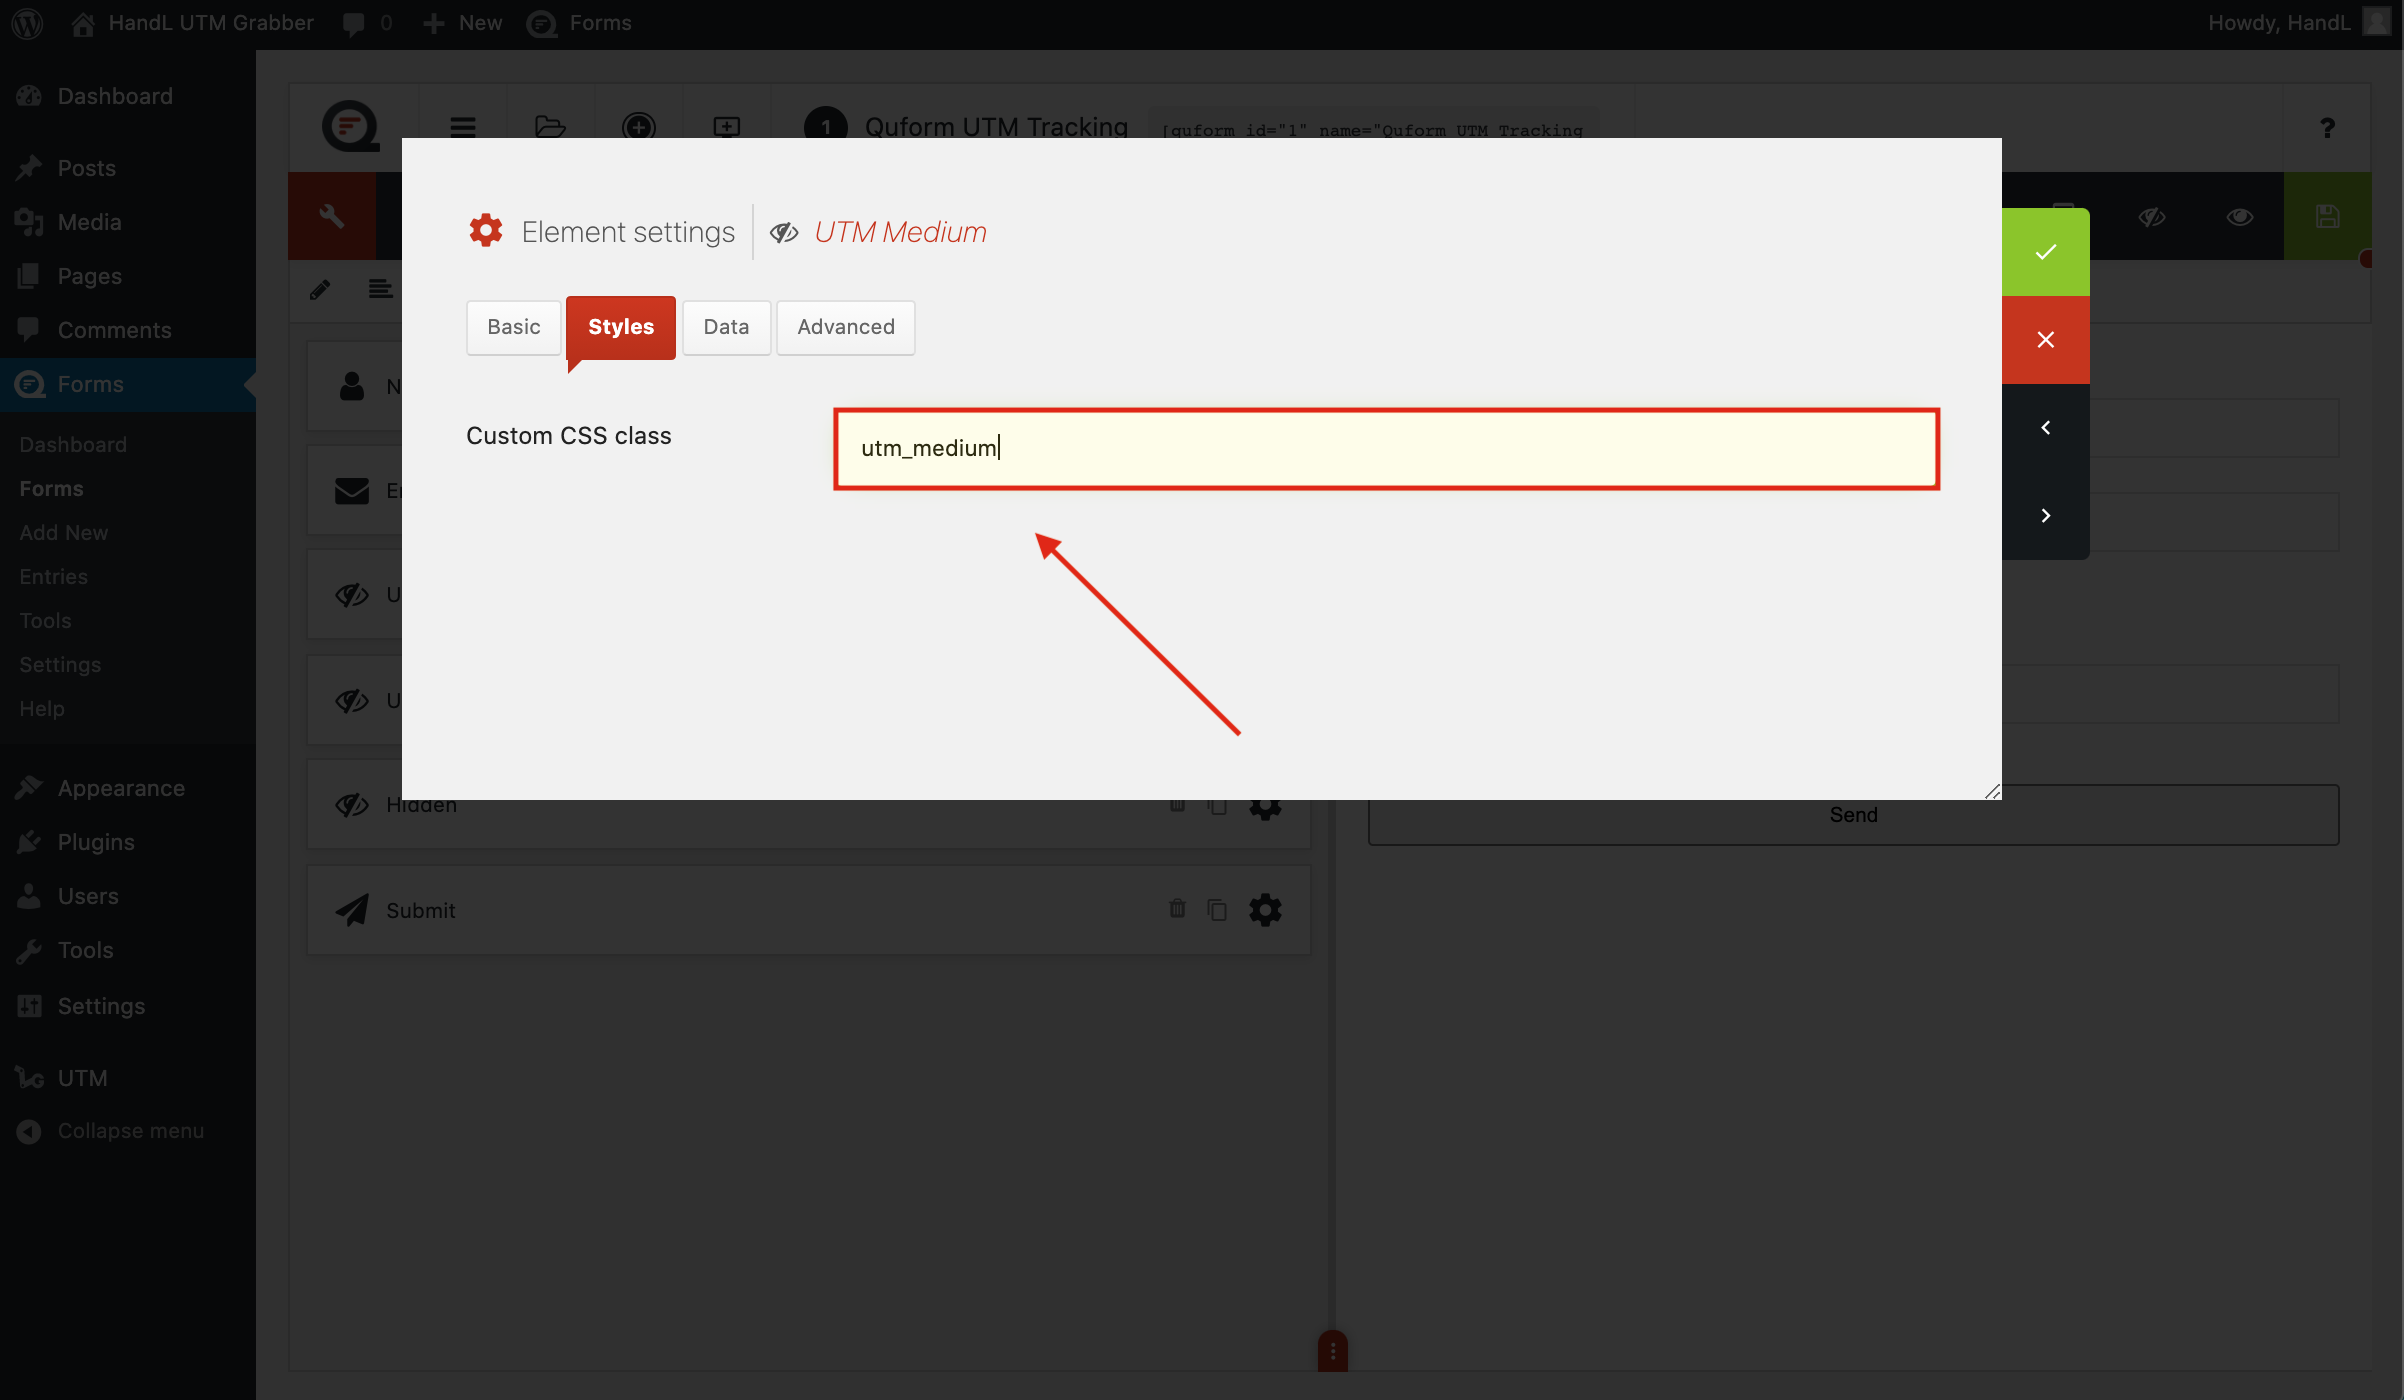
7-)Make the same changes to the other hidden fields.
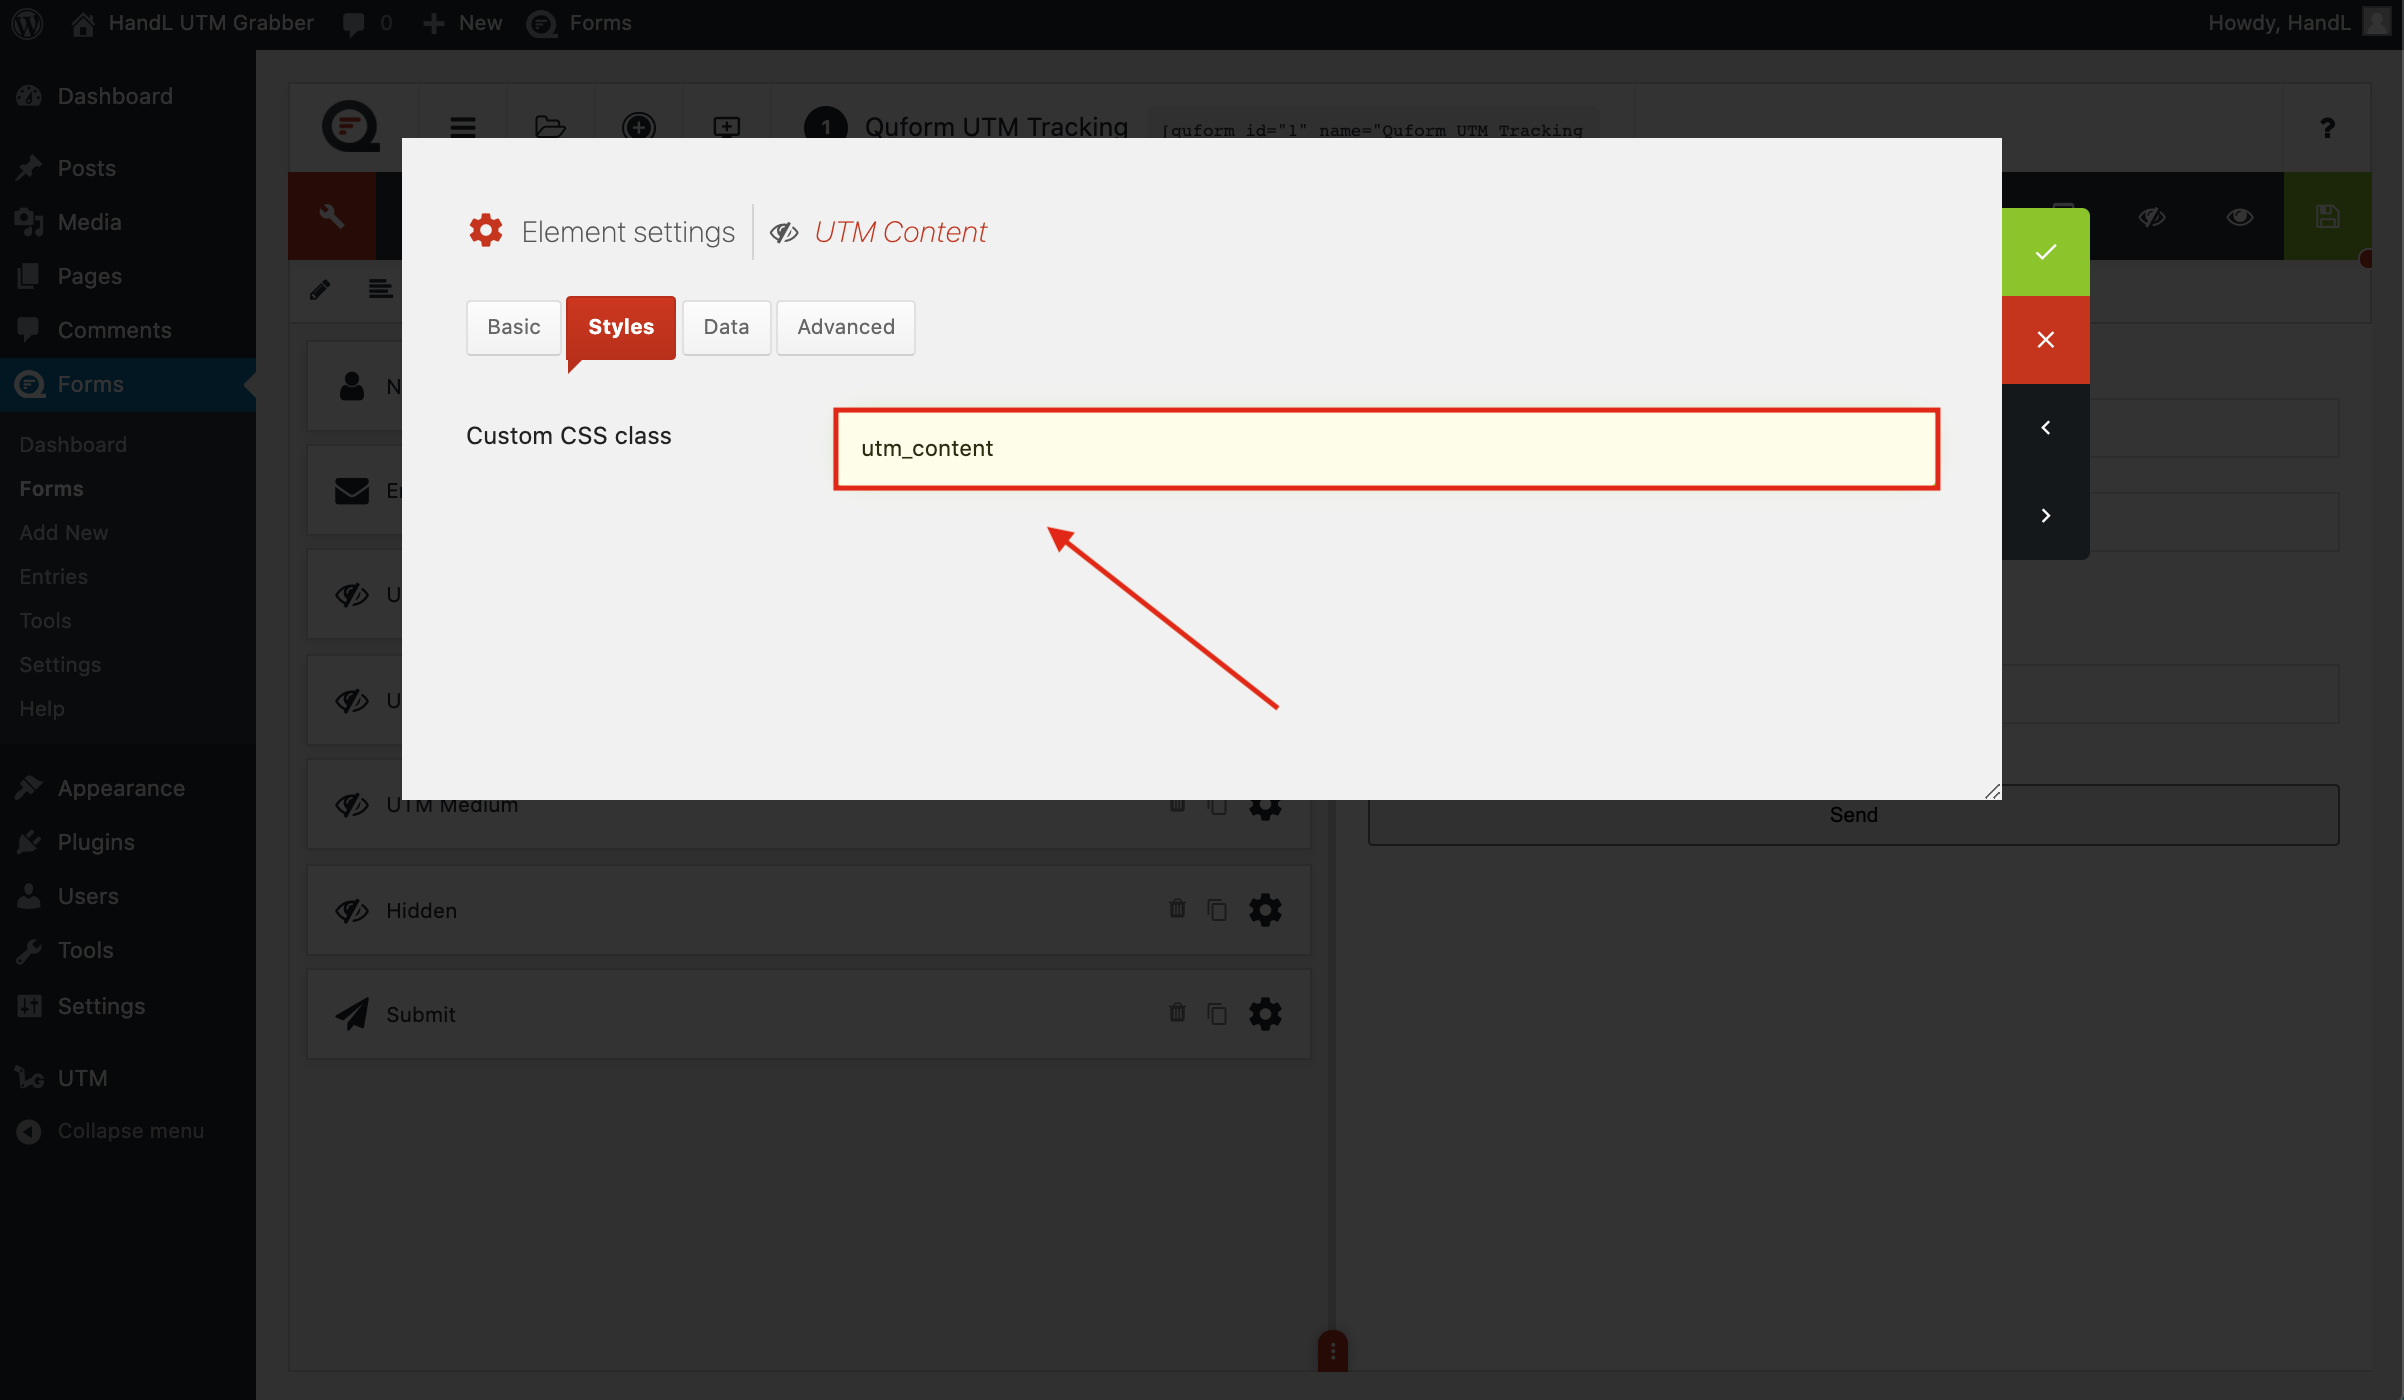
8-)Make the same changes to the other hidden fields.
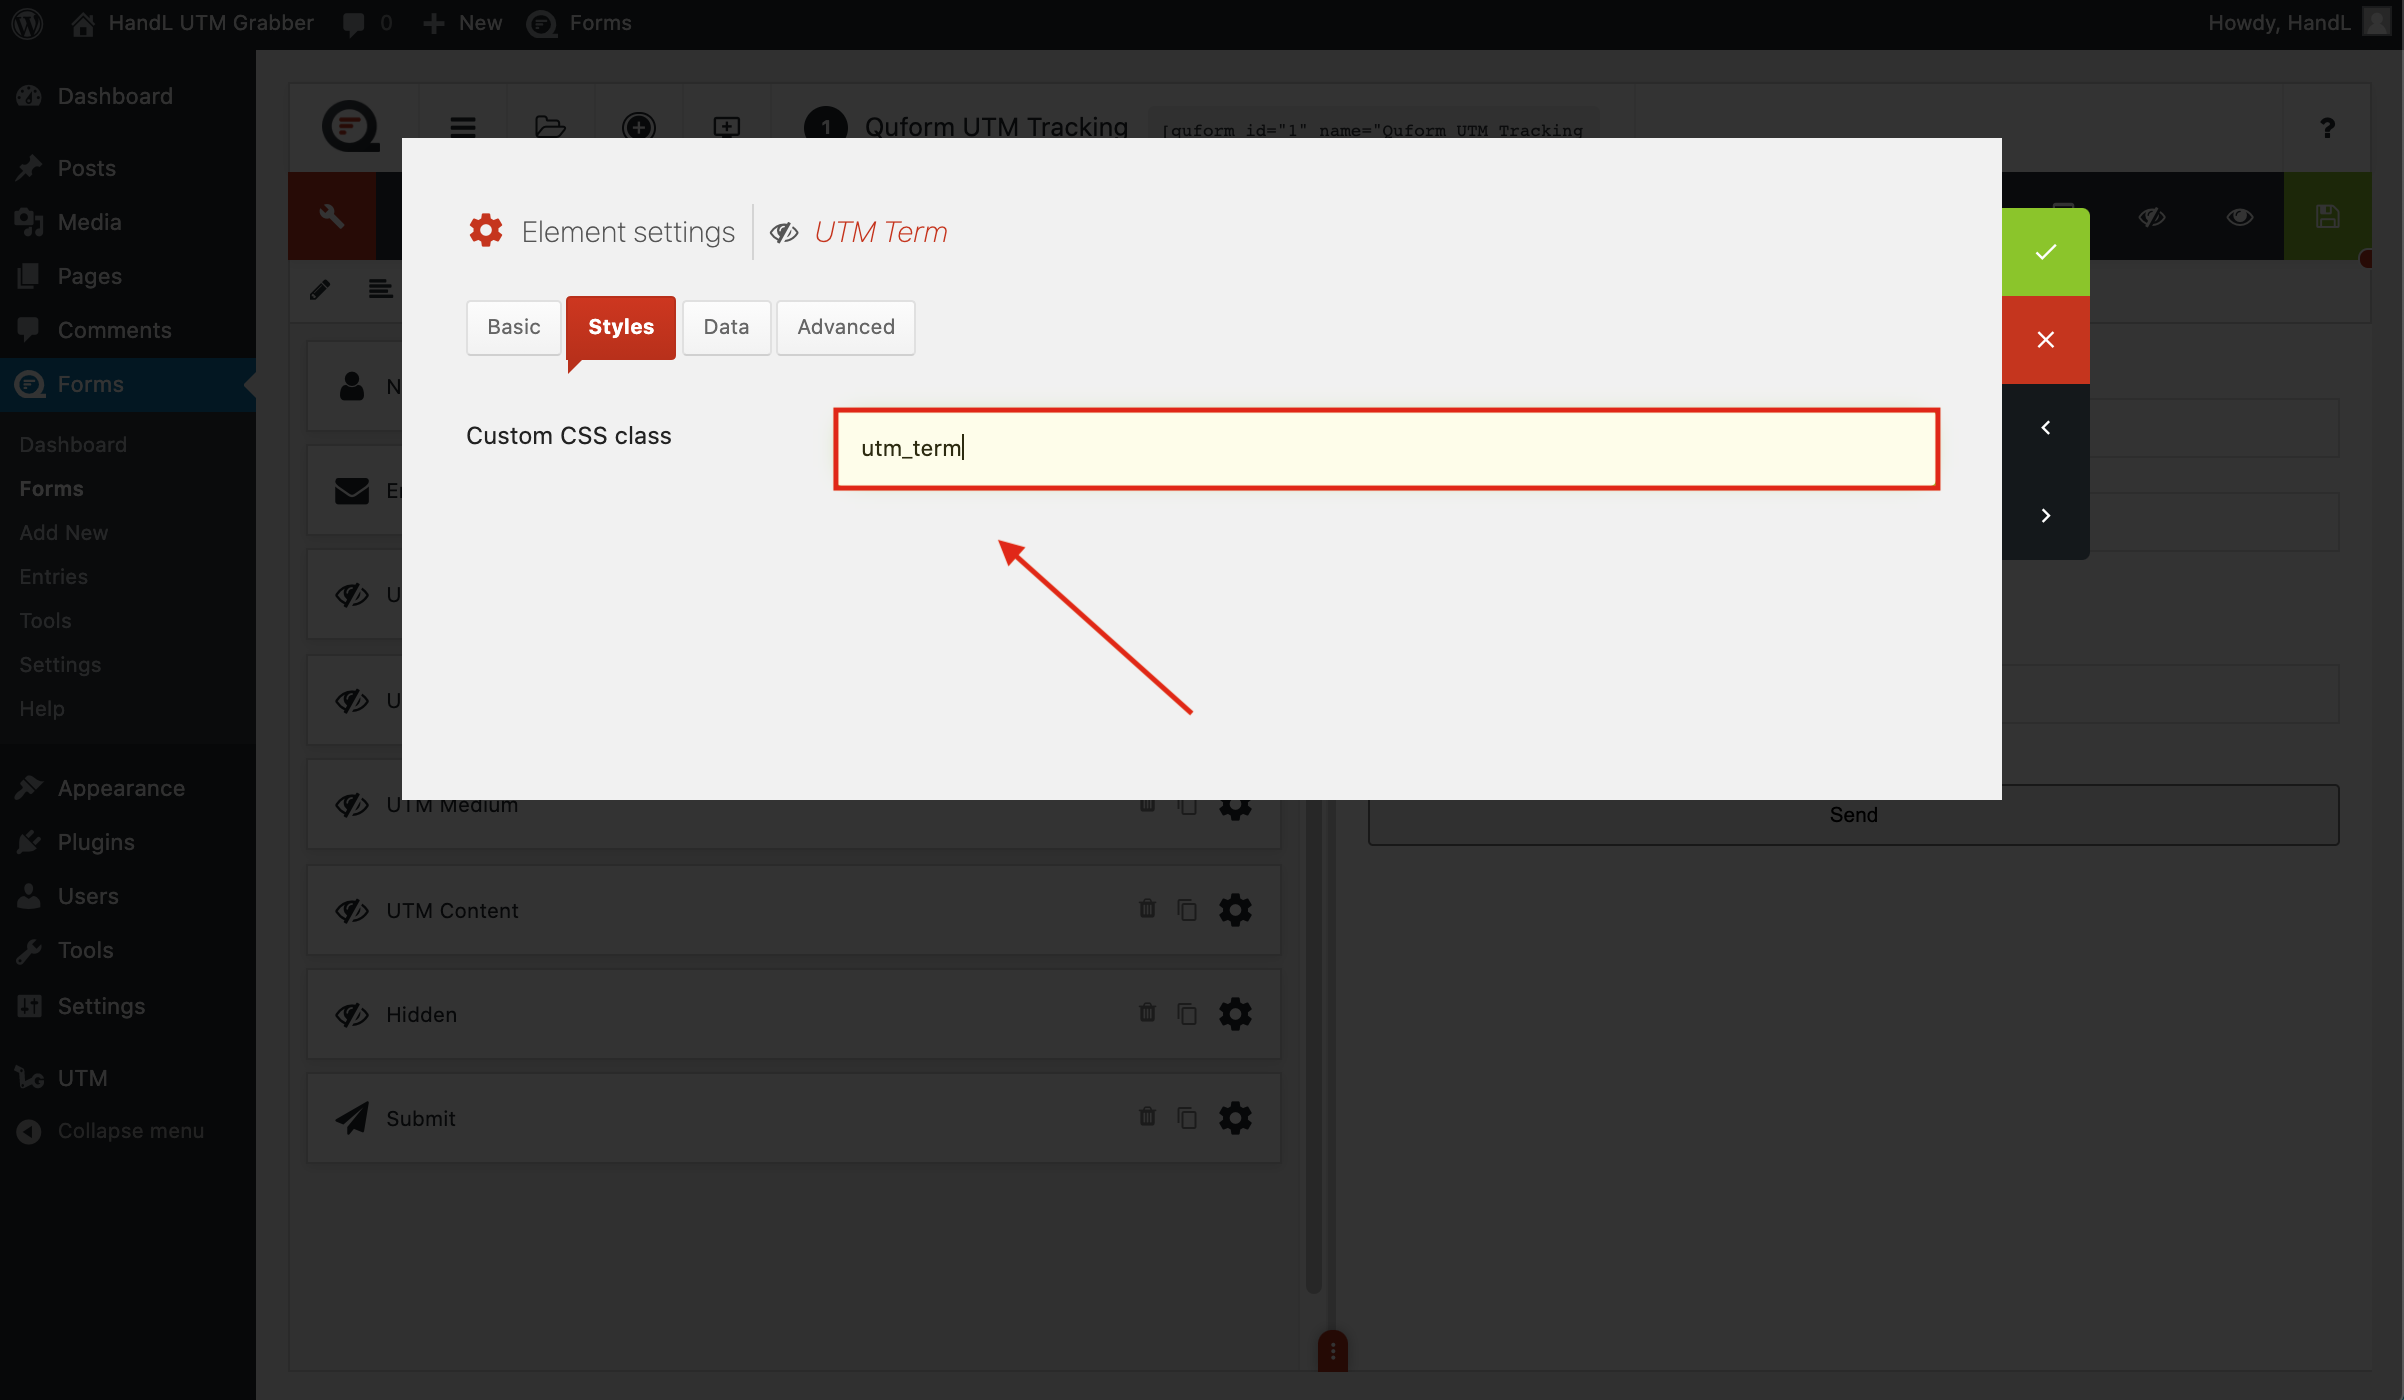
9-)Make the same changes to the other hidden fields.
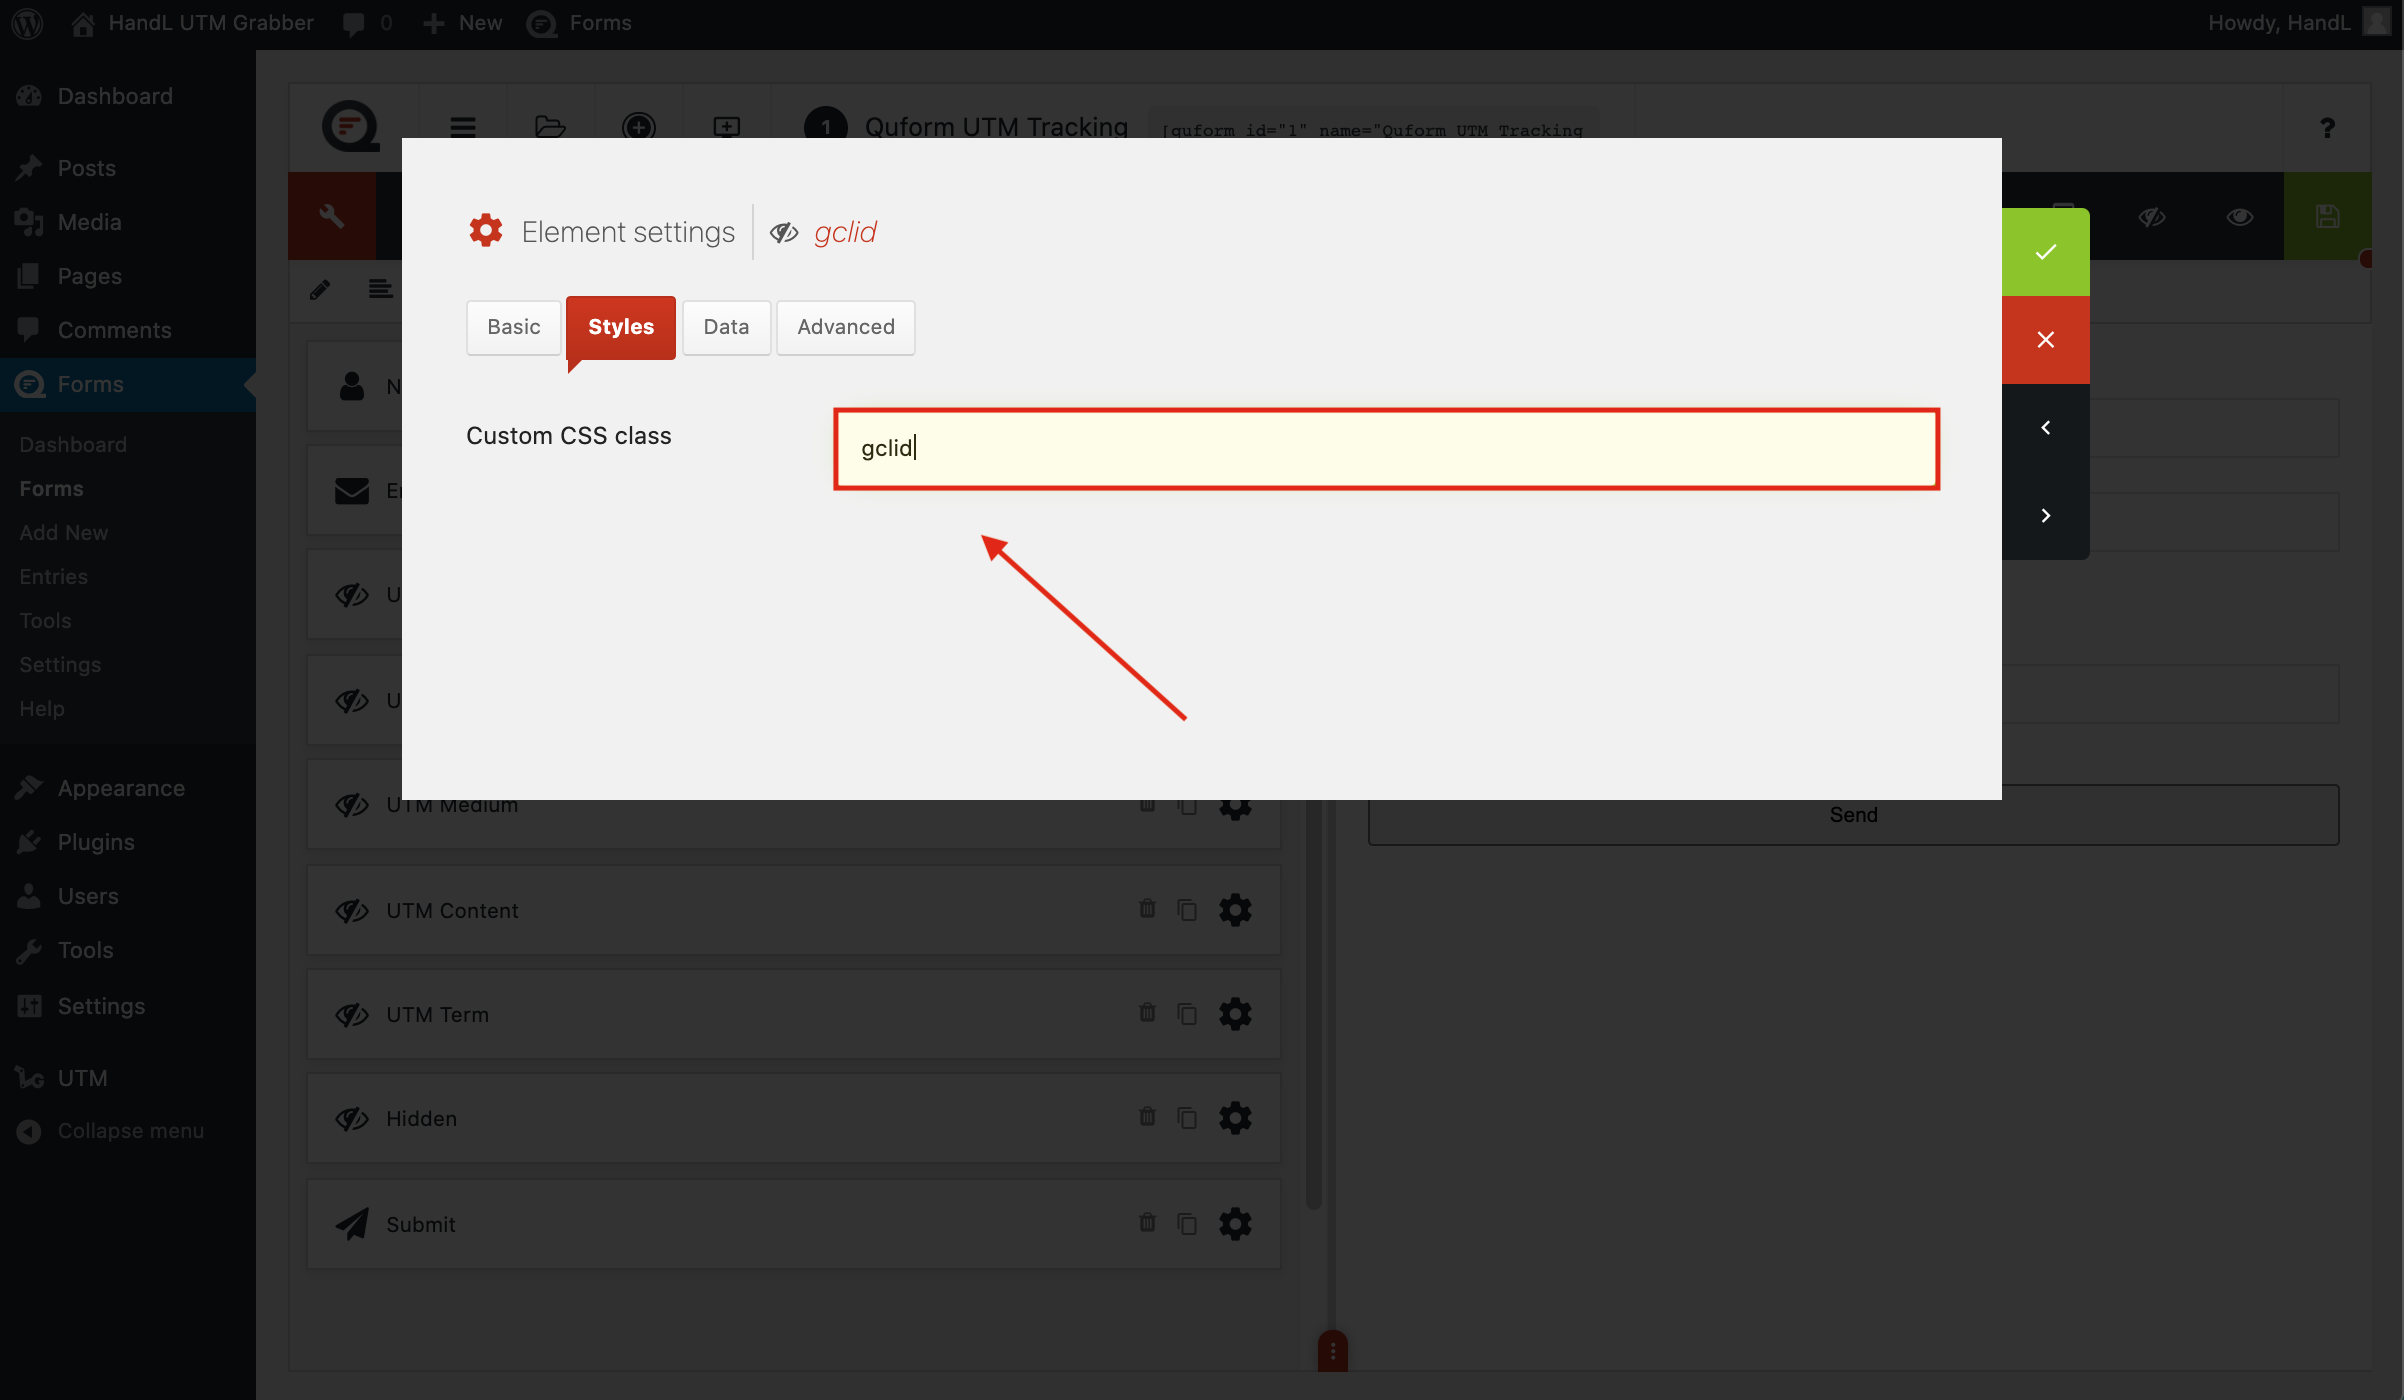
10-)Make the same changes to the other hidden fields.
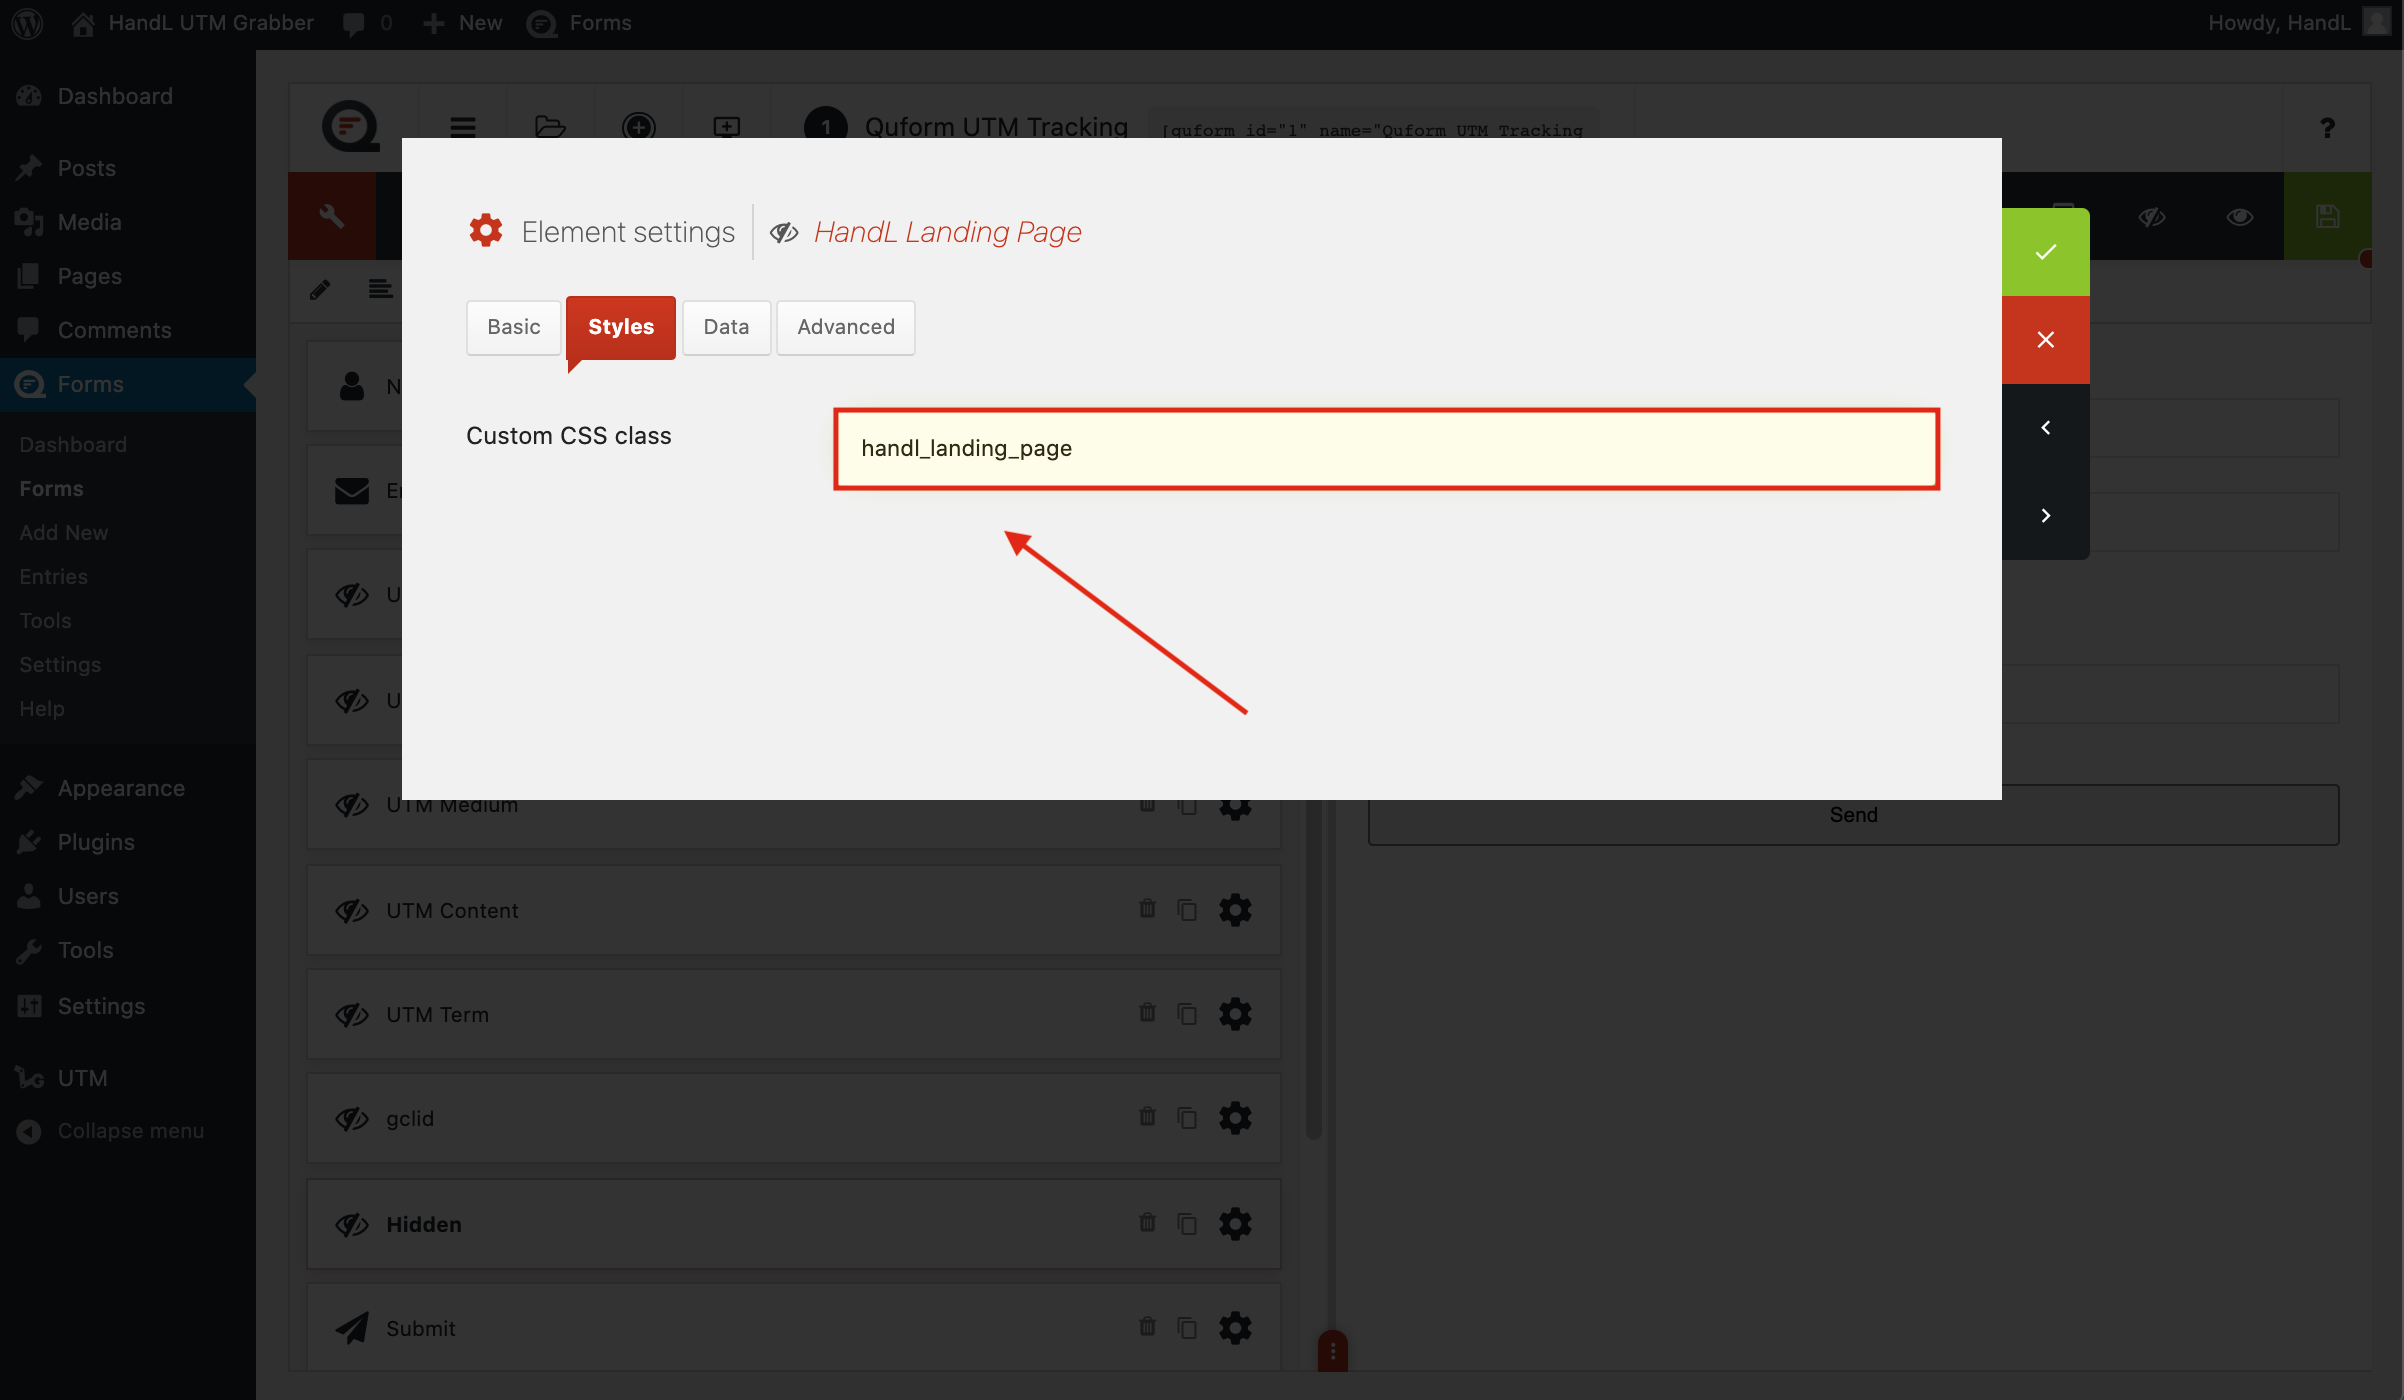
11-)Make the same changes to the other hidden fields.
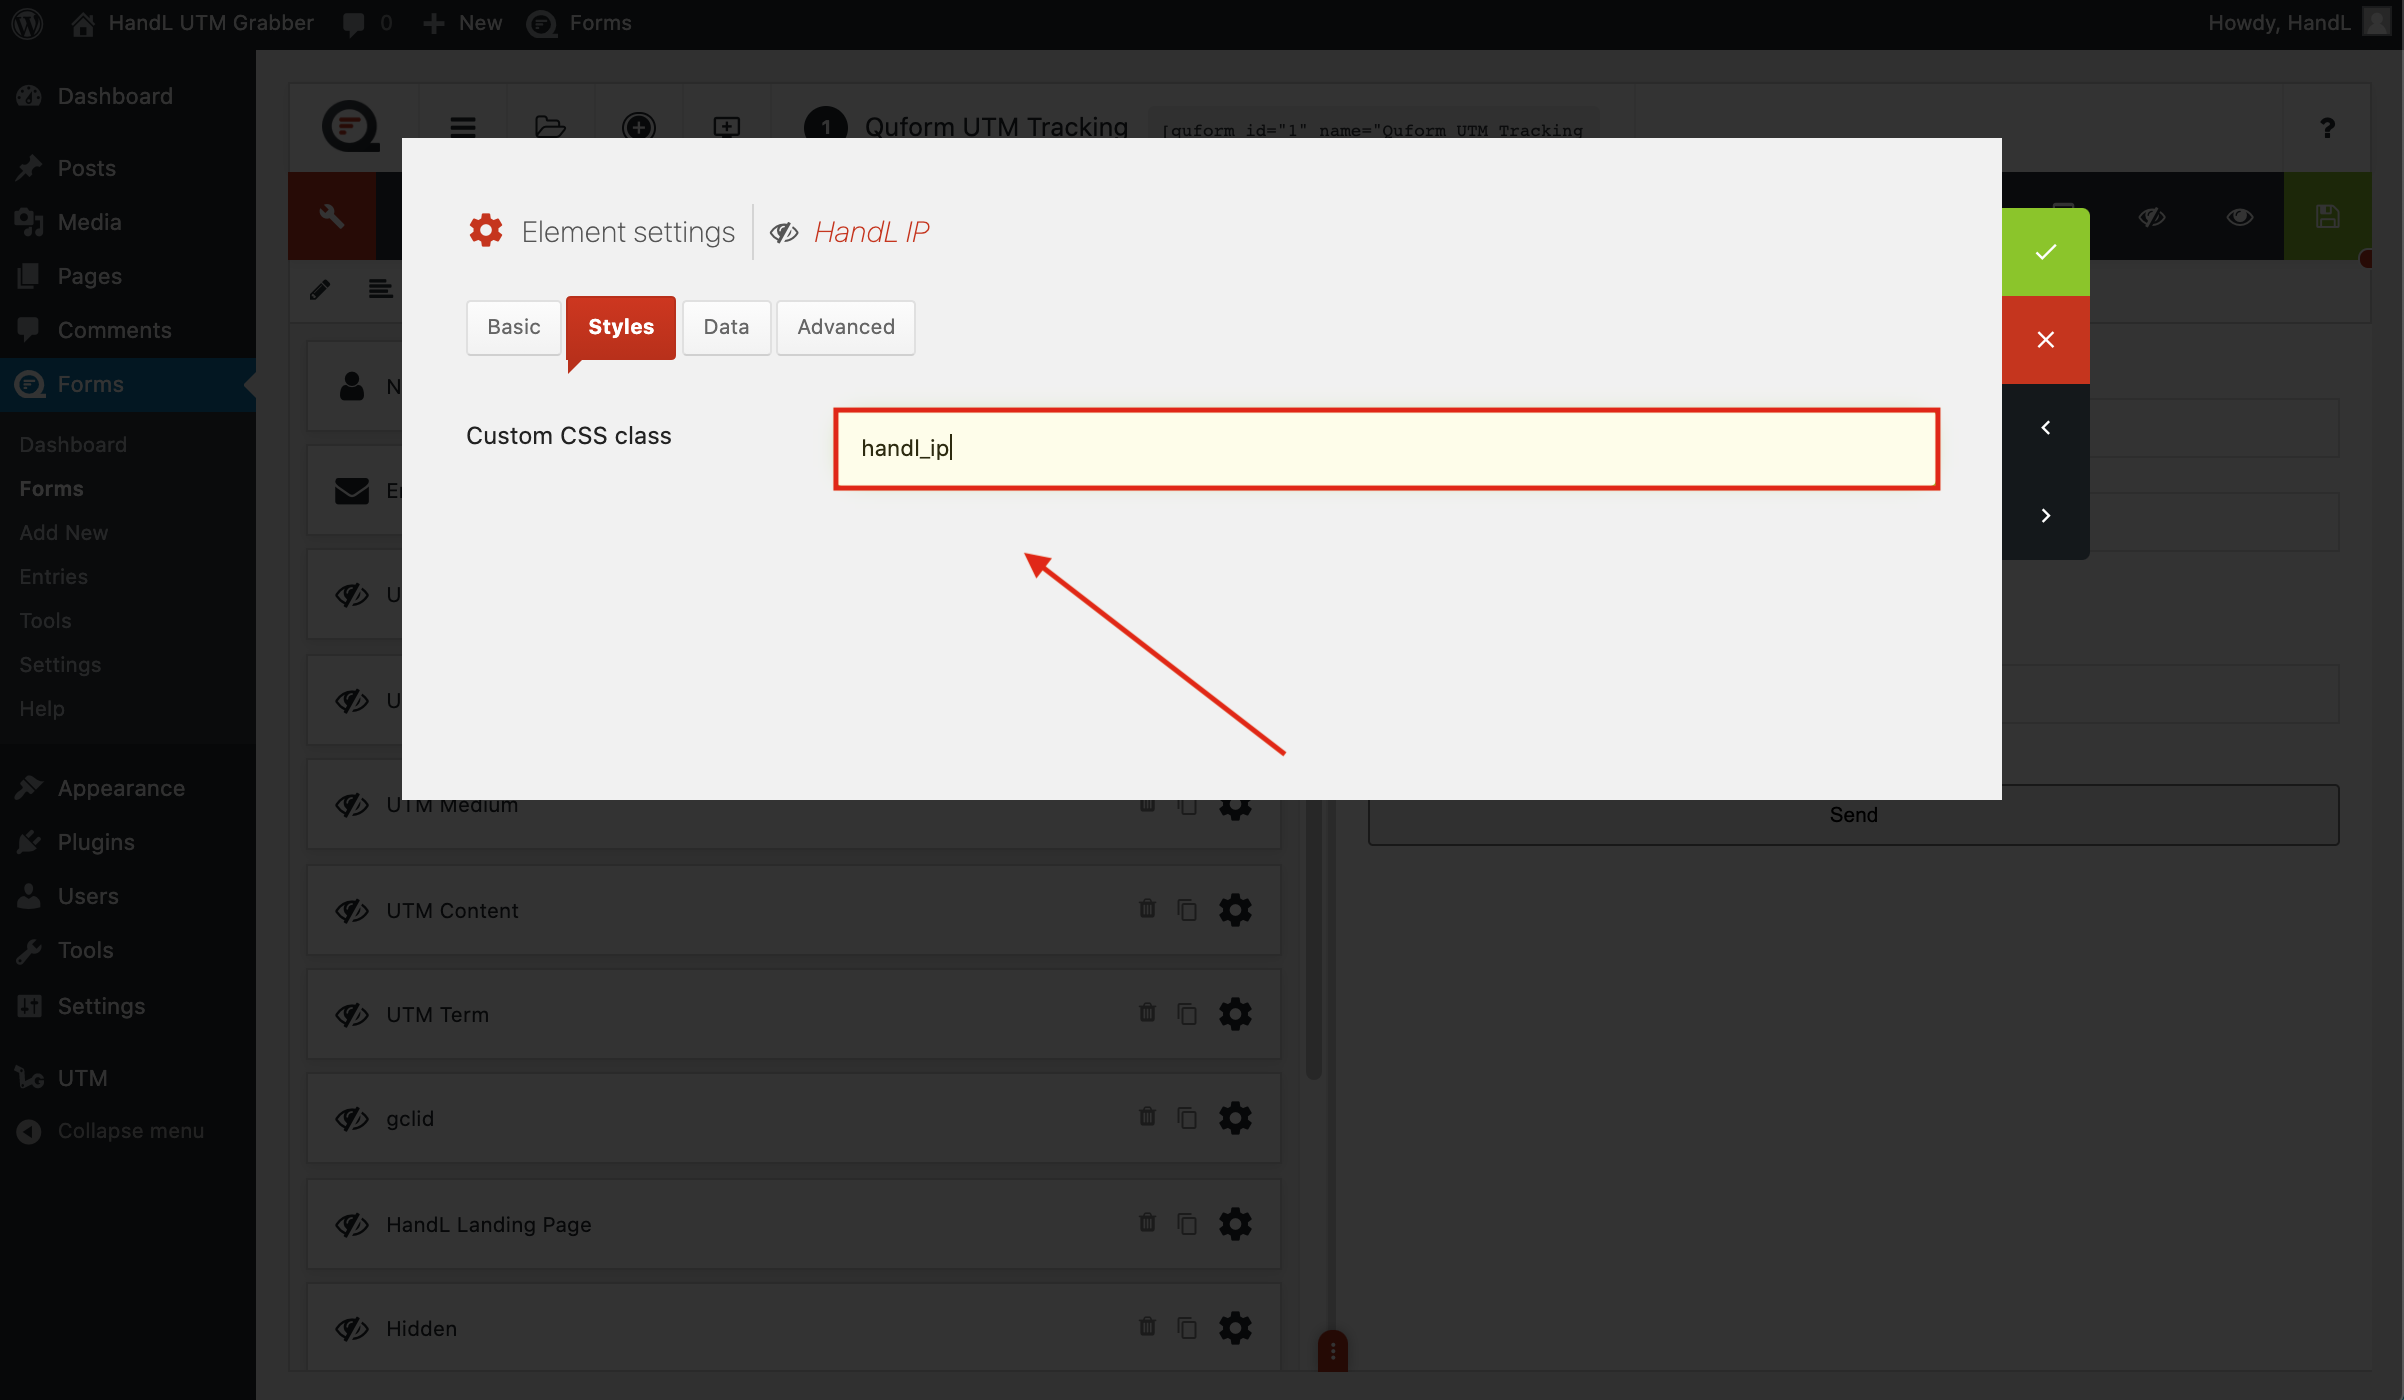
12-)Then save the changes and copy the shortcode.
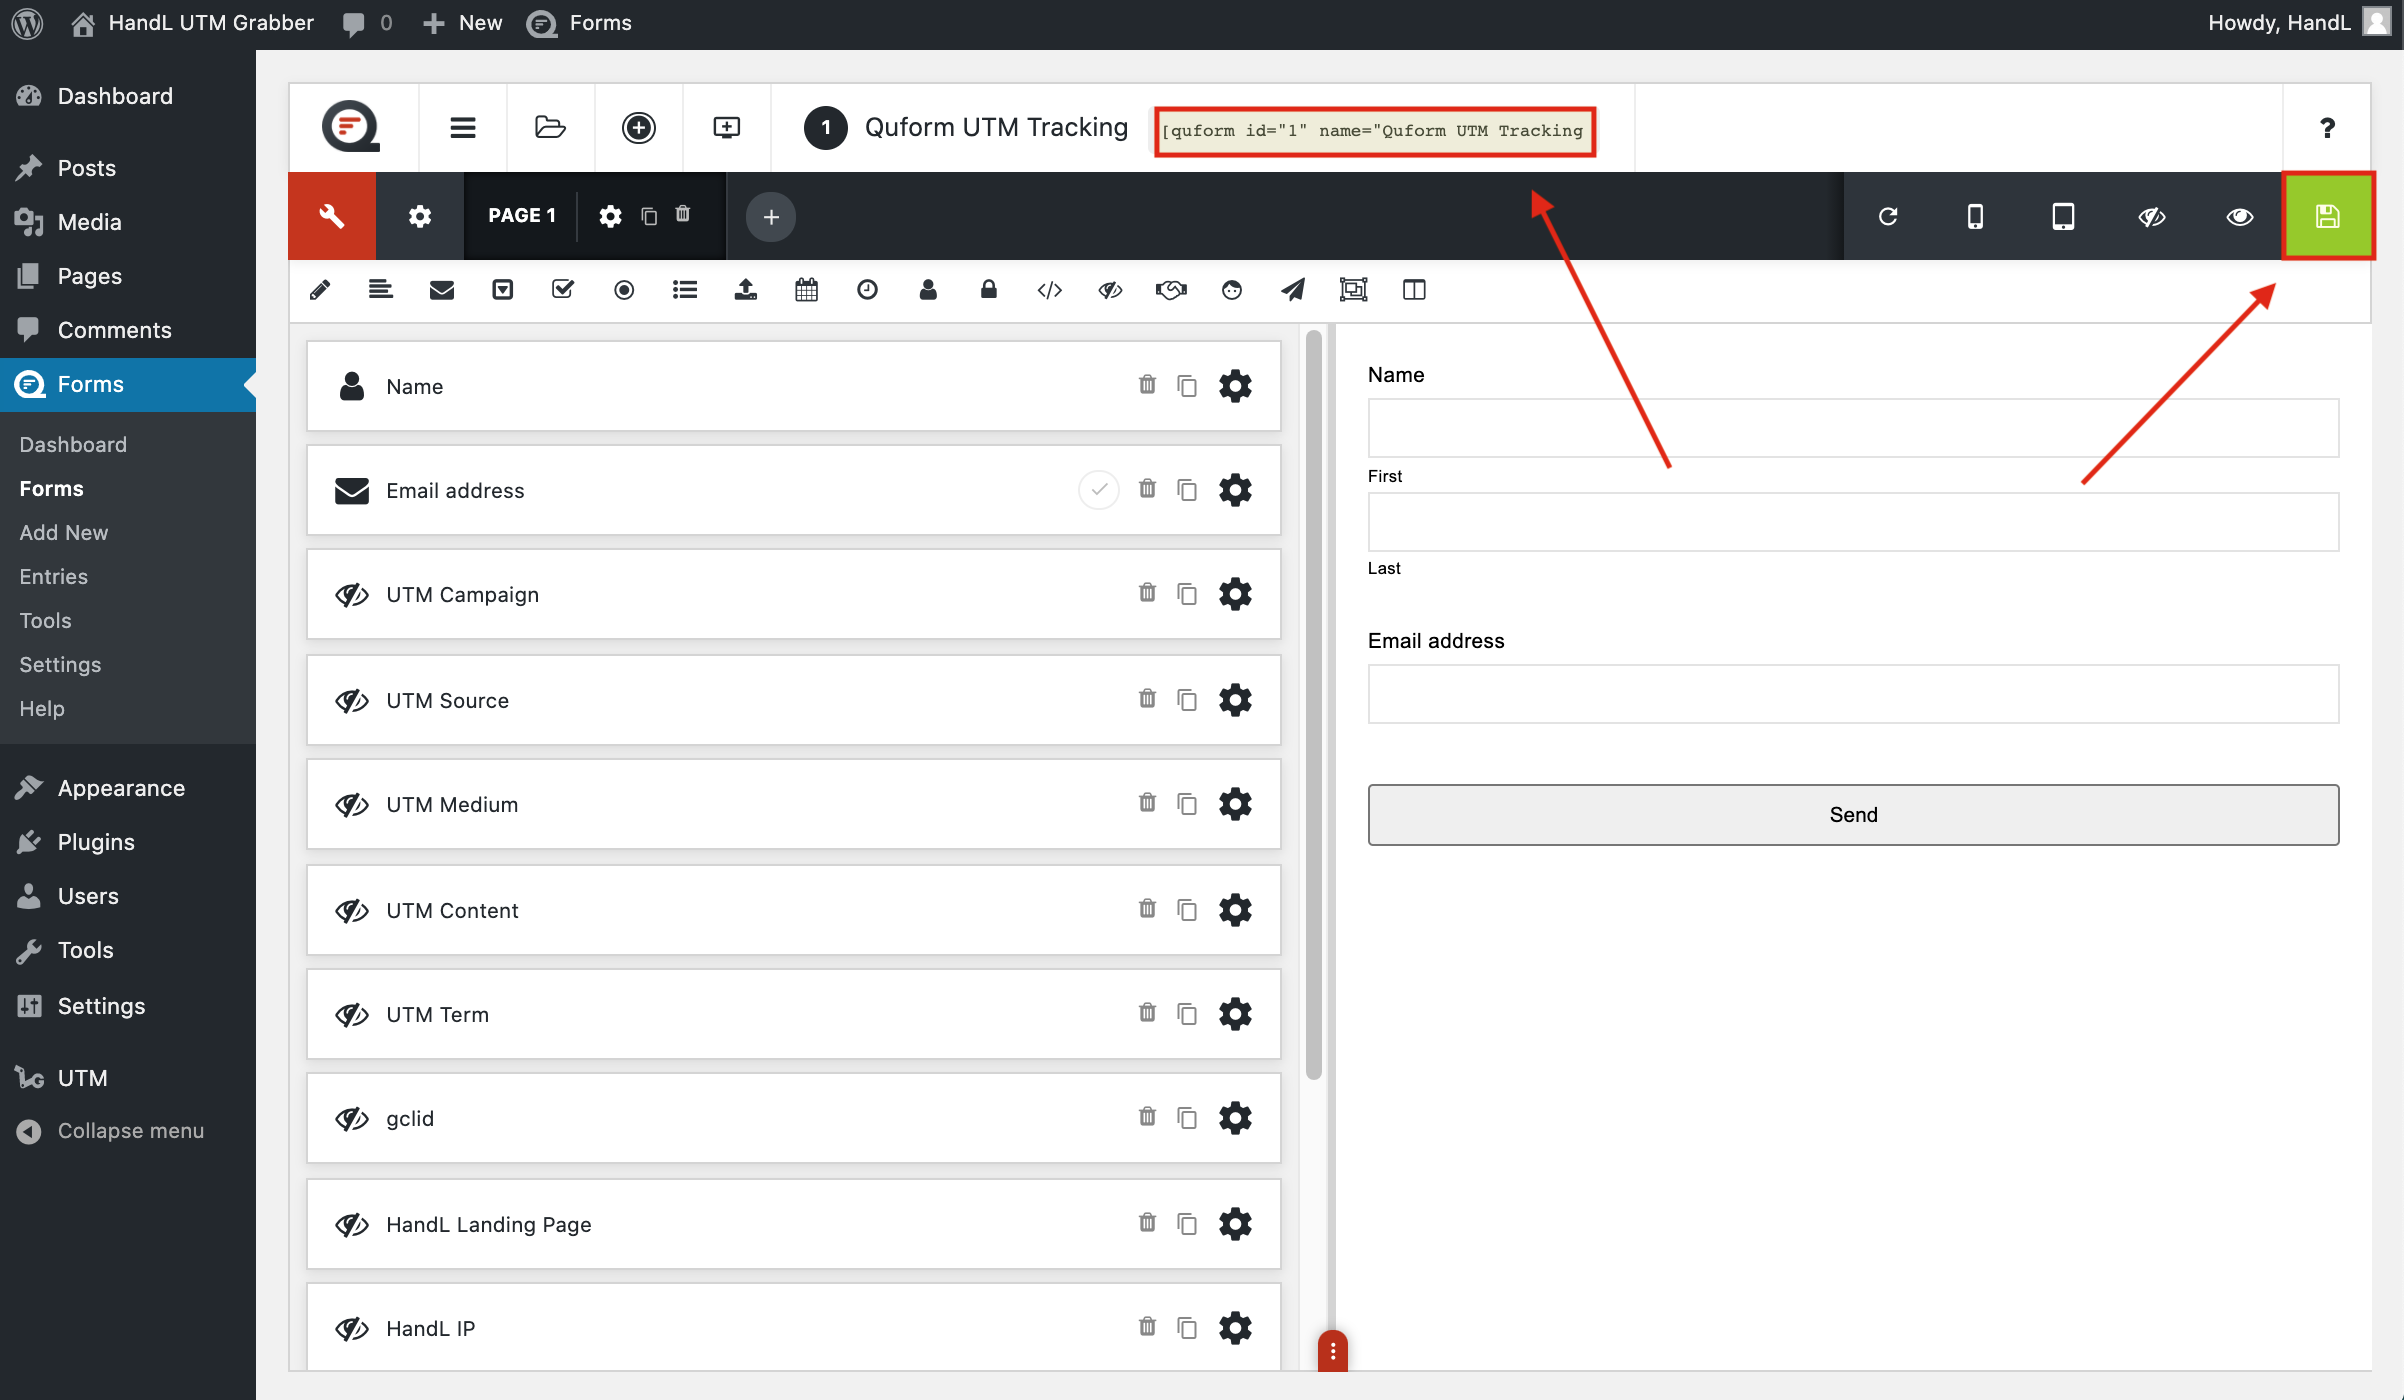
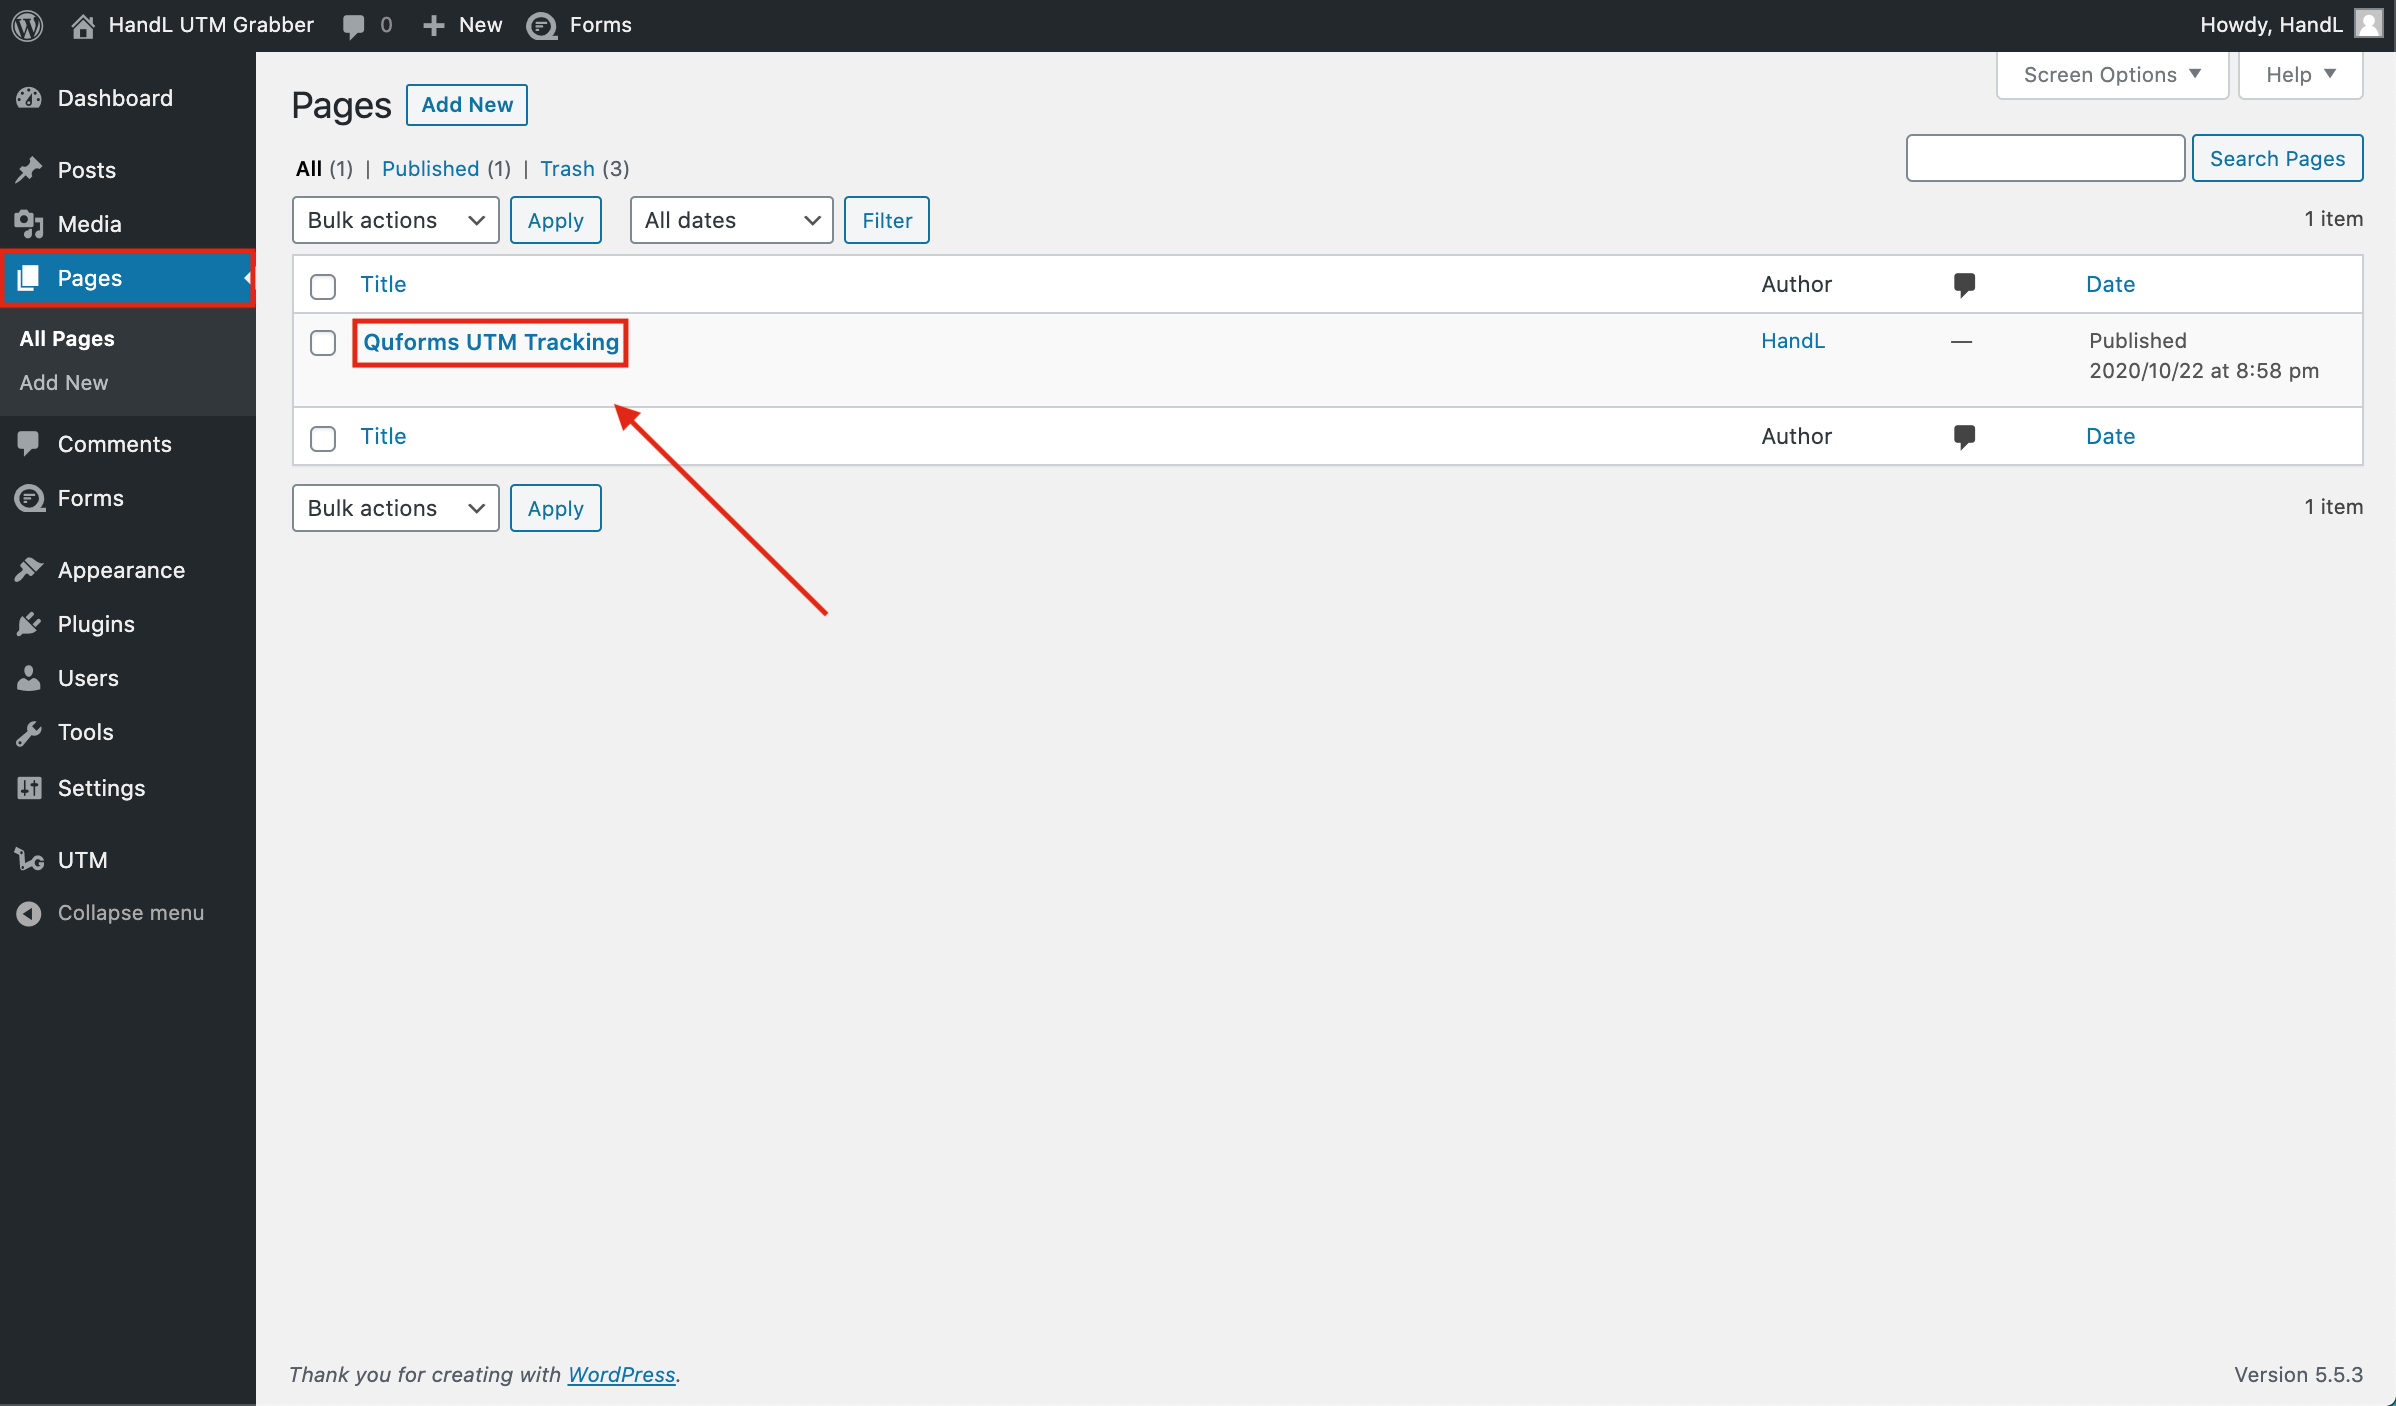
13-)Go to pages section and open your form.
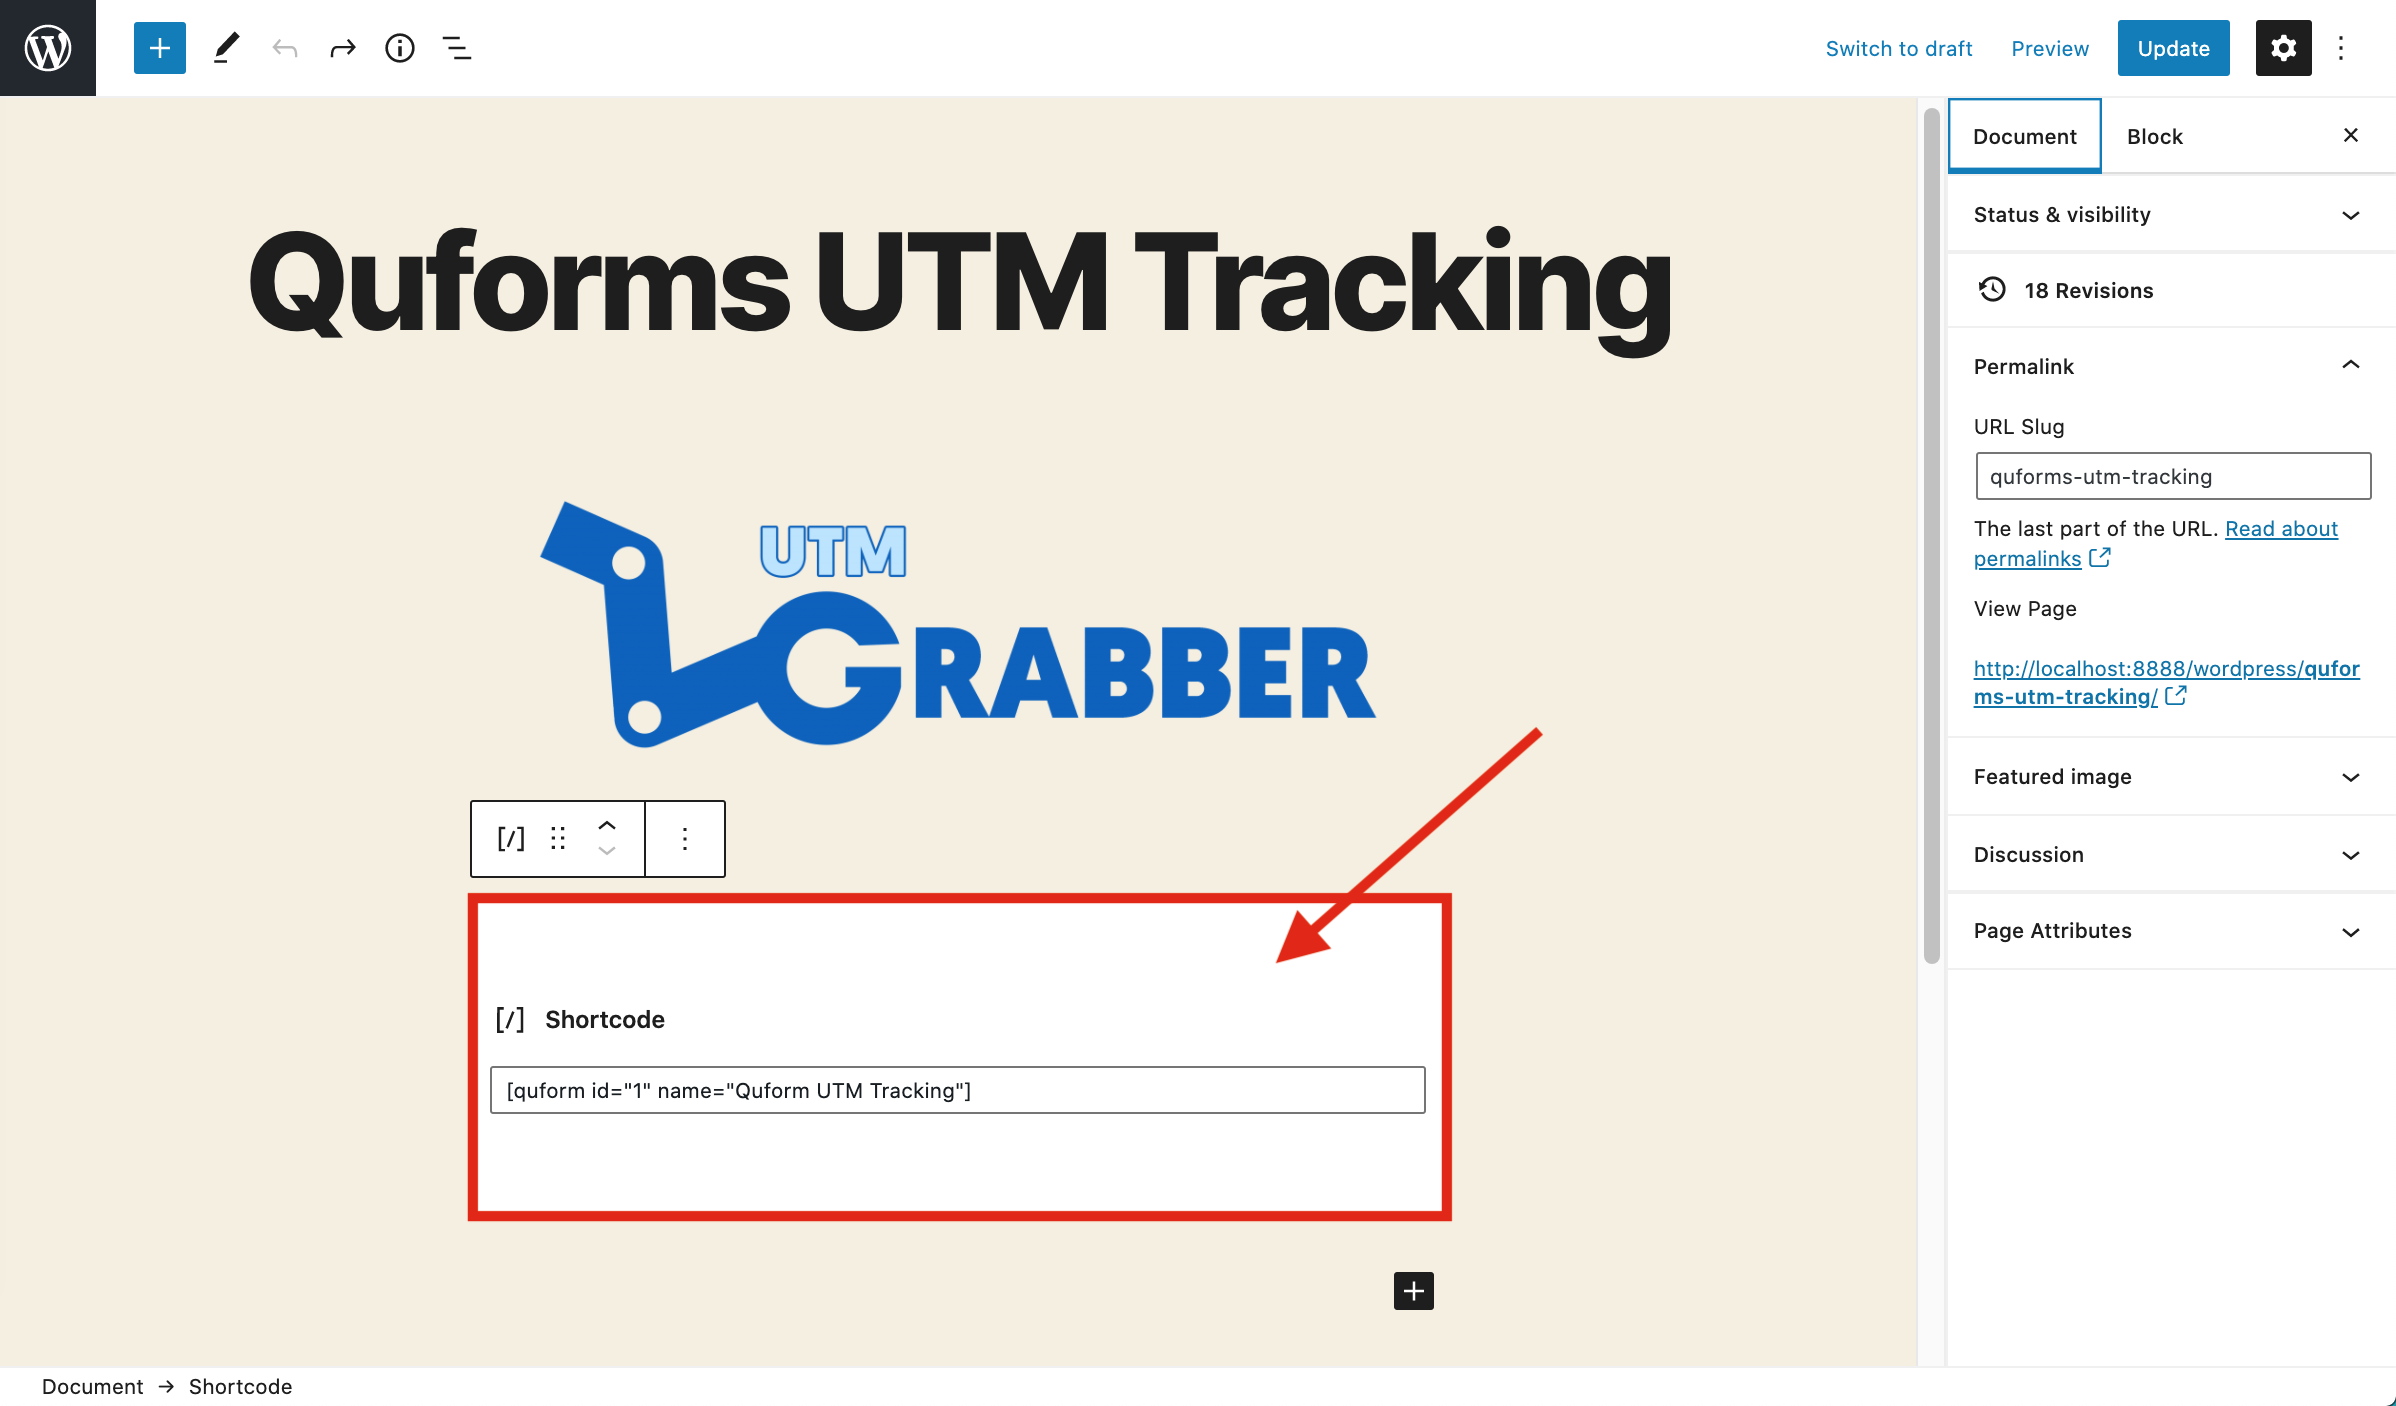
14-)Paste your shortcode.
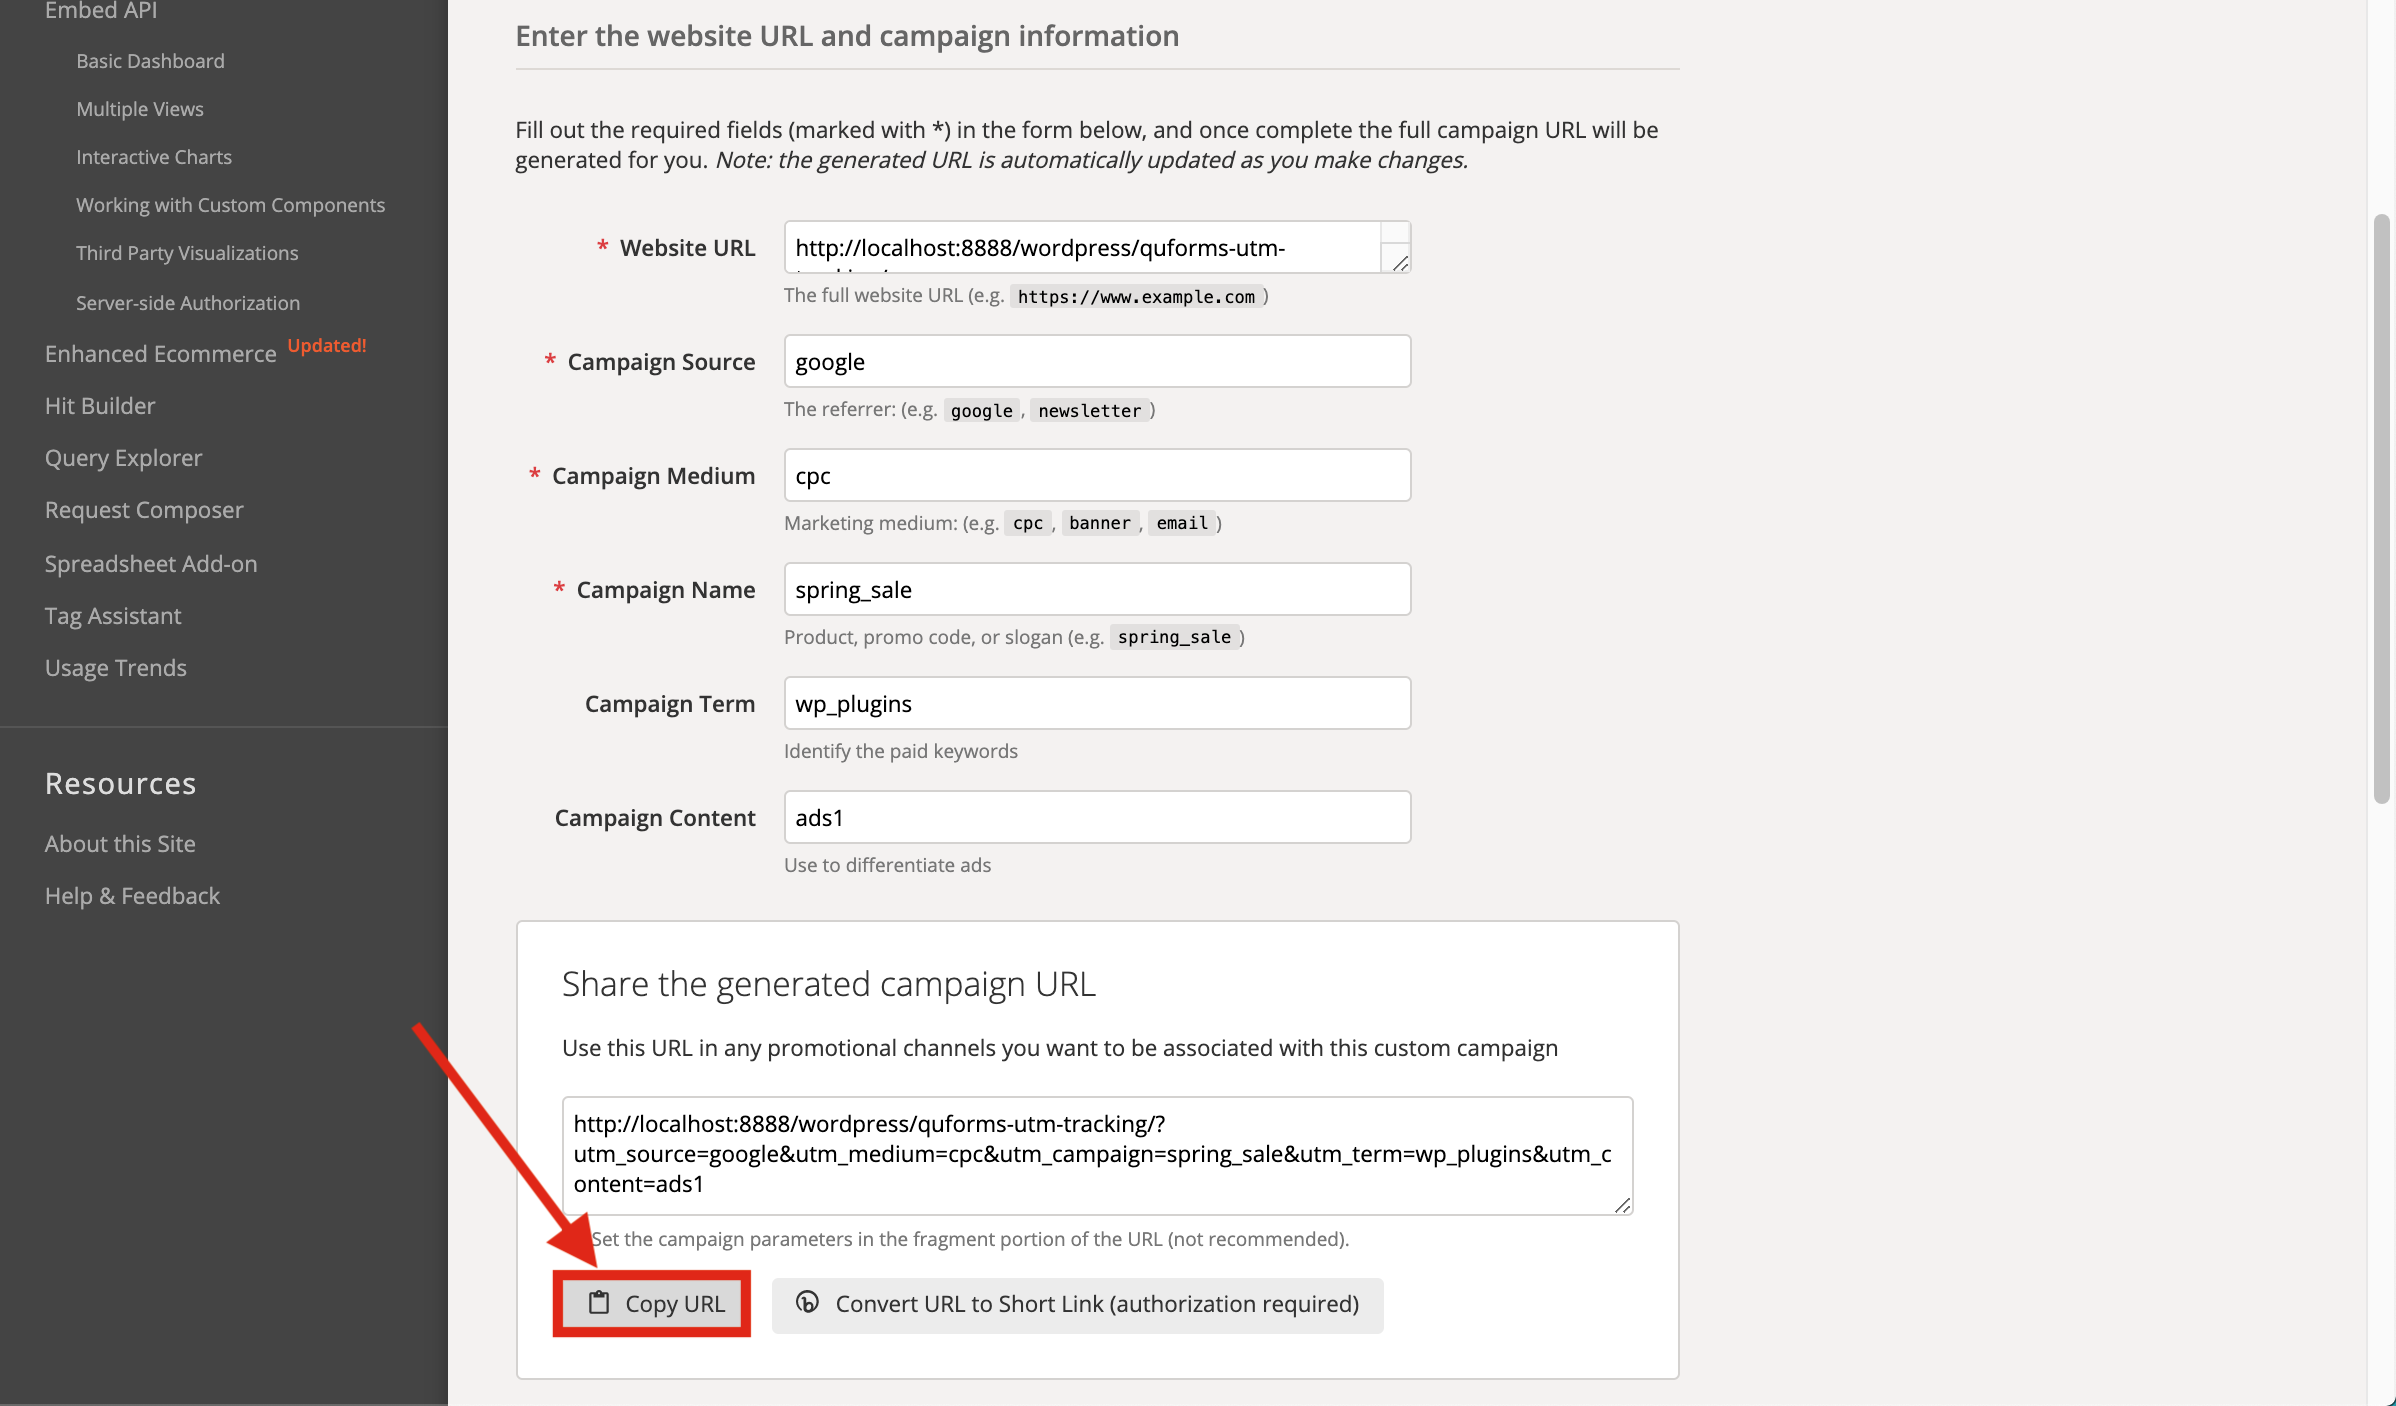
15-)Go to campaign URL builder and copy the URL.
16-)Paste the URL and write the "gclid=GclidParamTest" to the end of the URL to fill gclid parameter.
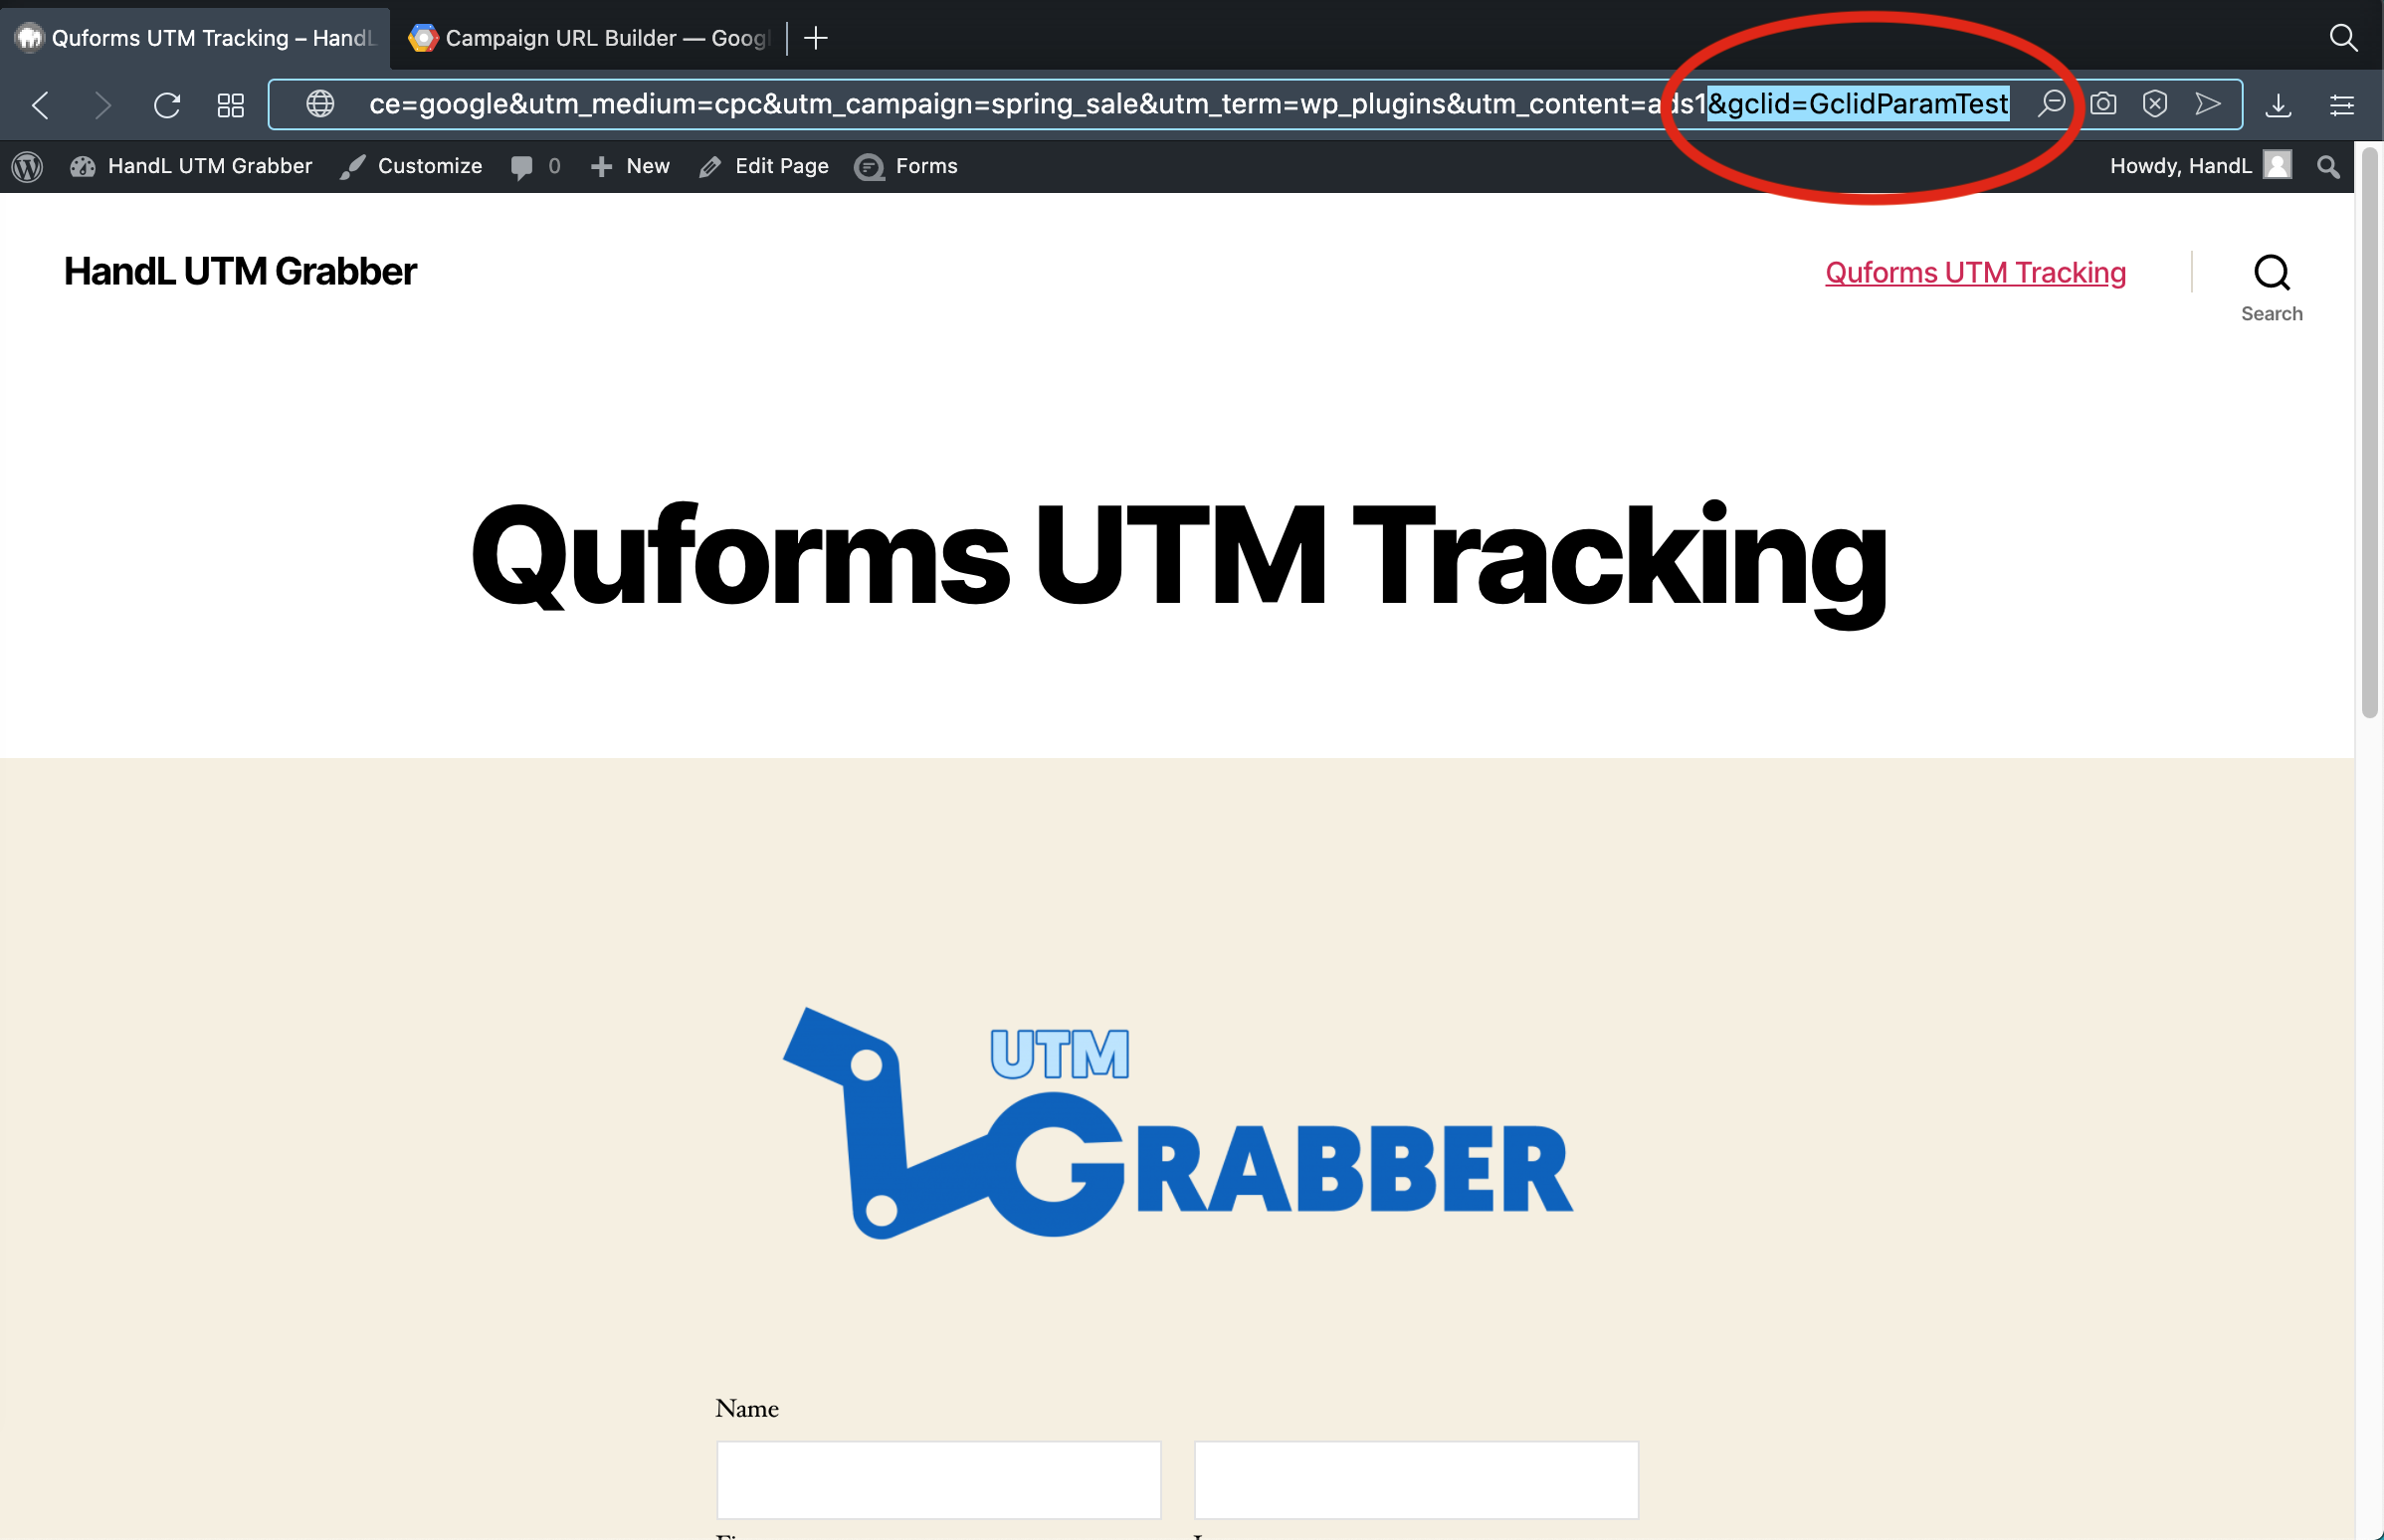
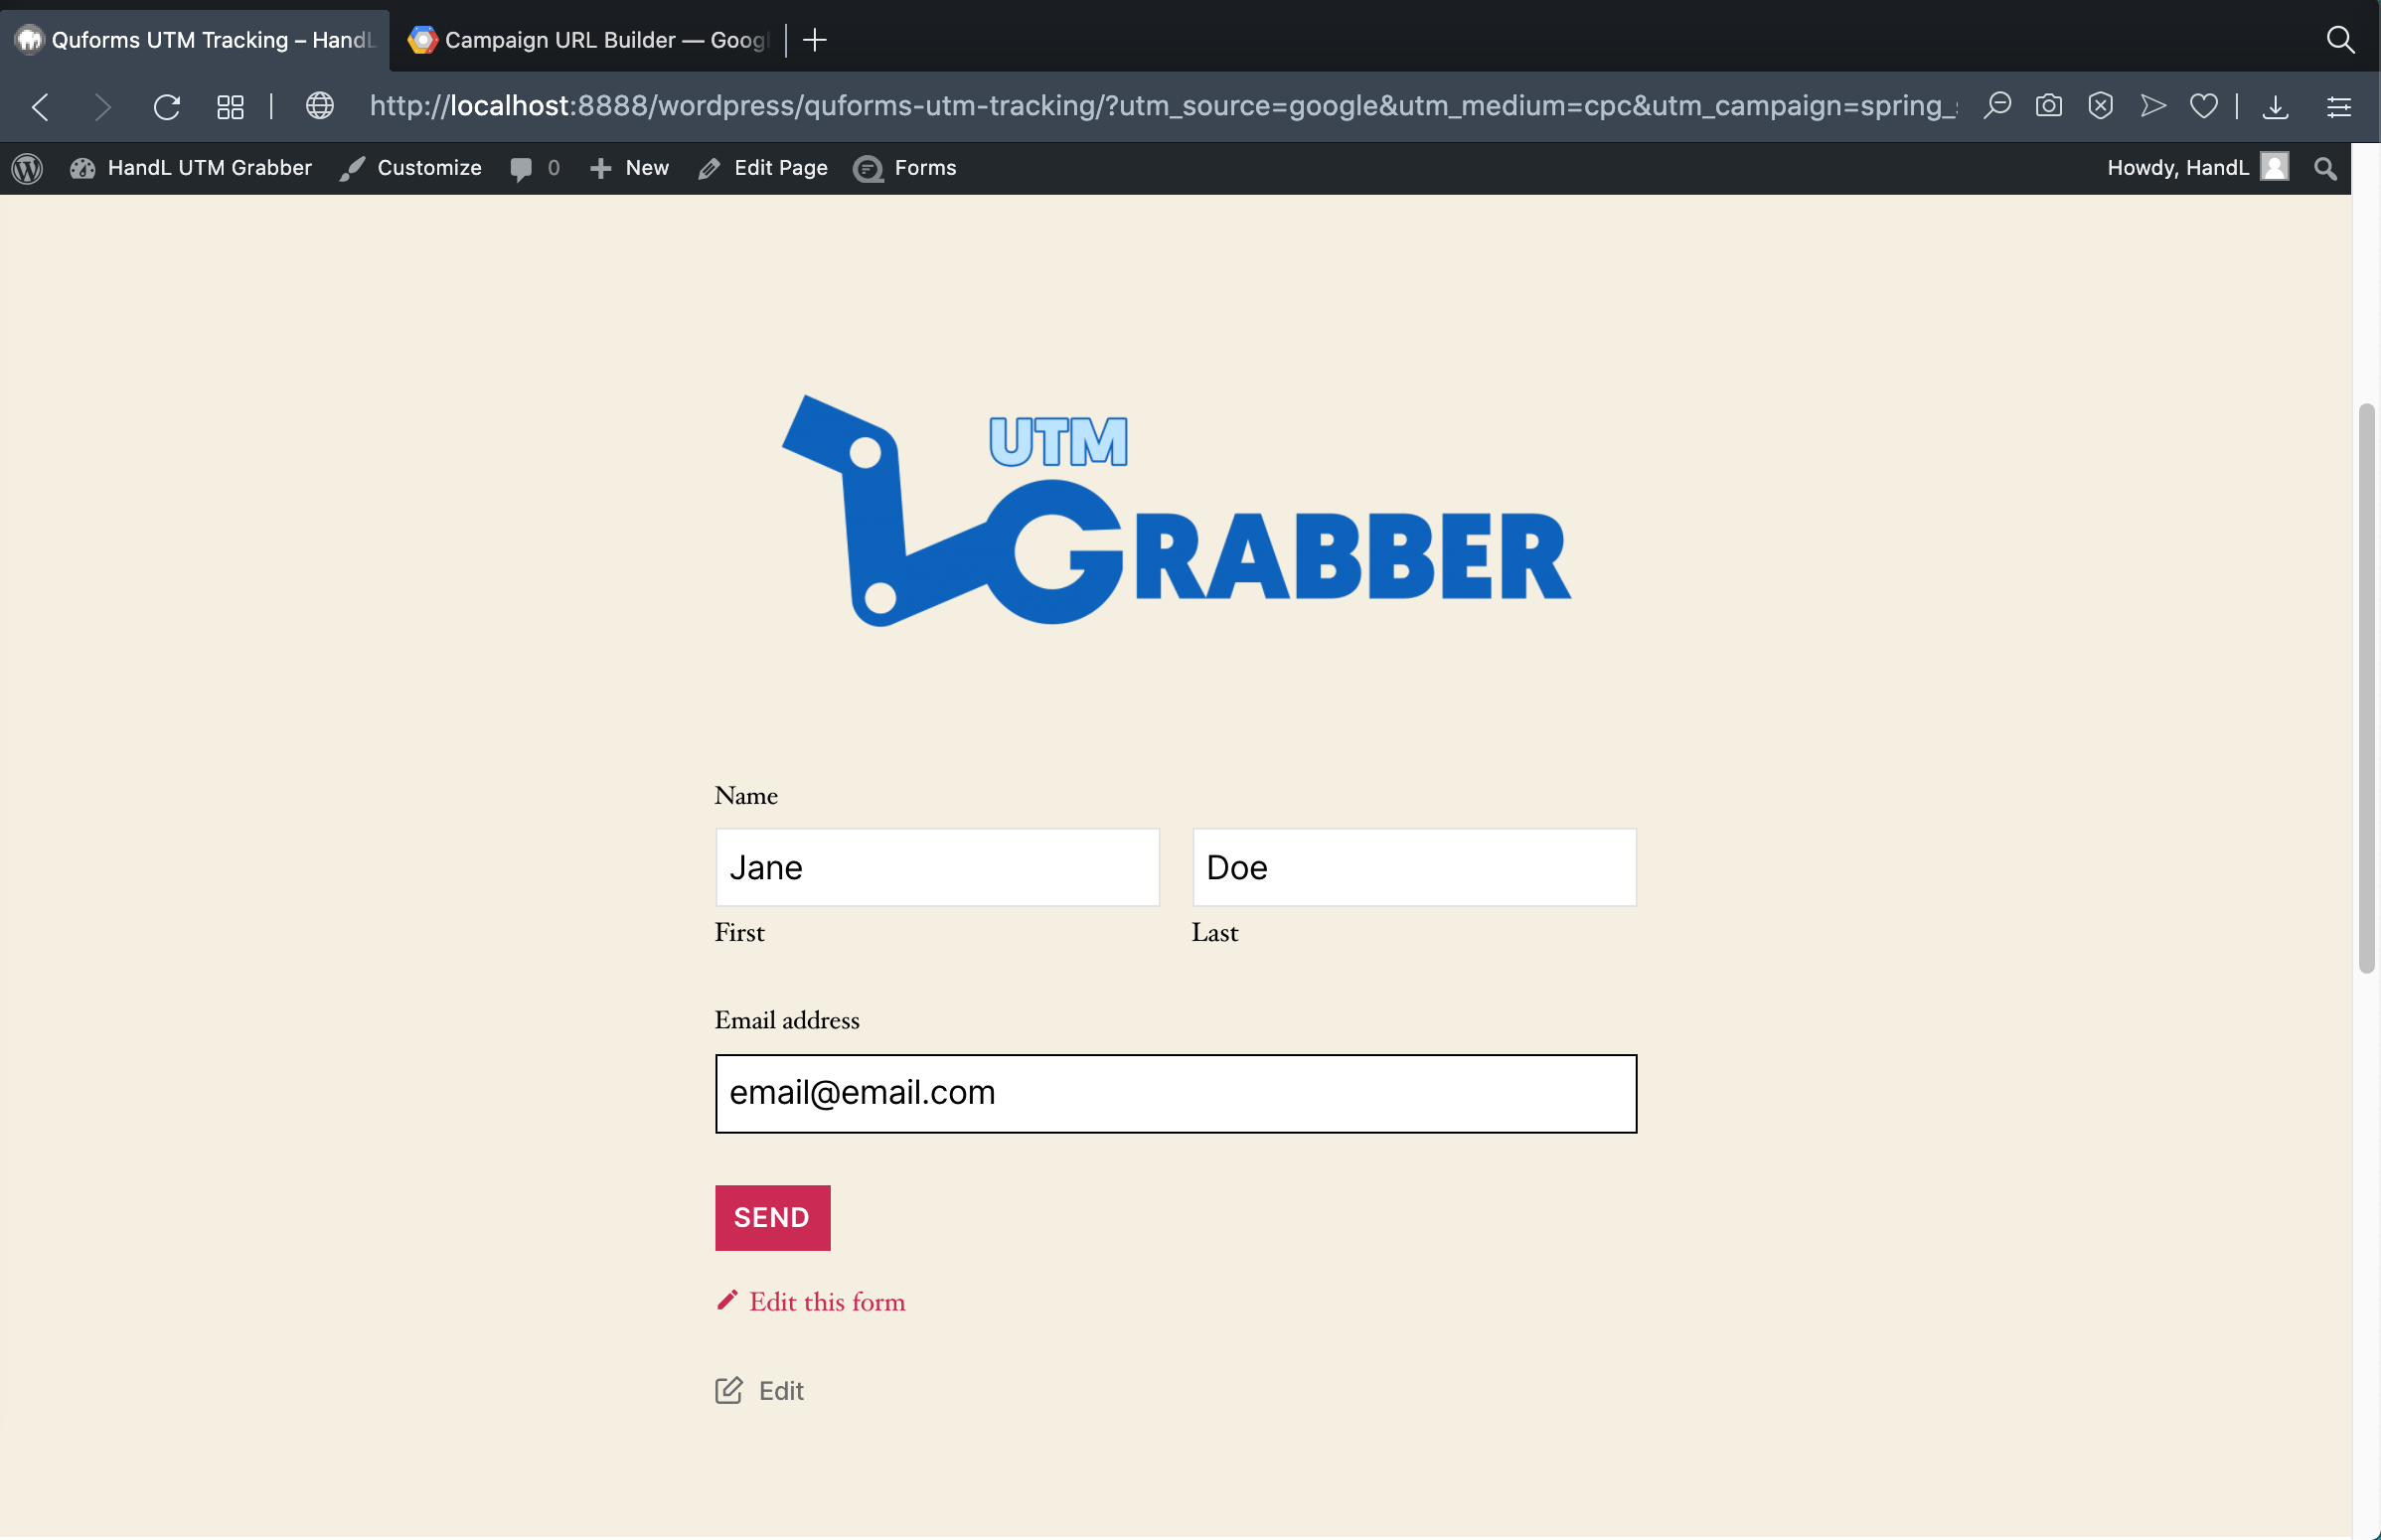
17-)Now the form is ready to fill it.
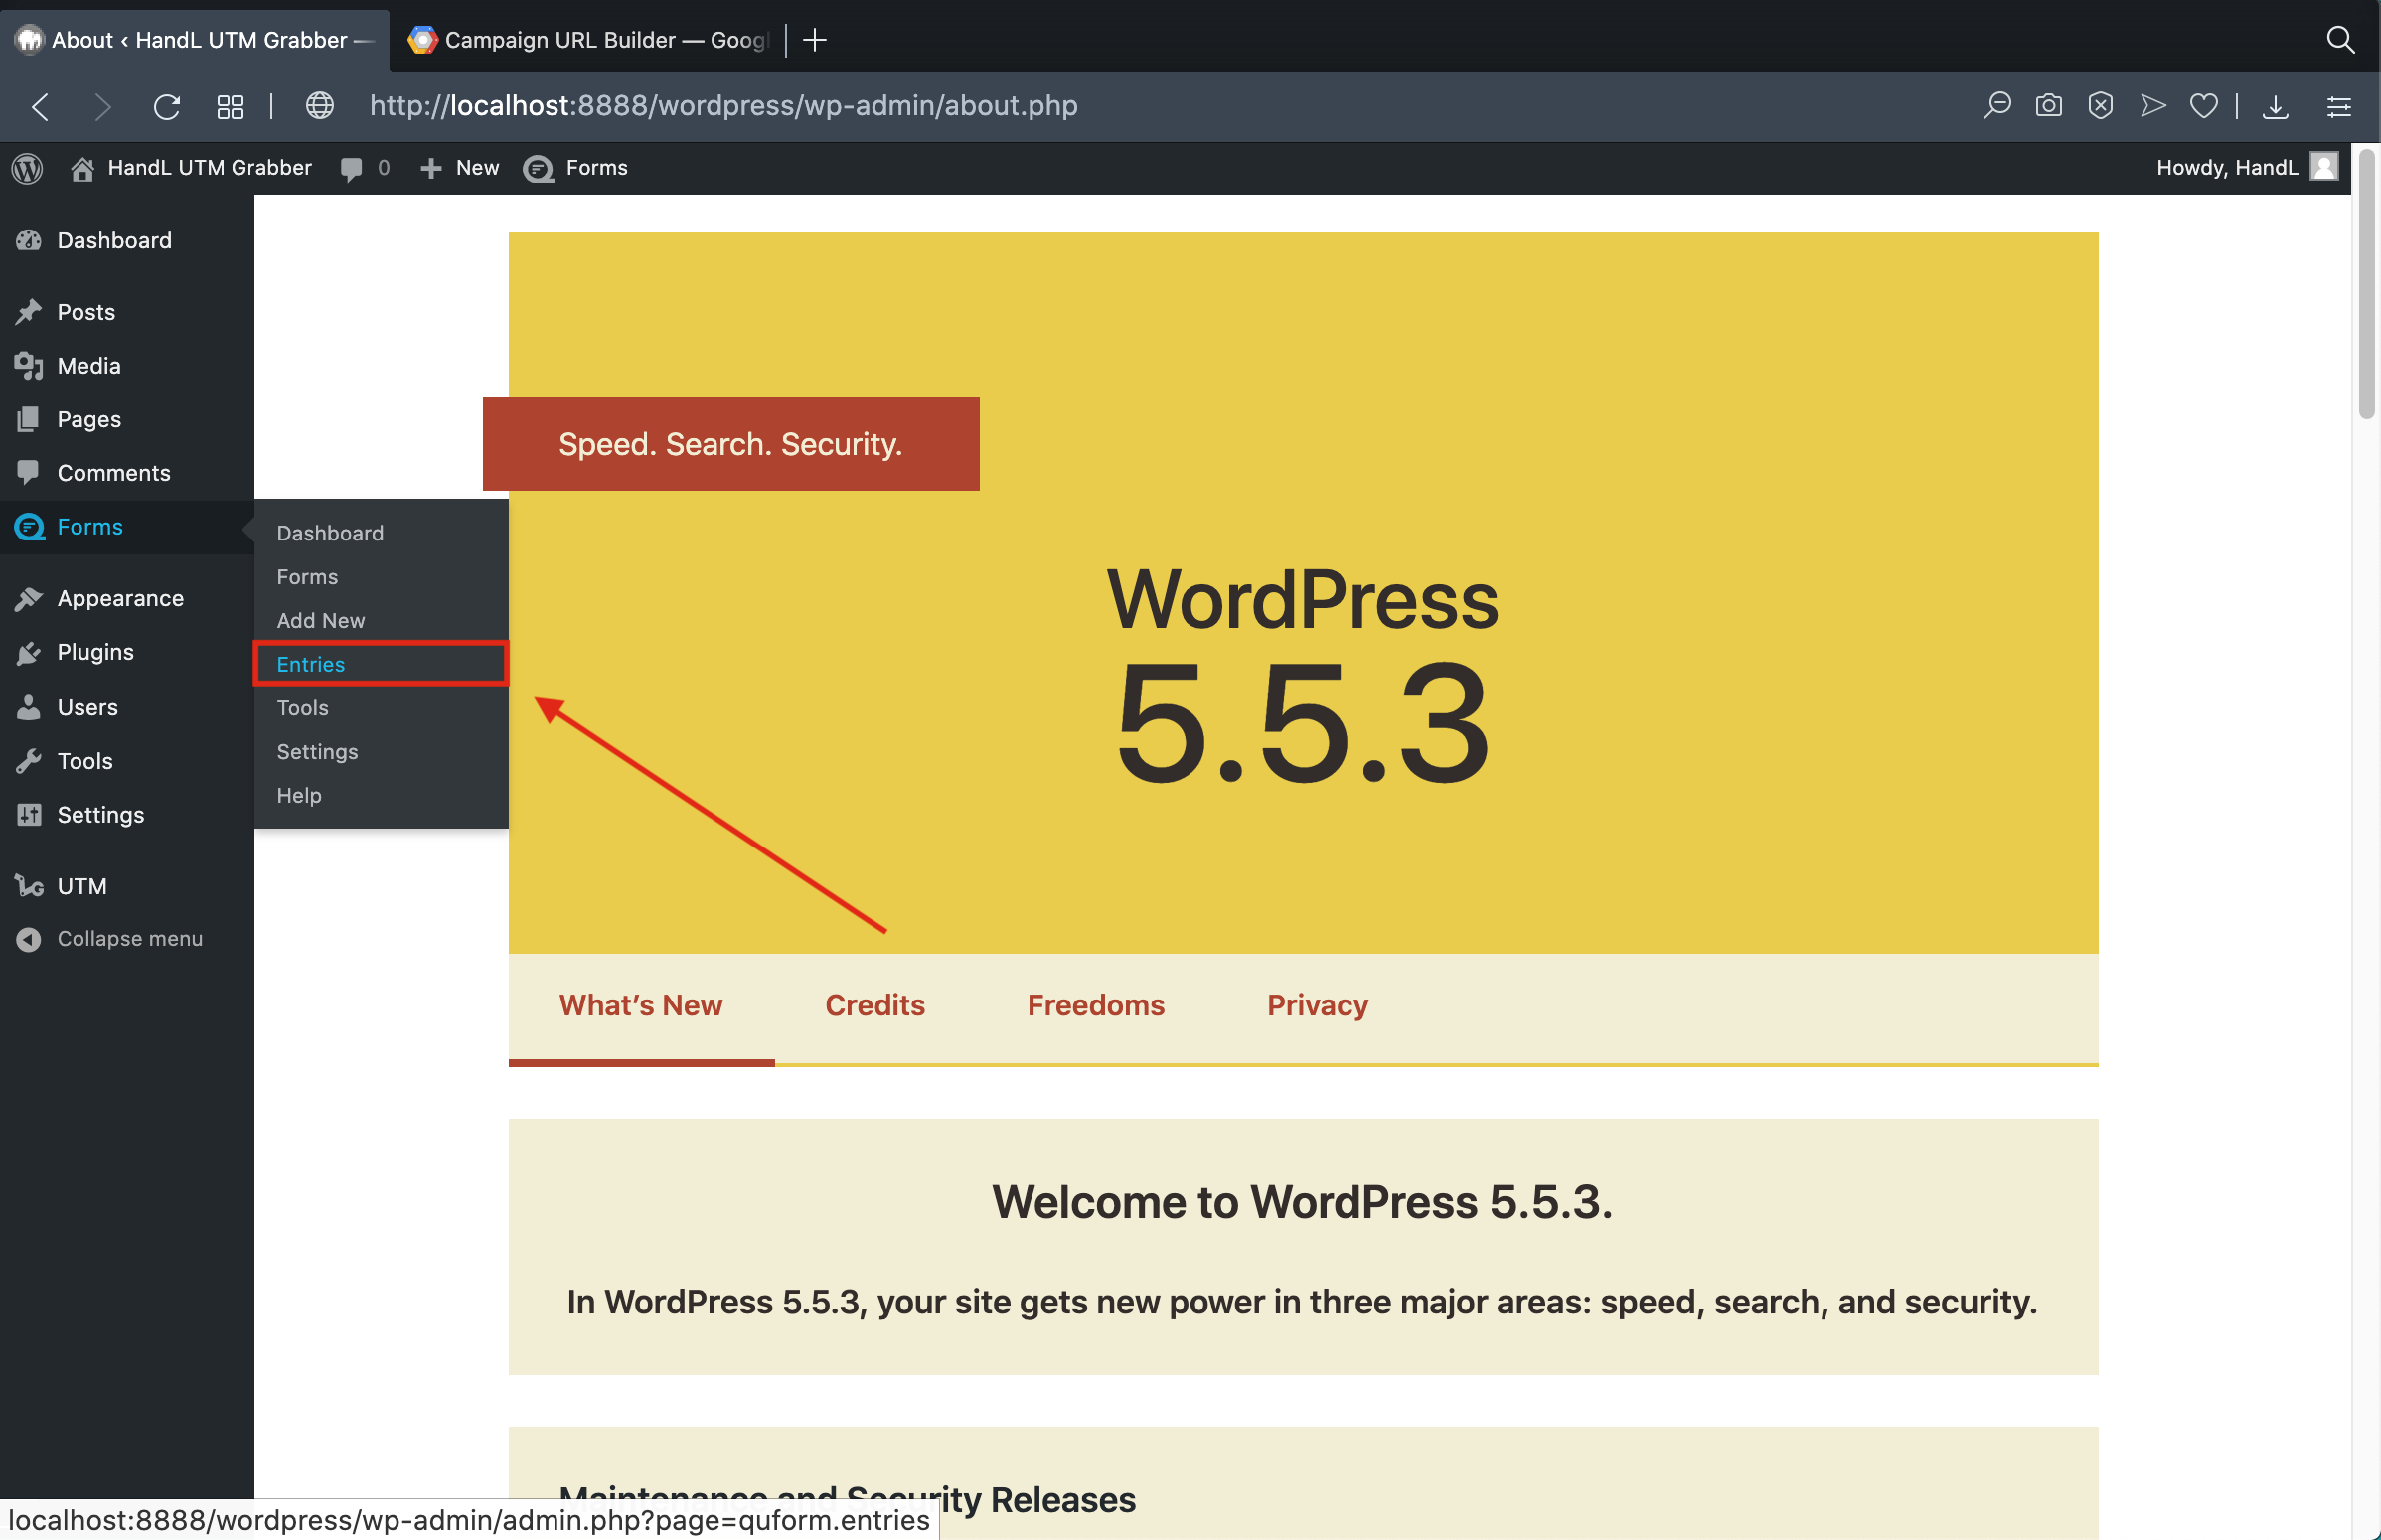
18-)Go to entries of Quform.
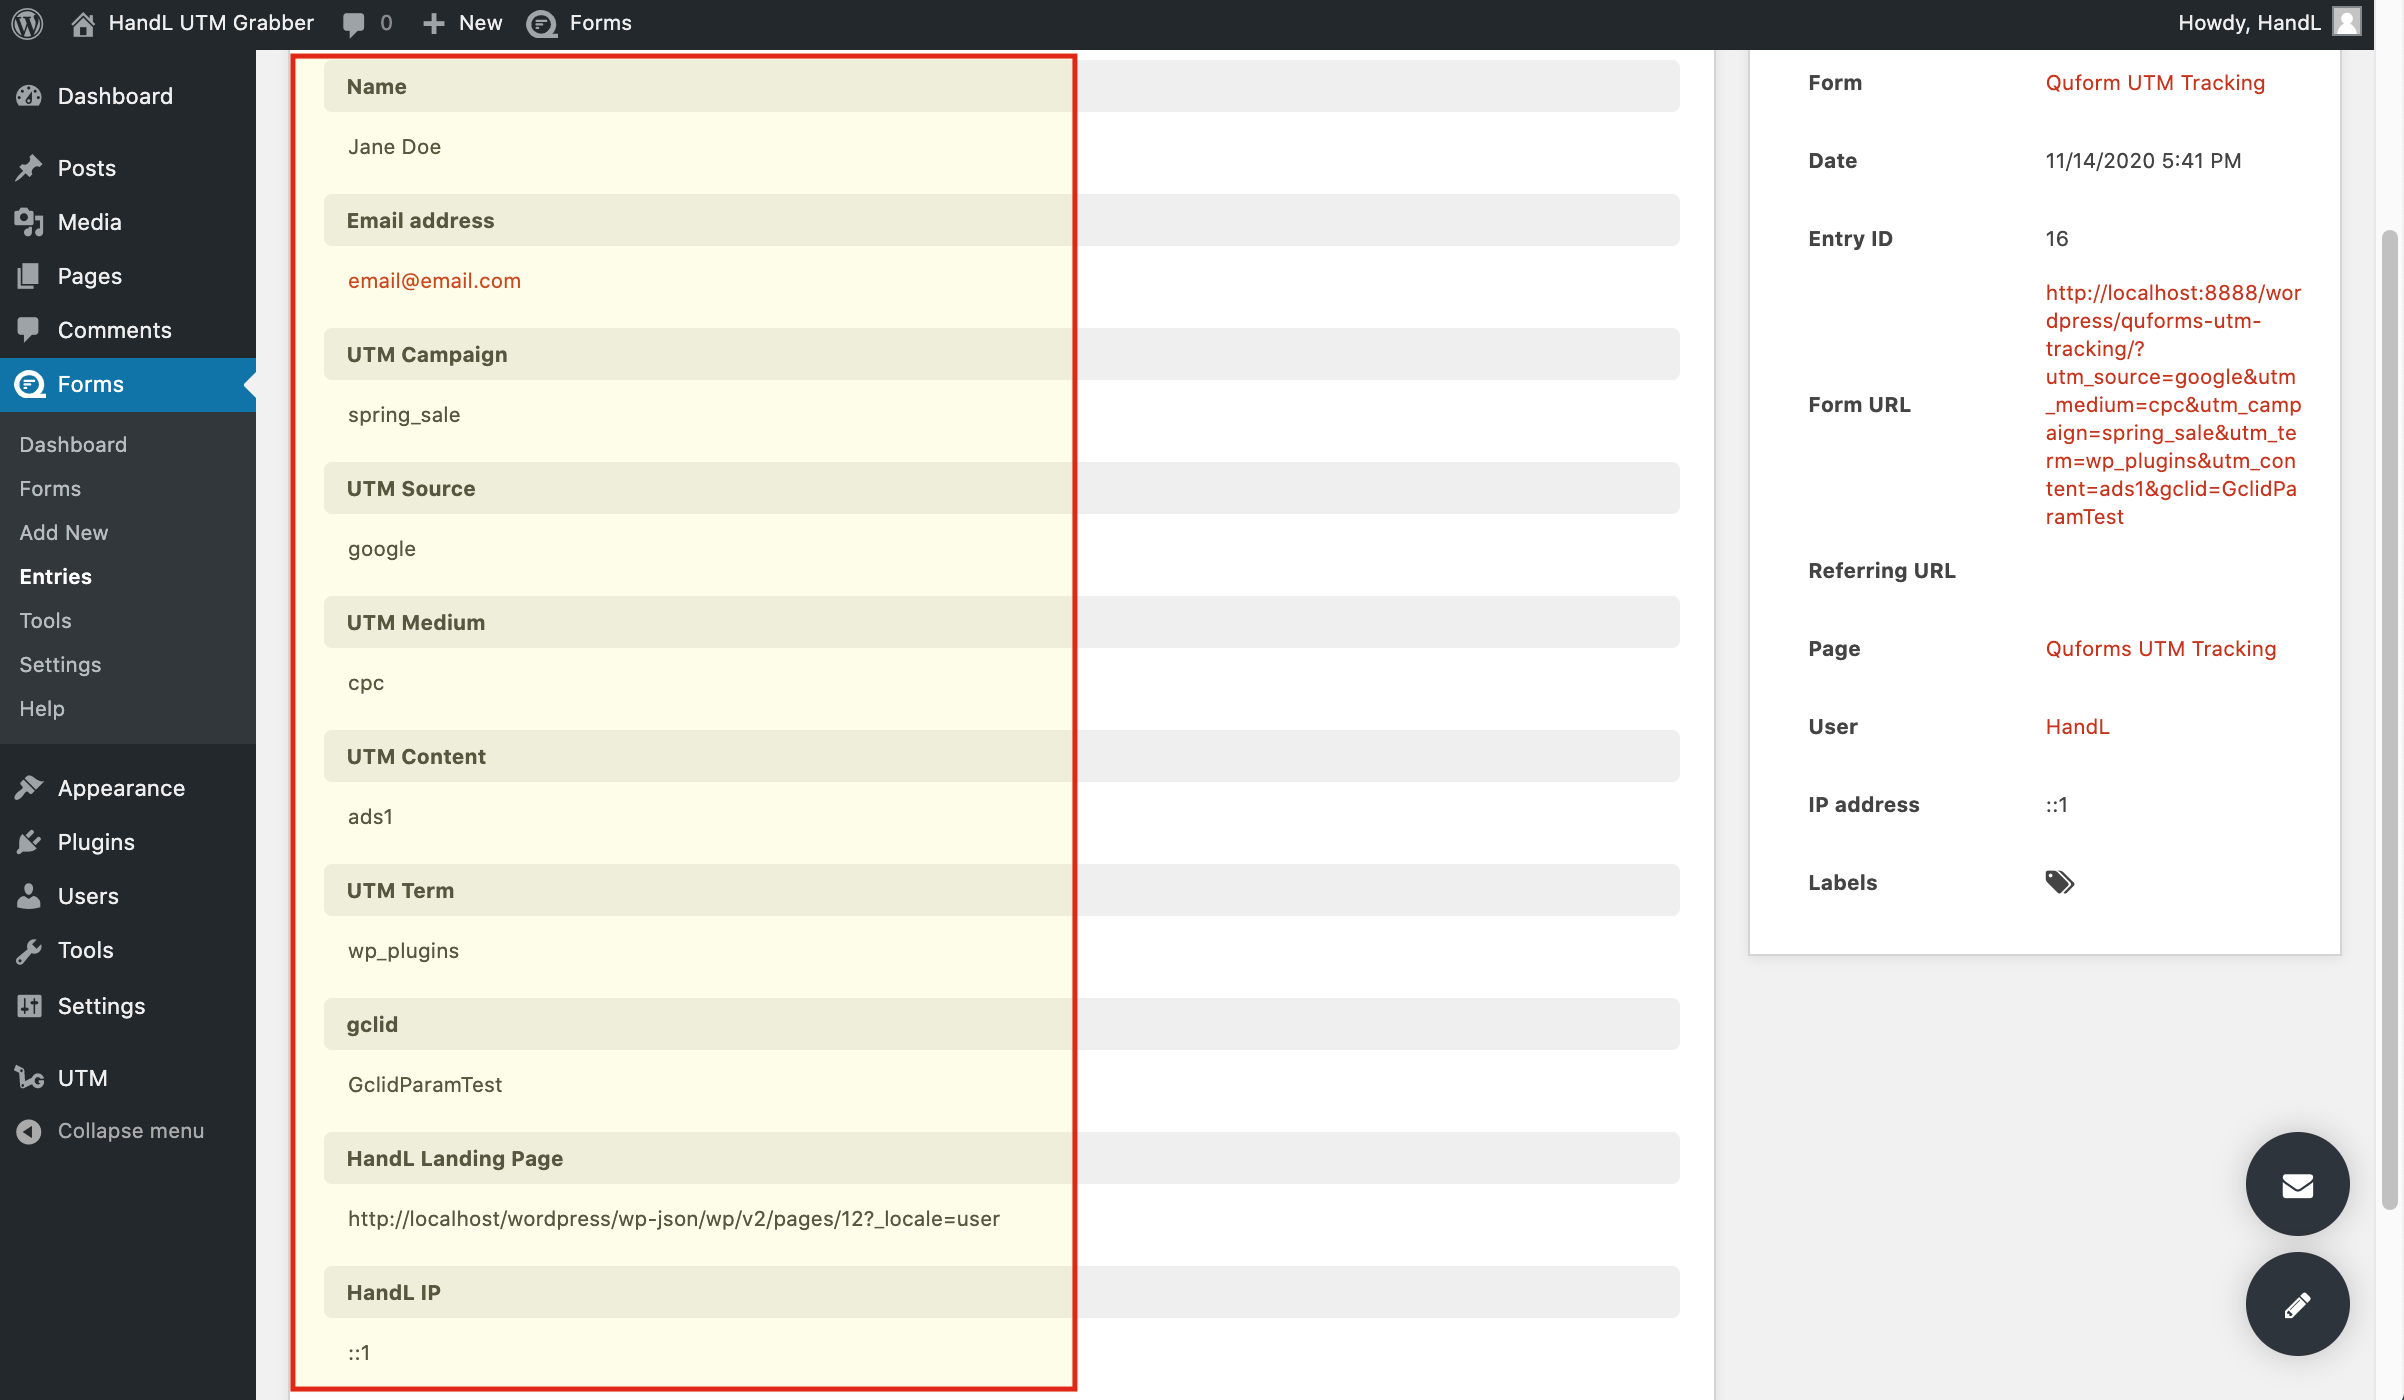
19-)Here is the result.
Send Quform UTMs via Zapier or Webhook
UTM attribution overview
This walkthrough covers sending full UTM Grabber data from Quform to Zapier, Make, or your own webhook. Handy when you need gclid, fbclid, first-touch fields, or custom params alongside the lead or order.
For the primary setup, see the main Quform guide.
When a webhook makes sense
Native fields in Quform often stop at basic UTMs. A webhook lets you push everything UTM Grabber stores without trimming values or losing click IDs.
Thank-you page script
Paste this on your confirmation page. Swap in your Zapier or Make hook URL.
<script>
var qvars = {};
window.location.href.replace(/[?&]+([^=&]+)=([^&]*)/gi, function(m, key, value) {
qvars[key] = decodeURIComponent(value.replace(/\+/g, ' '));
});
qvars = Object.assign({}, (typeof handl_utm !== 'undefined' ? handl_utm : {}), qvars);
setTimeout(function() {
var data = new URLSearchParams(qvars).toString();
var xmlHttp = new XMLHttpRequest();
xmlHttp.open('GET', 'https://hooks.zapier.com/hooks/catch/YOUR_ID/YOUR_KEY/?' + data, true);
xmlHttp.send(null);
}, 1000);
</script>Full pattern explained in Triggering Zapier on Thank you Page.
Quick Zapier / Make checklist
- Create a Catch Hook trigger and copy the URL
- Run a test conversion with UTMs in the landing URL
- Confirm gclid, utm_source, and email (if present) show up in the payload
- Map fields into your CRM or spreadsheet
Parameter reference: Native WP Shortcodes.
Make users: see Make Integromat integration.