Ninja Forms to Zapier UTM Tracking Integration Screen Shot Tutorial
UTM attribution overview
This guide explains Ninja Forms to Zapier UTM Tracking Integration Screen Shot Tutorial with HandL UTM Grabber. It helps you send UTM and click ID data into automations, webhooks, reports, and connected tools and keep the marketing context needed for accurate reporting across forms, bookings, signups, and sales.
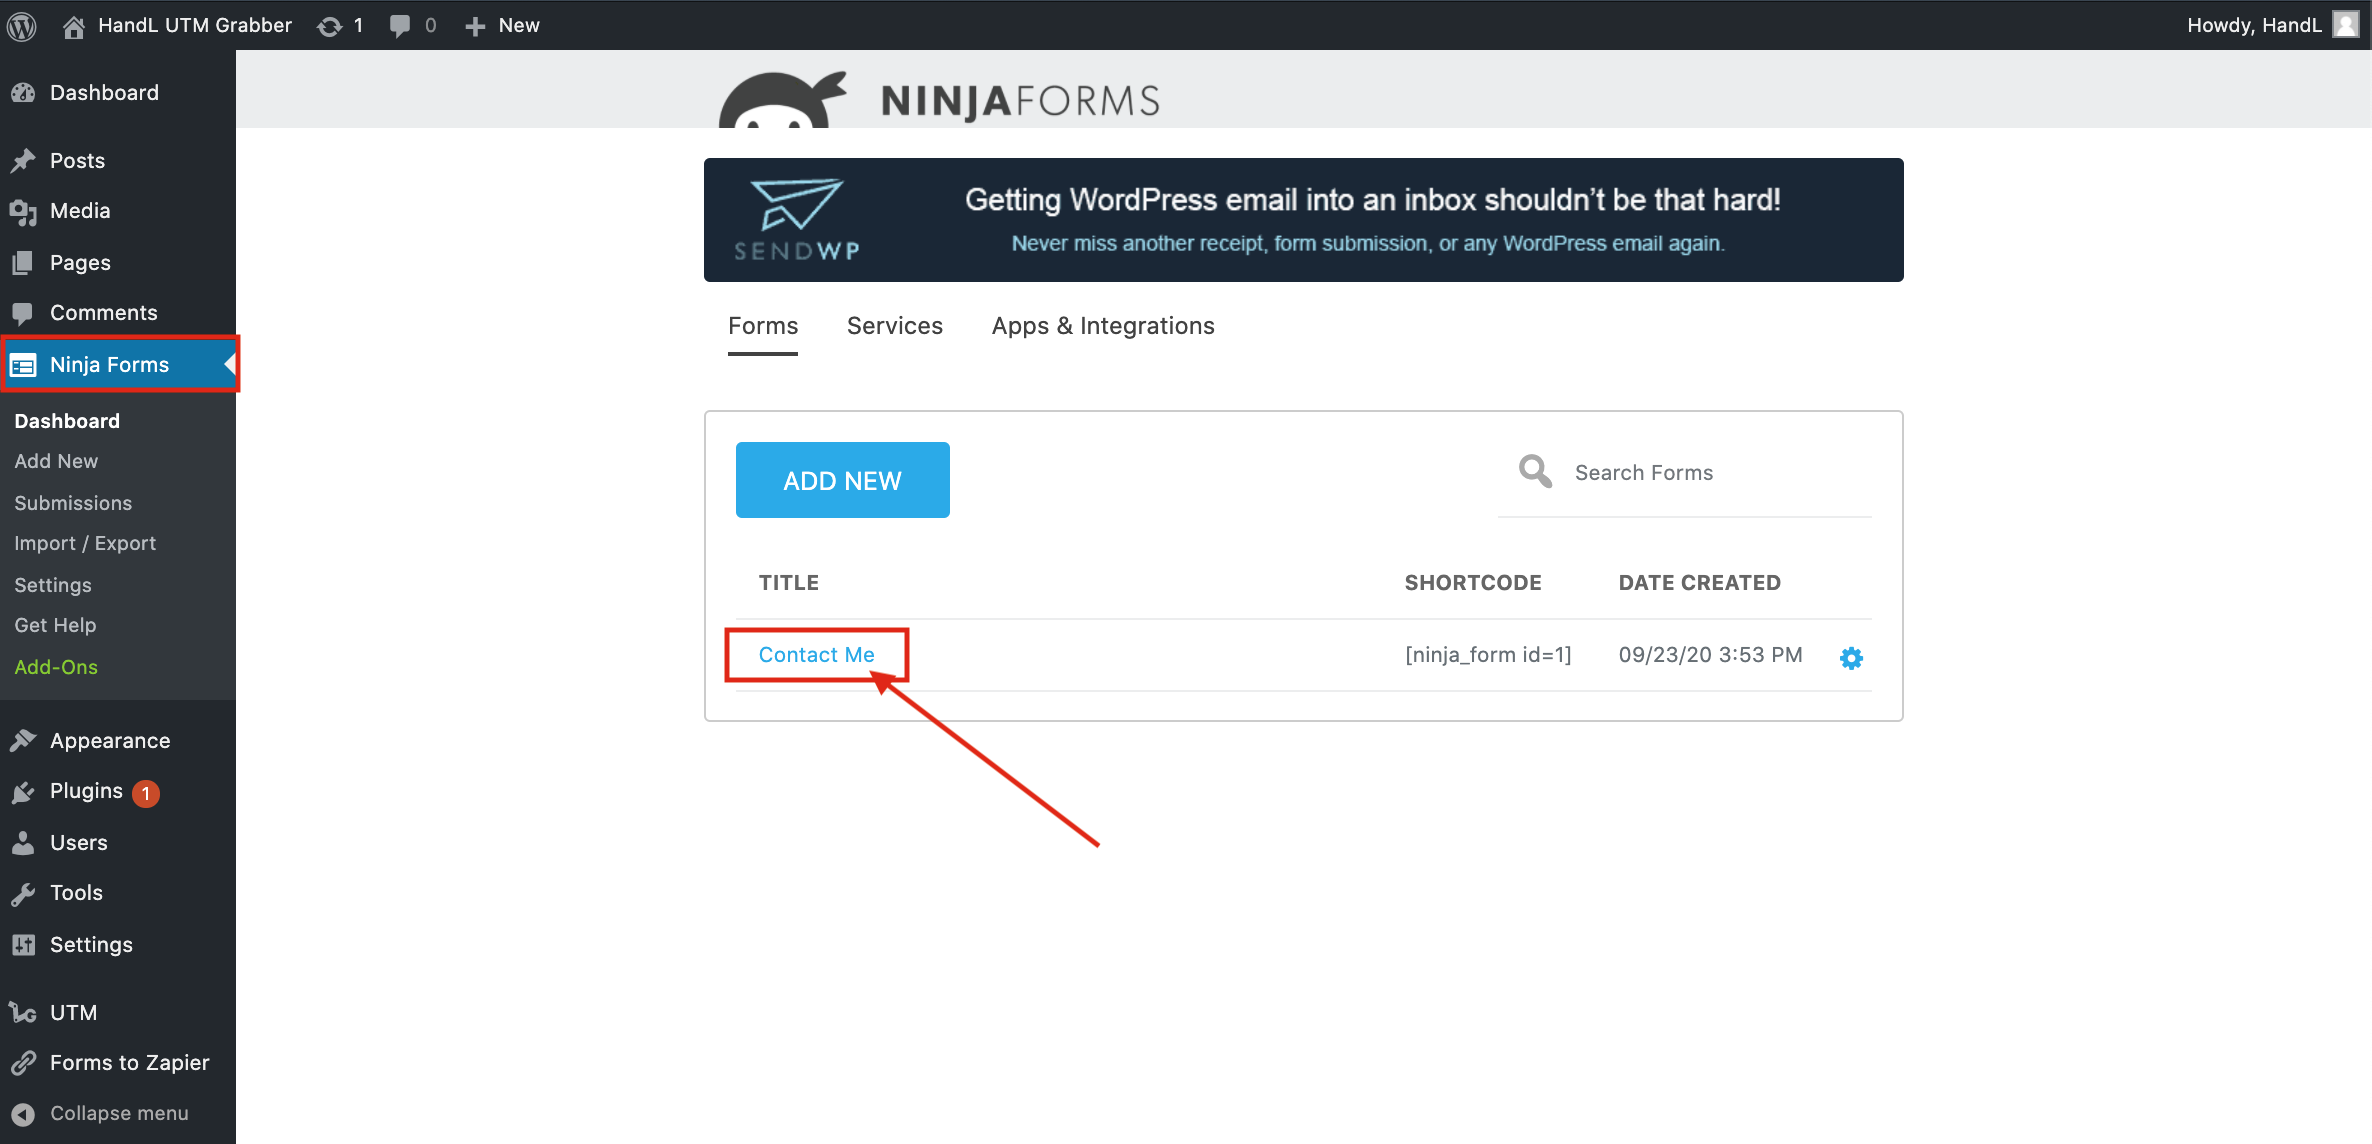
1-) Click On Your Ninja Form
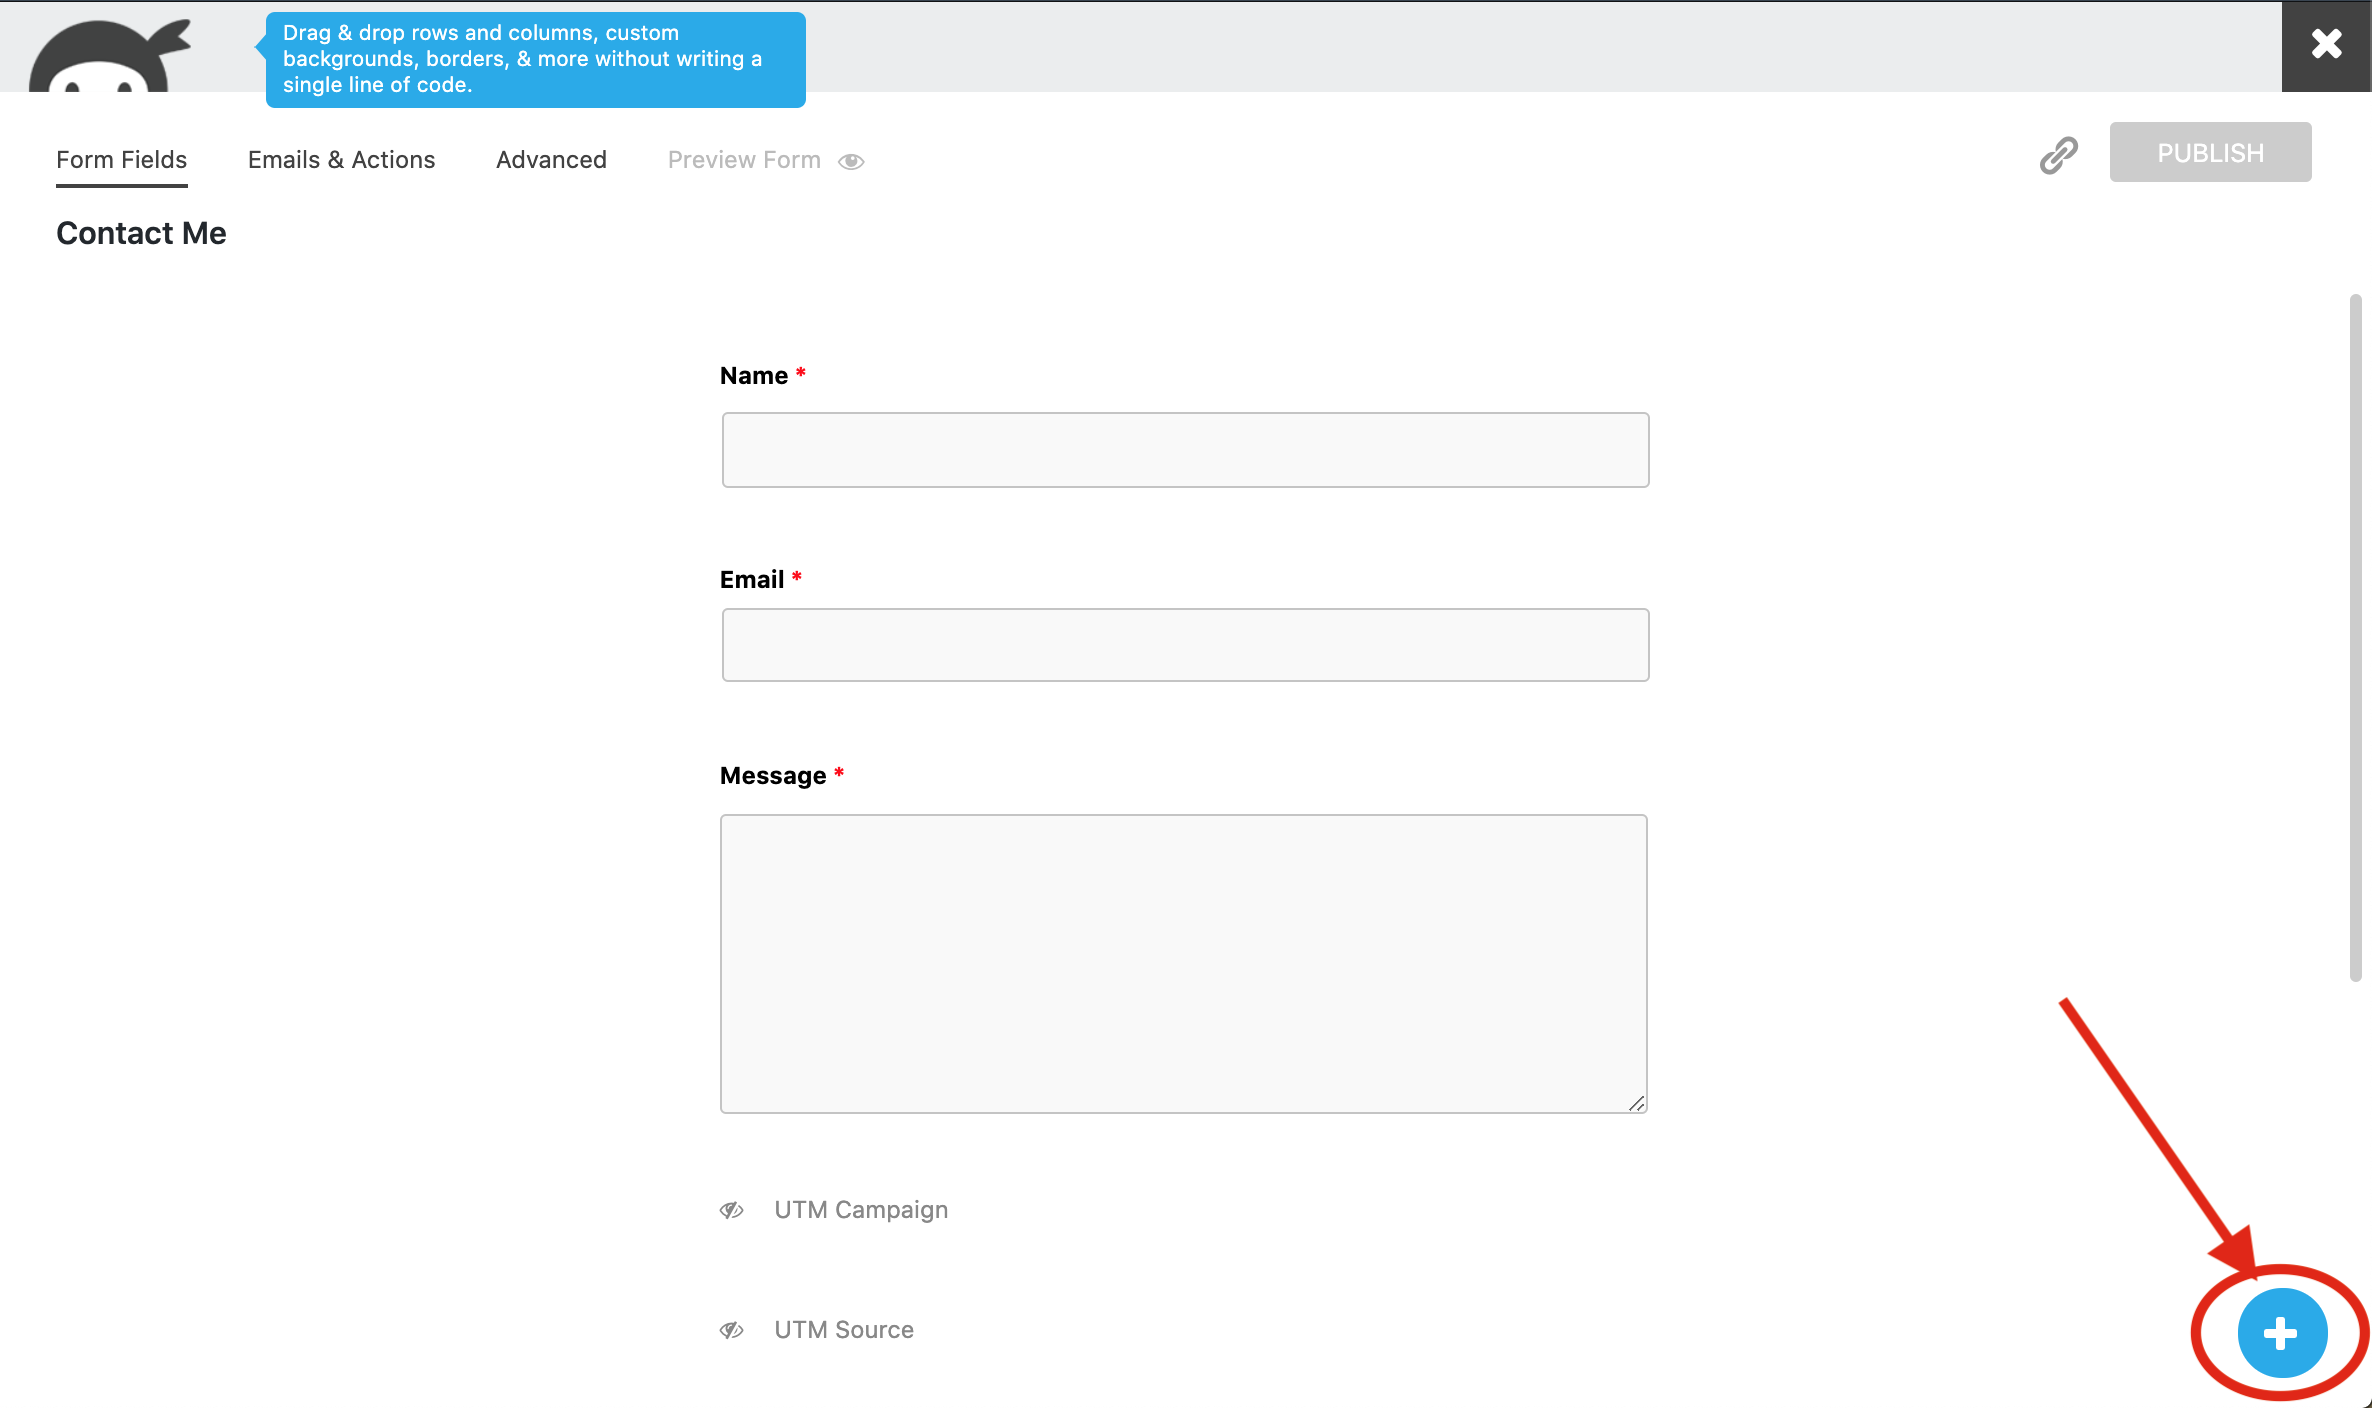
2-) Click the Plus Button to Add fields to your form
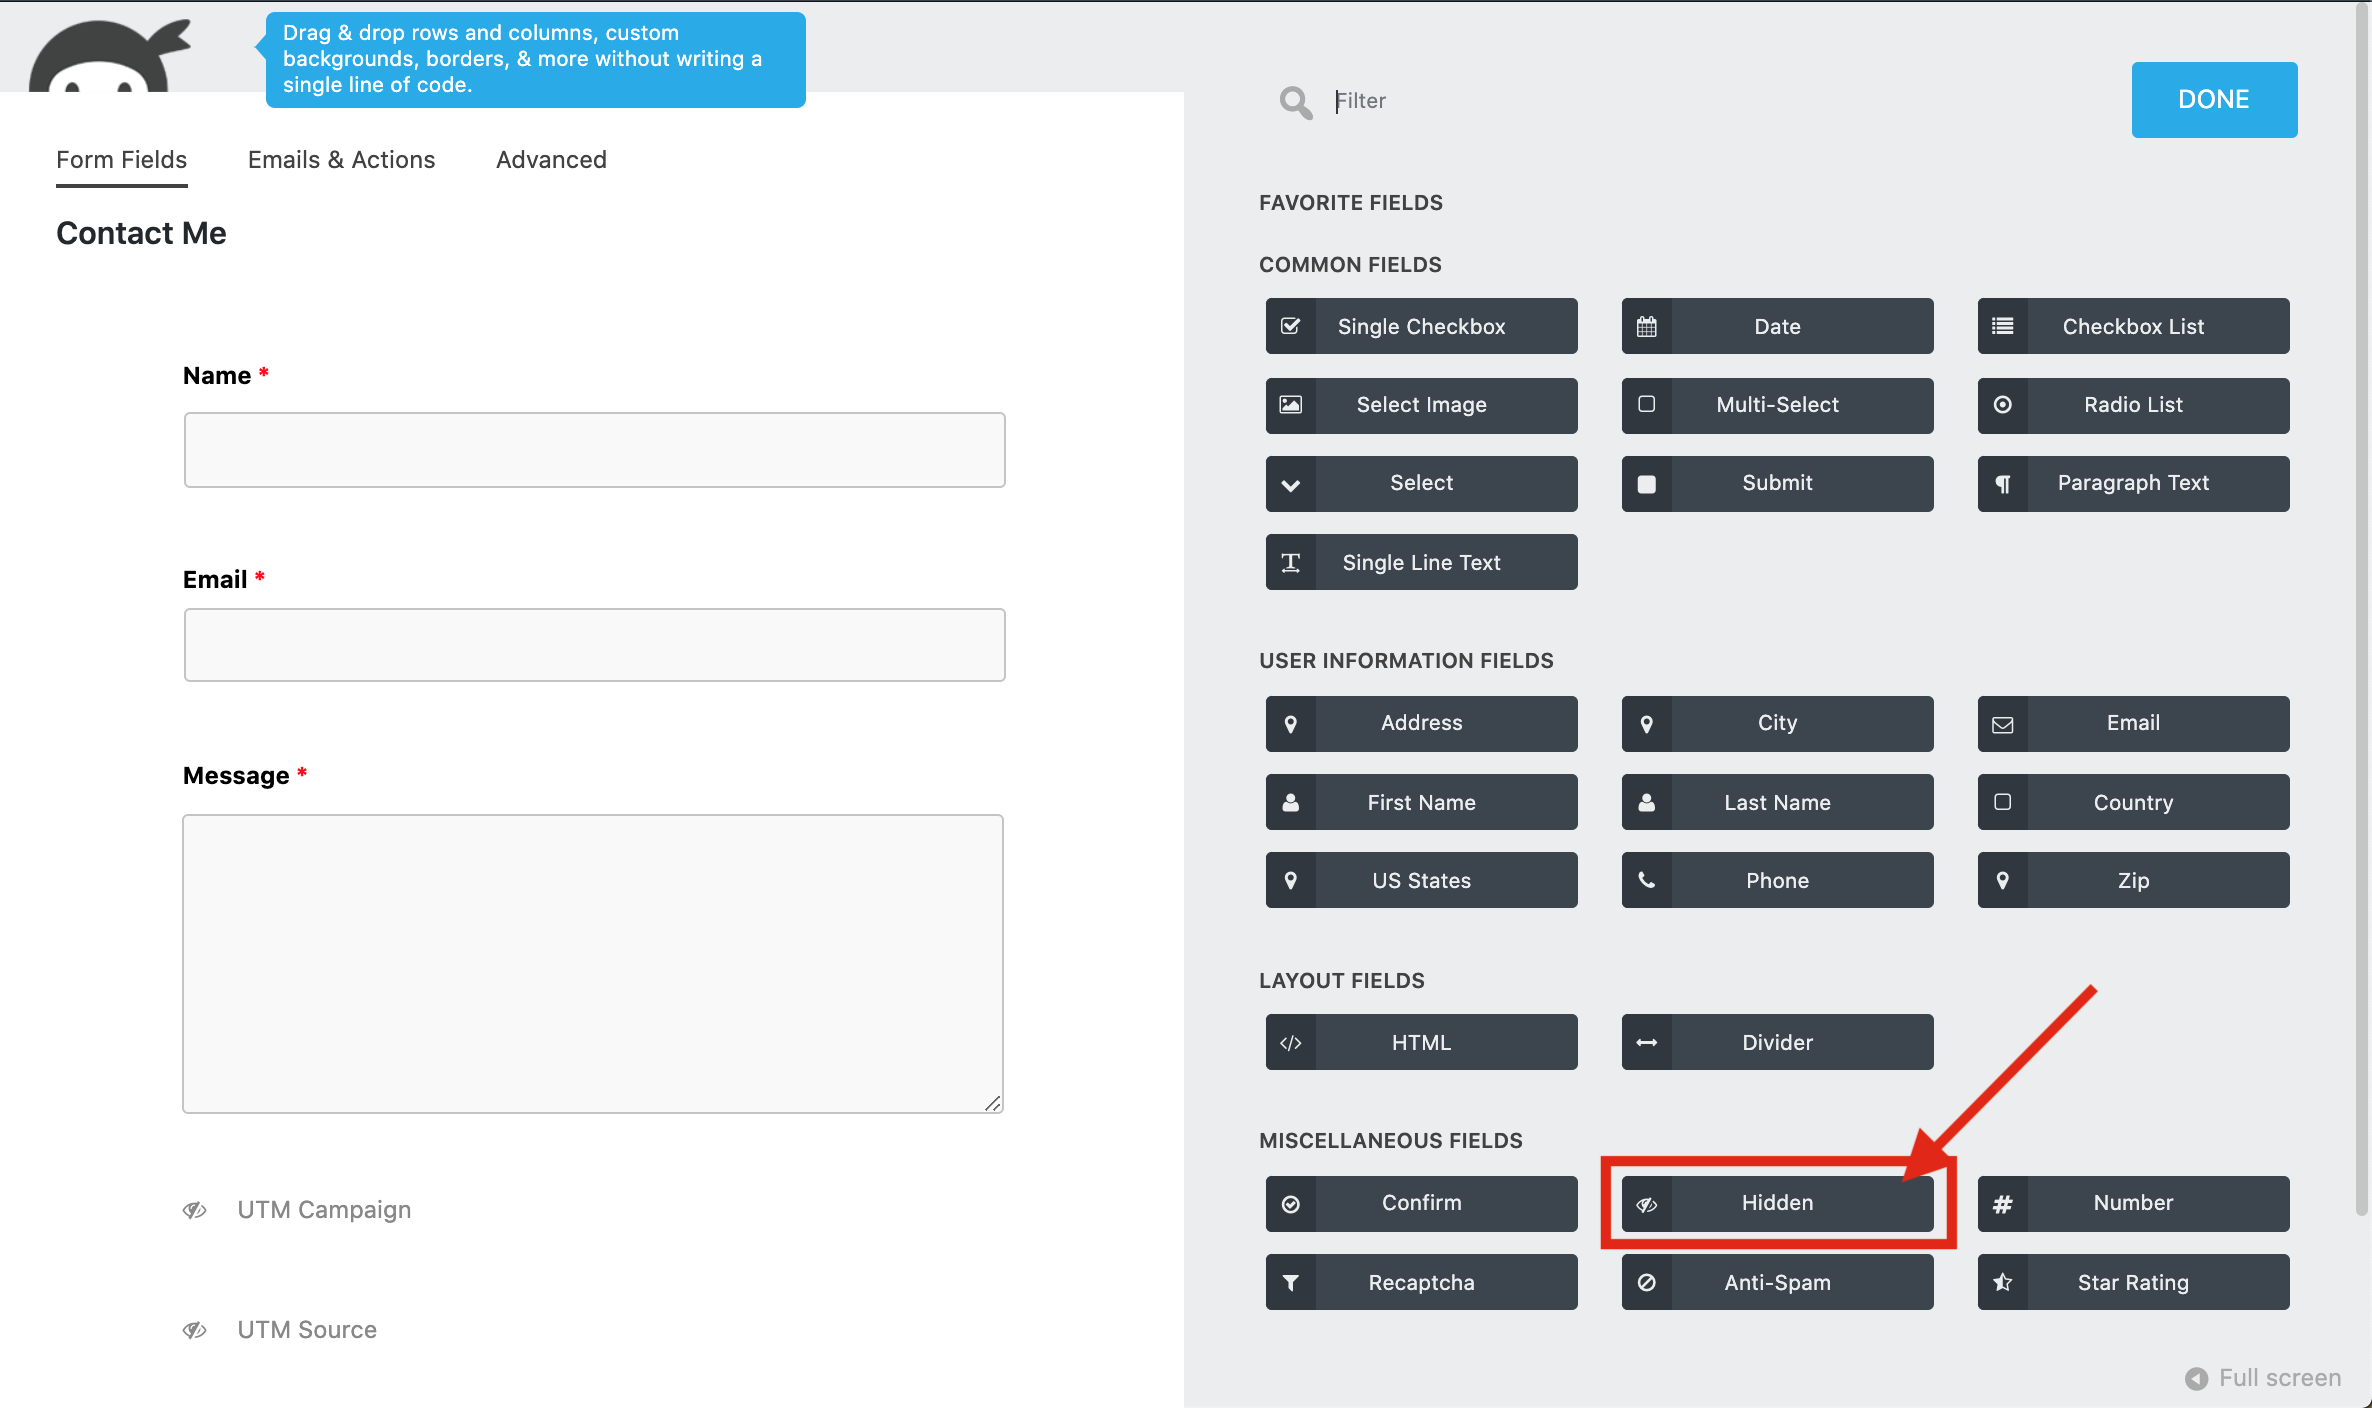
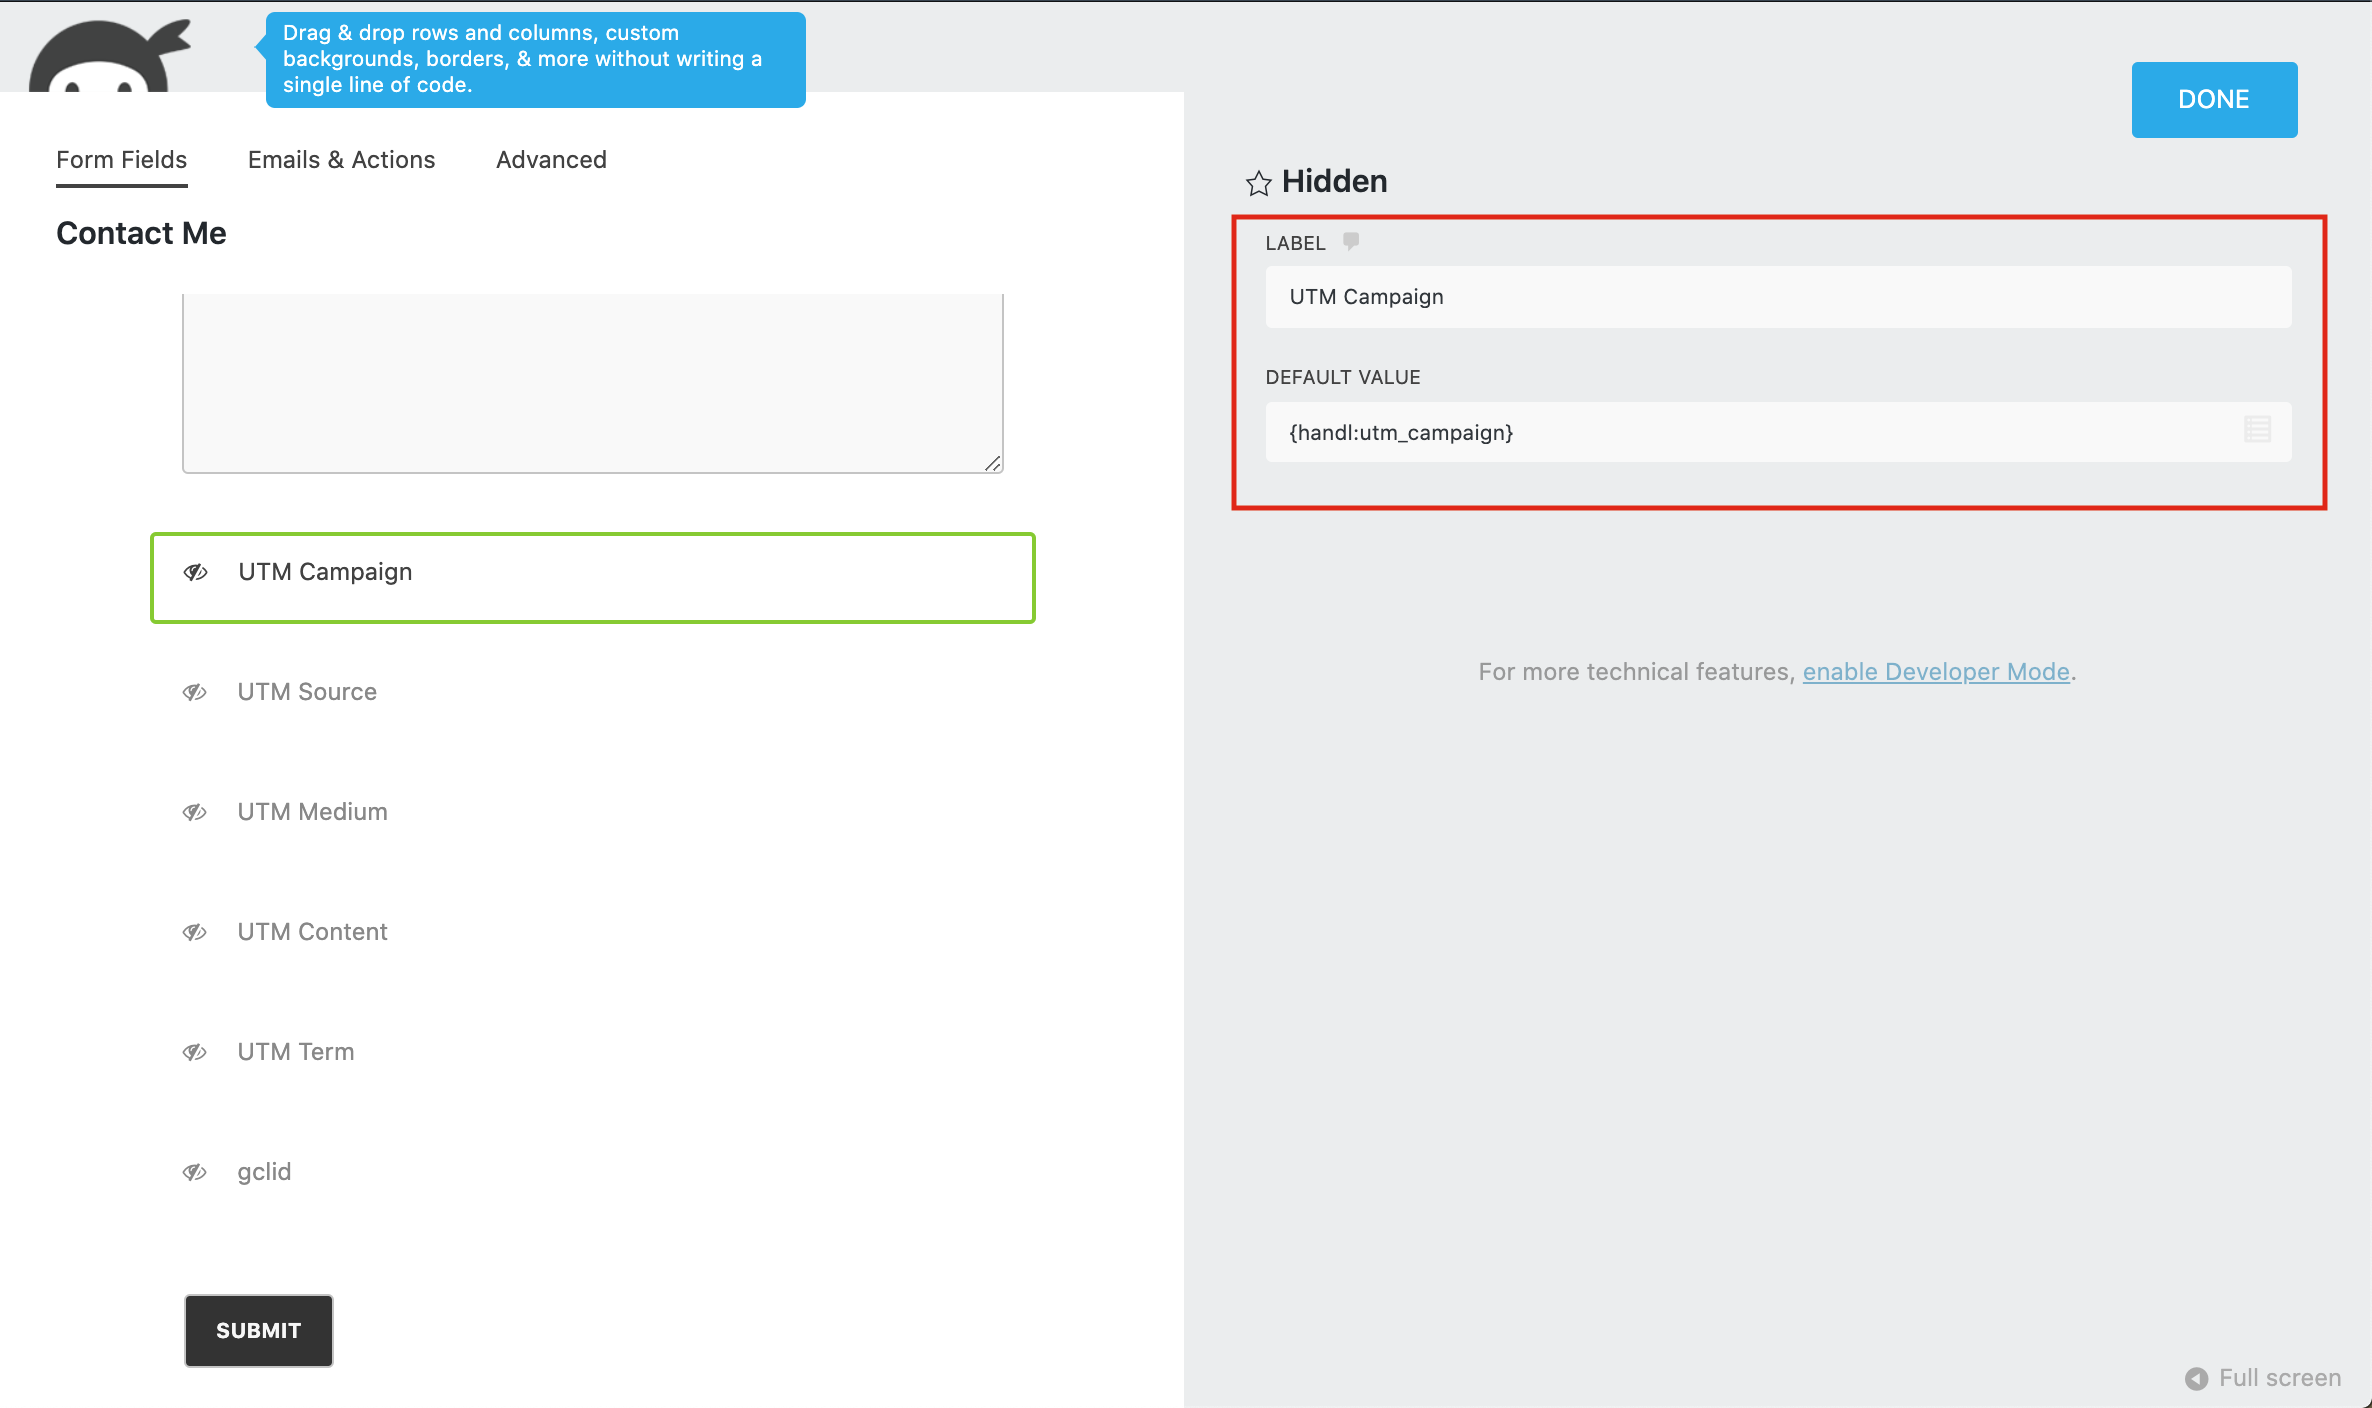
3-)Add hidden field to your form
4-)Fill The blanks like that to your hidden fields
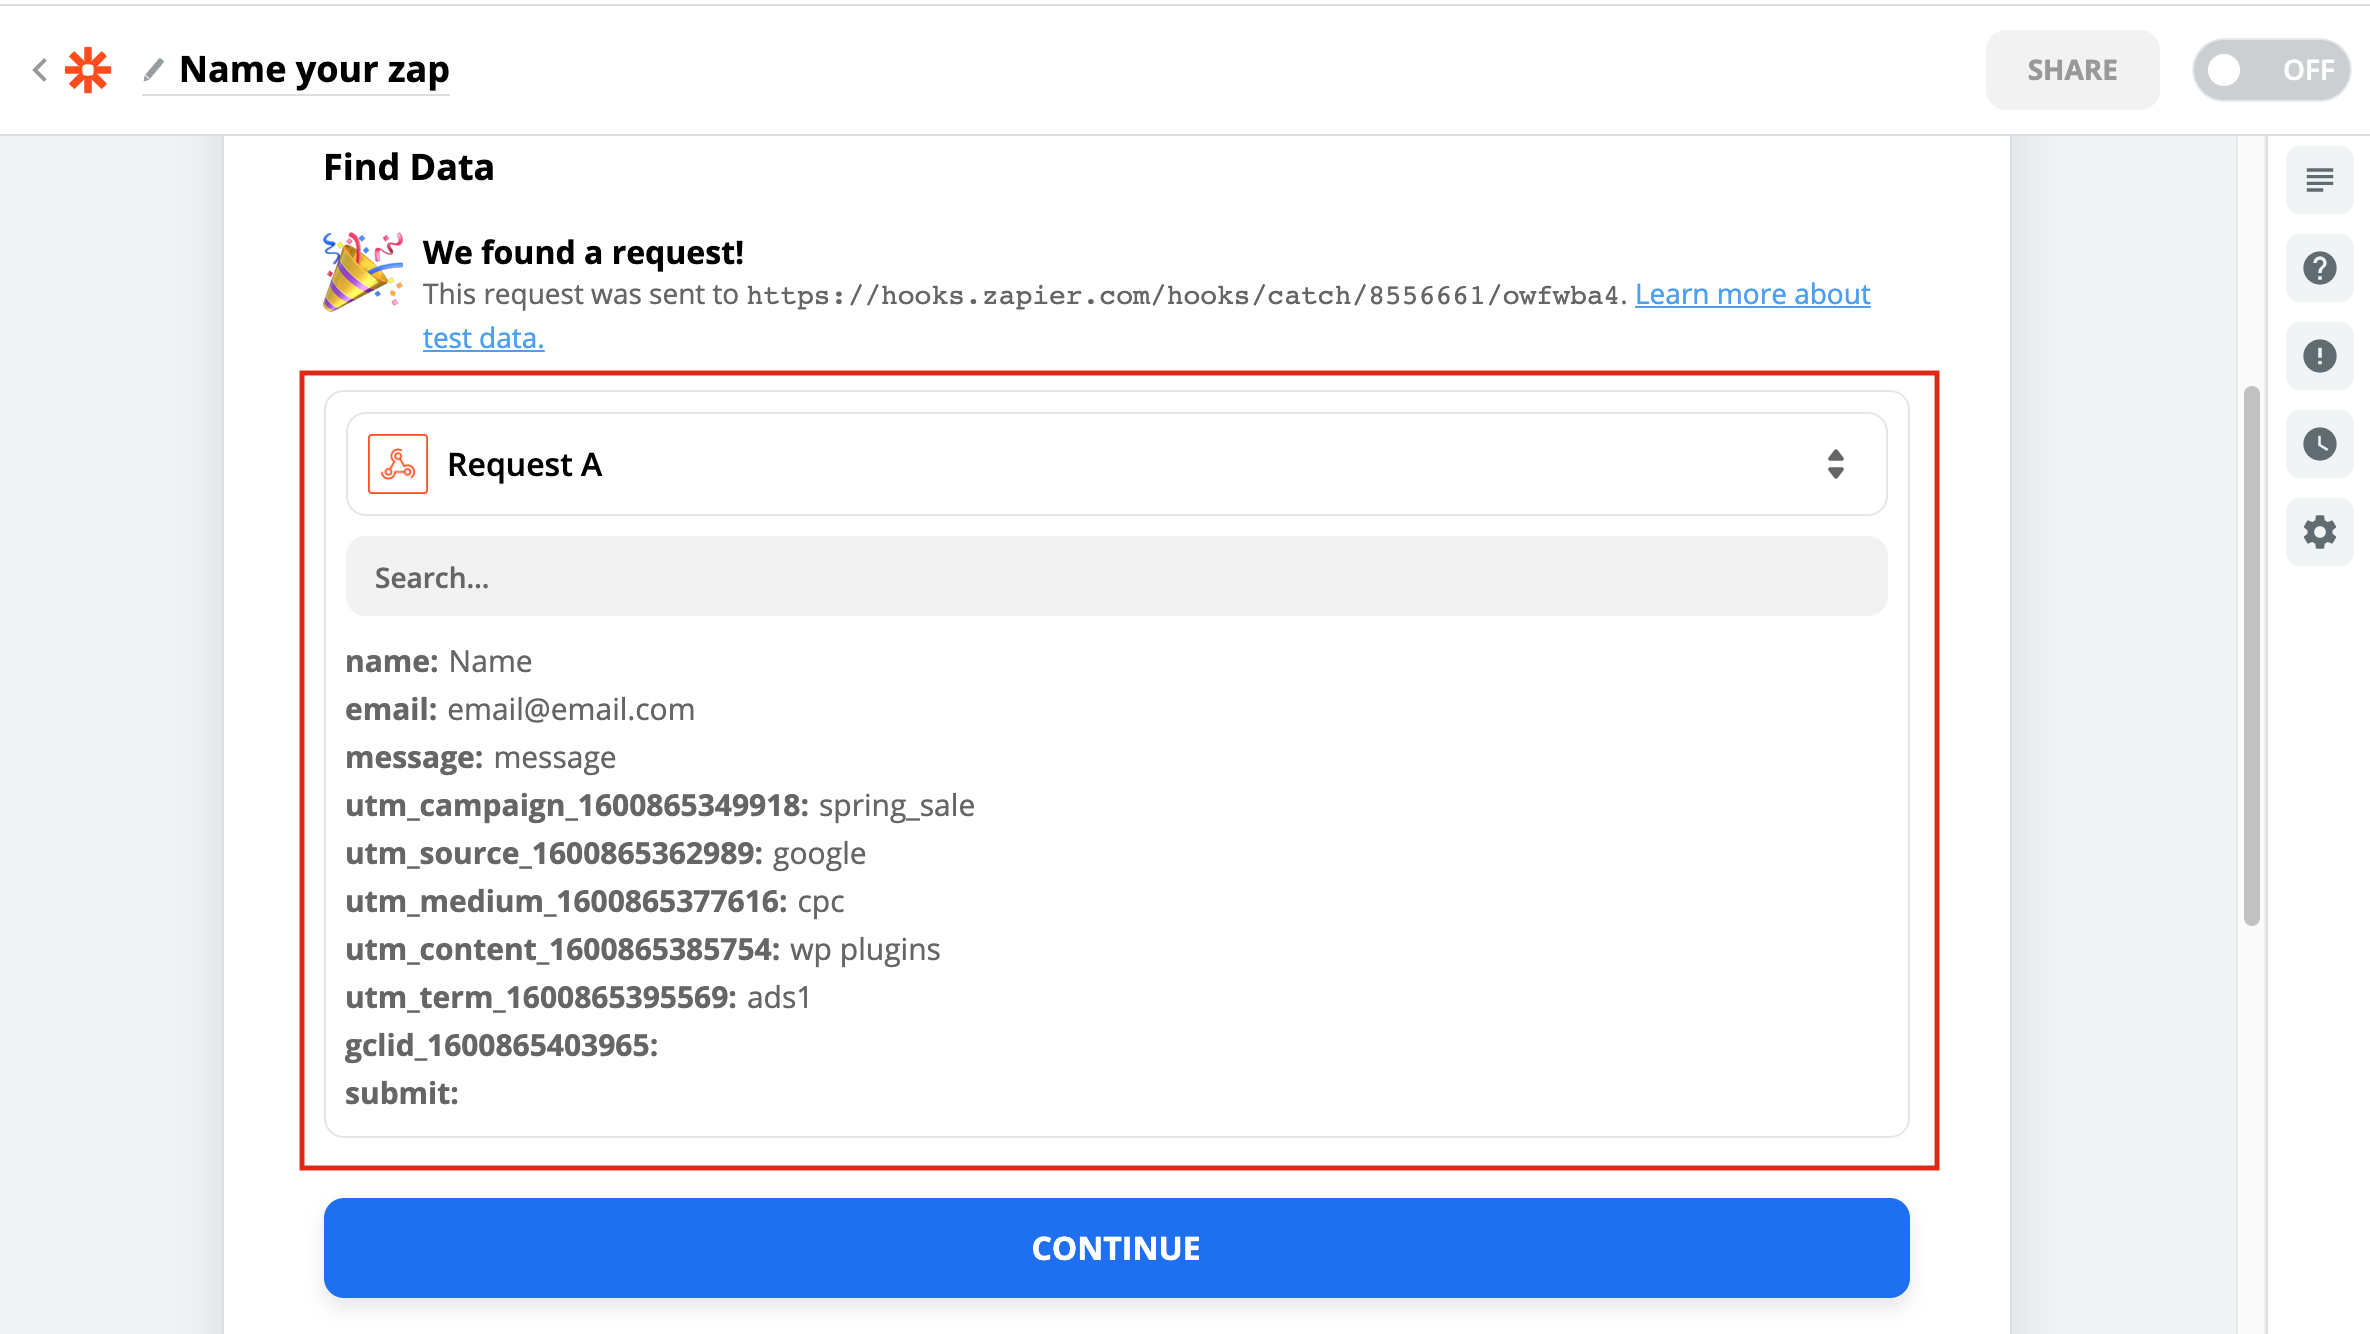
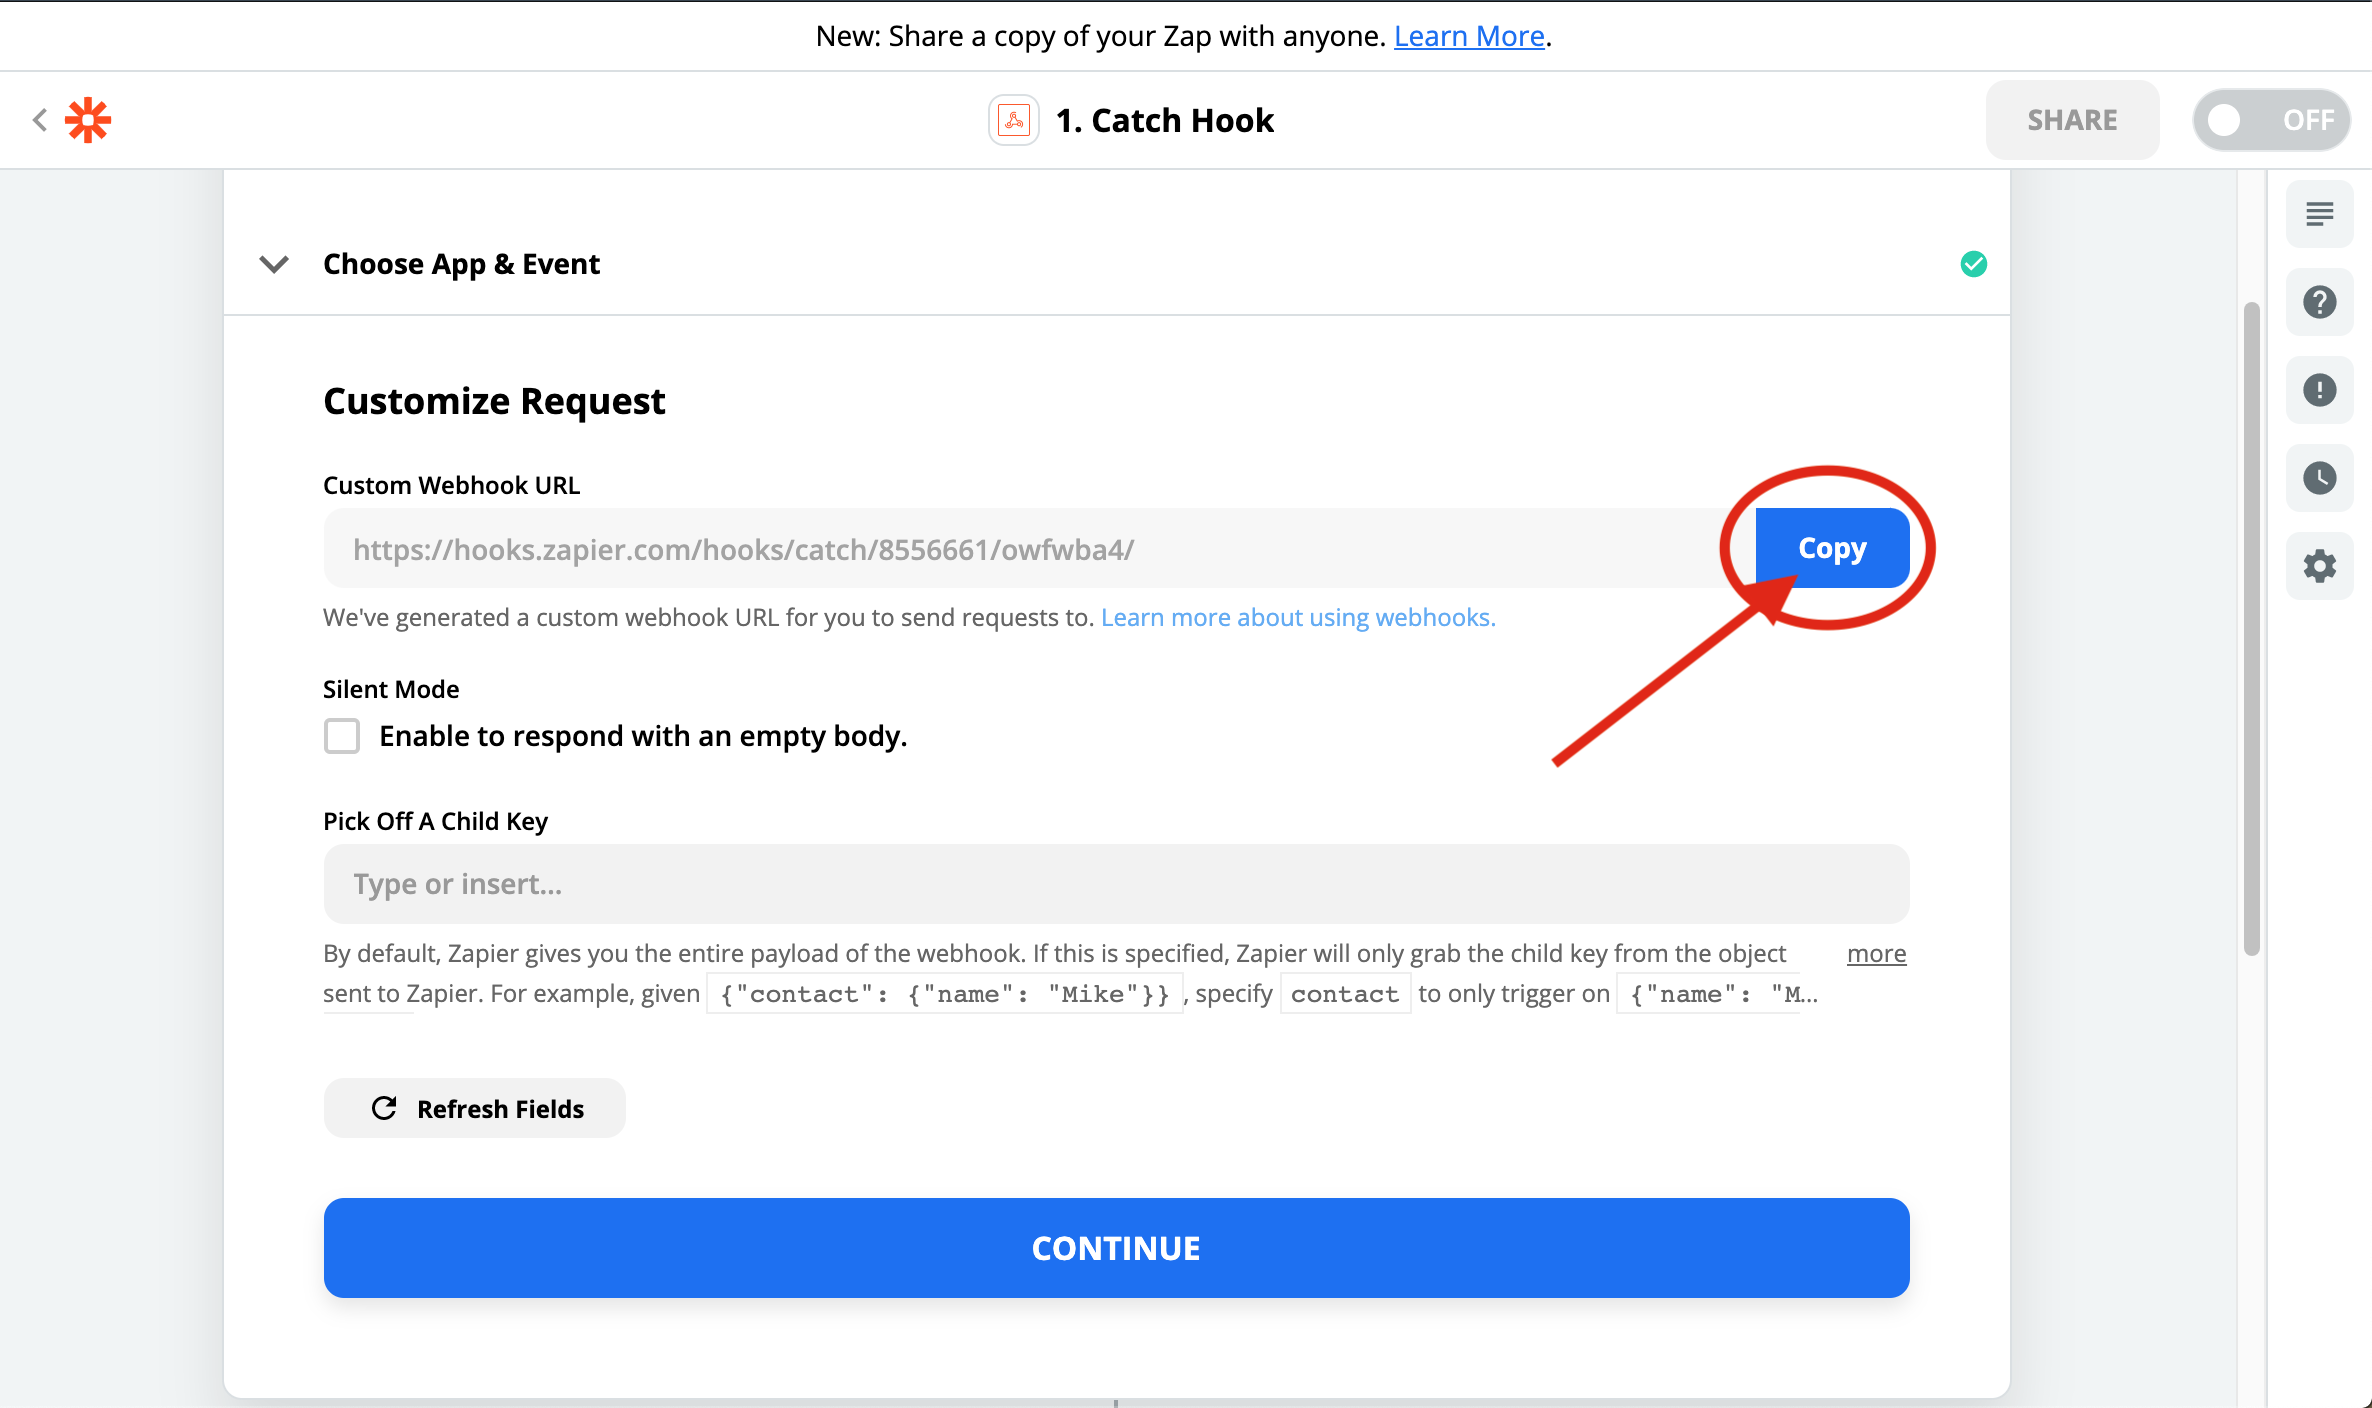
5-)Create a Webhook zap

6-)Select the Catch Hook

7-)Copy the URL that it generated
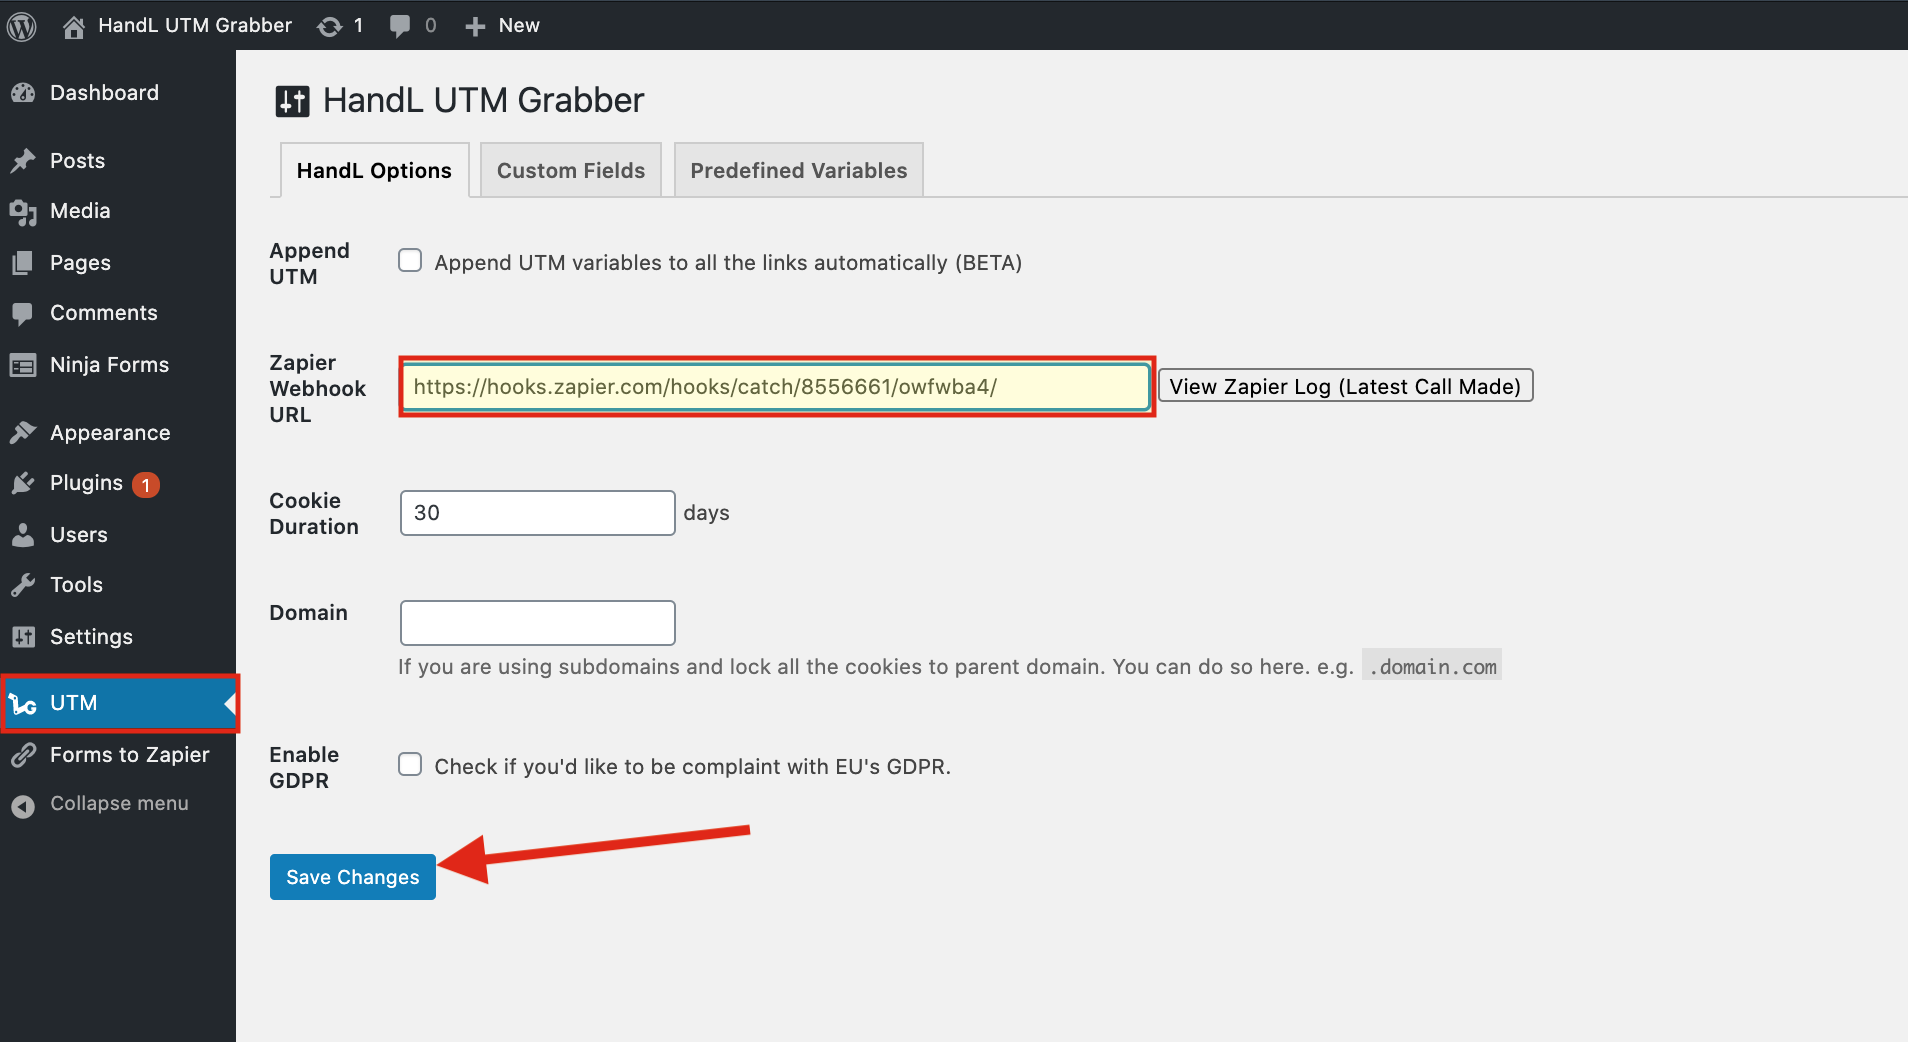
8-)Paste it to the Webhook URL section on the UTM Bar and Save Changes
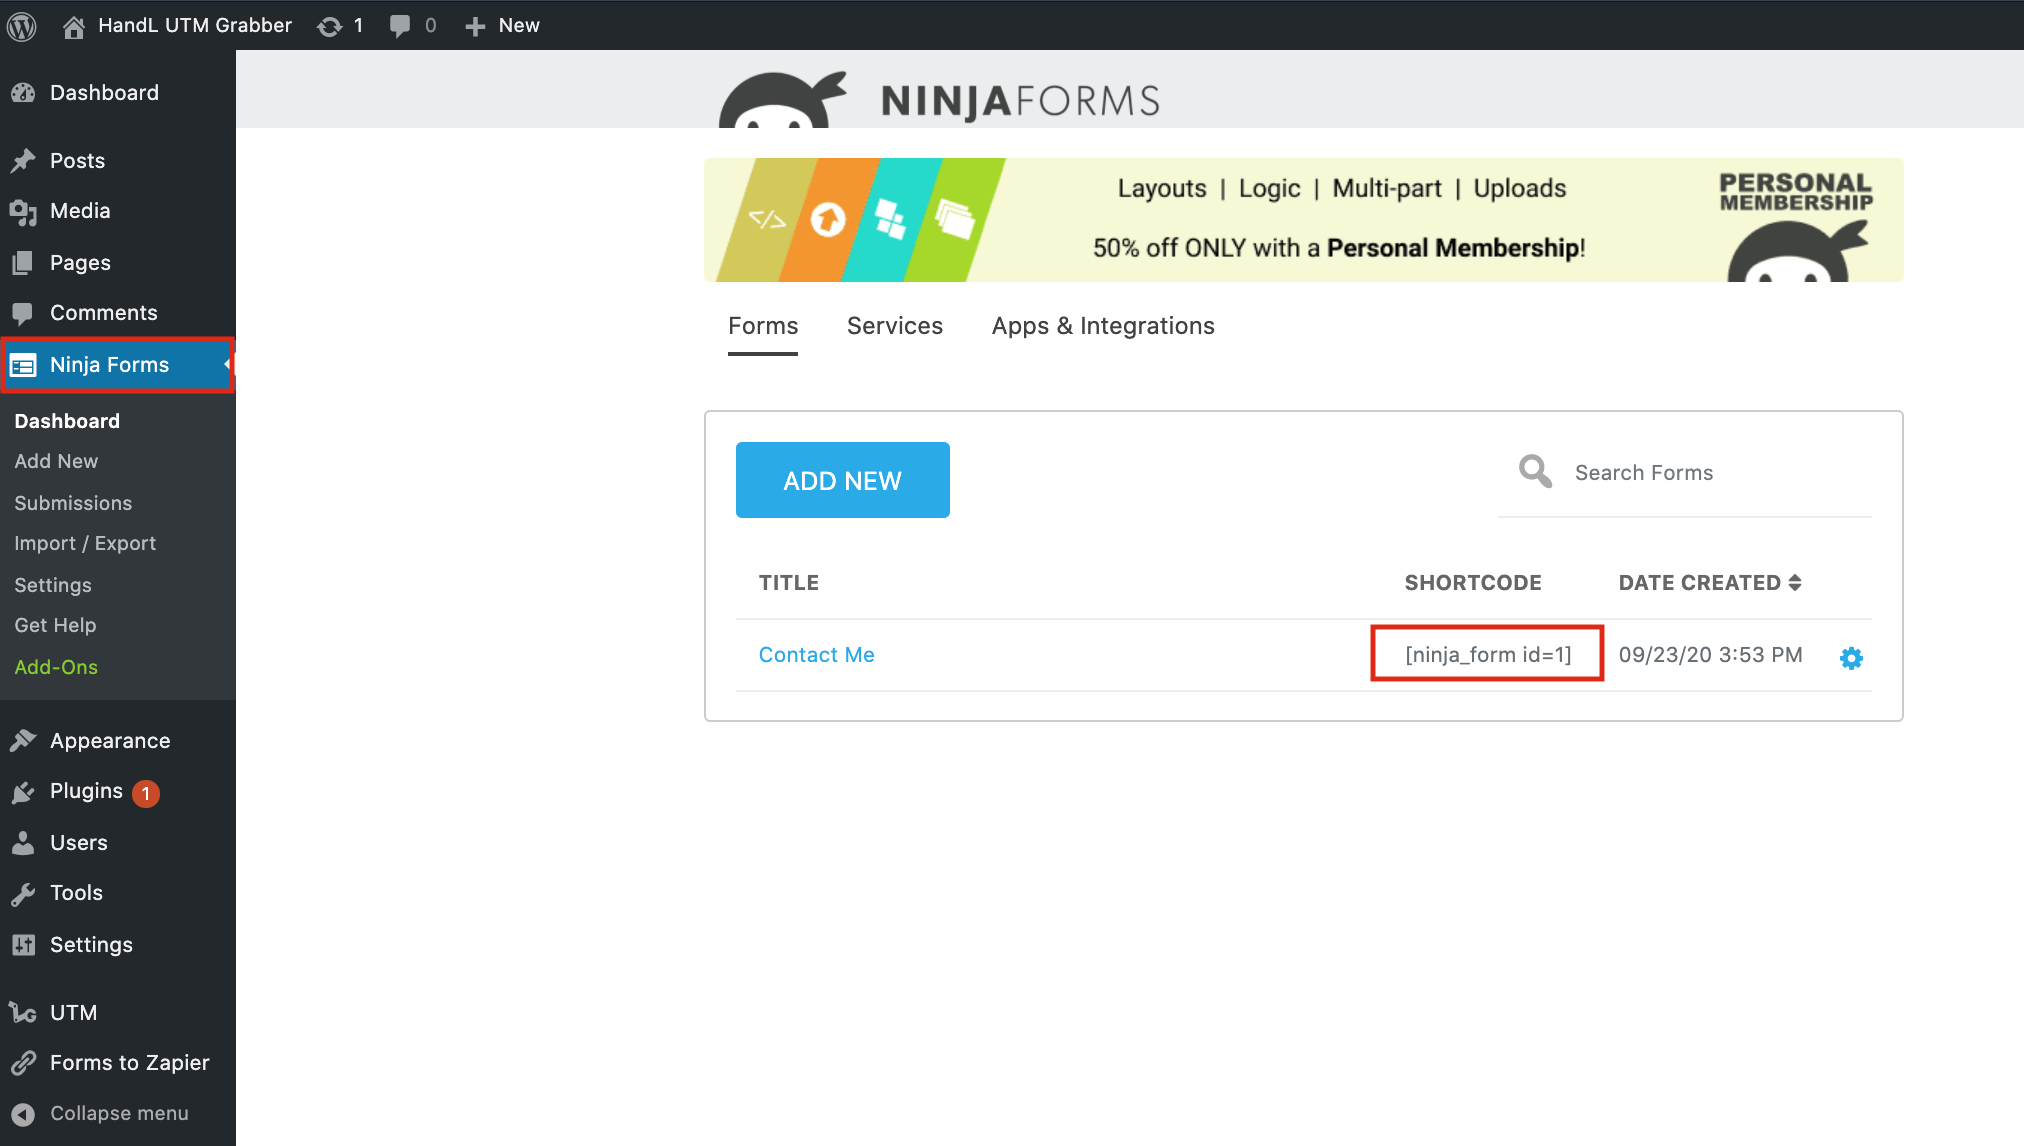
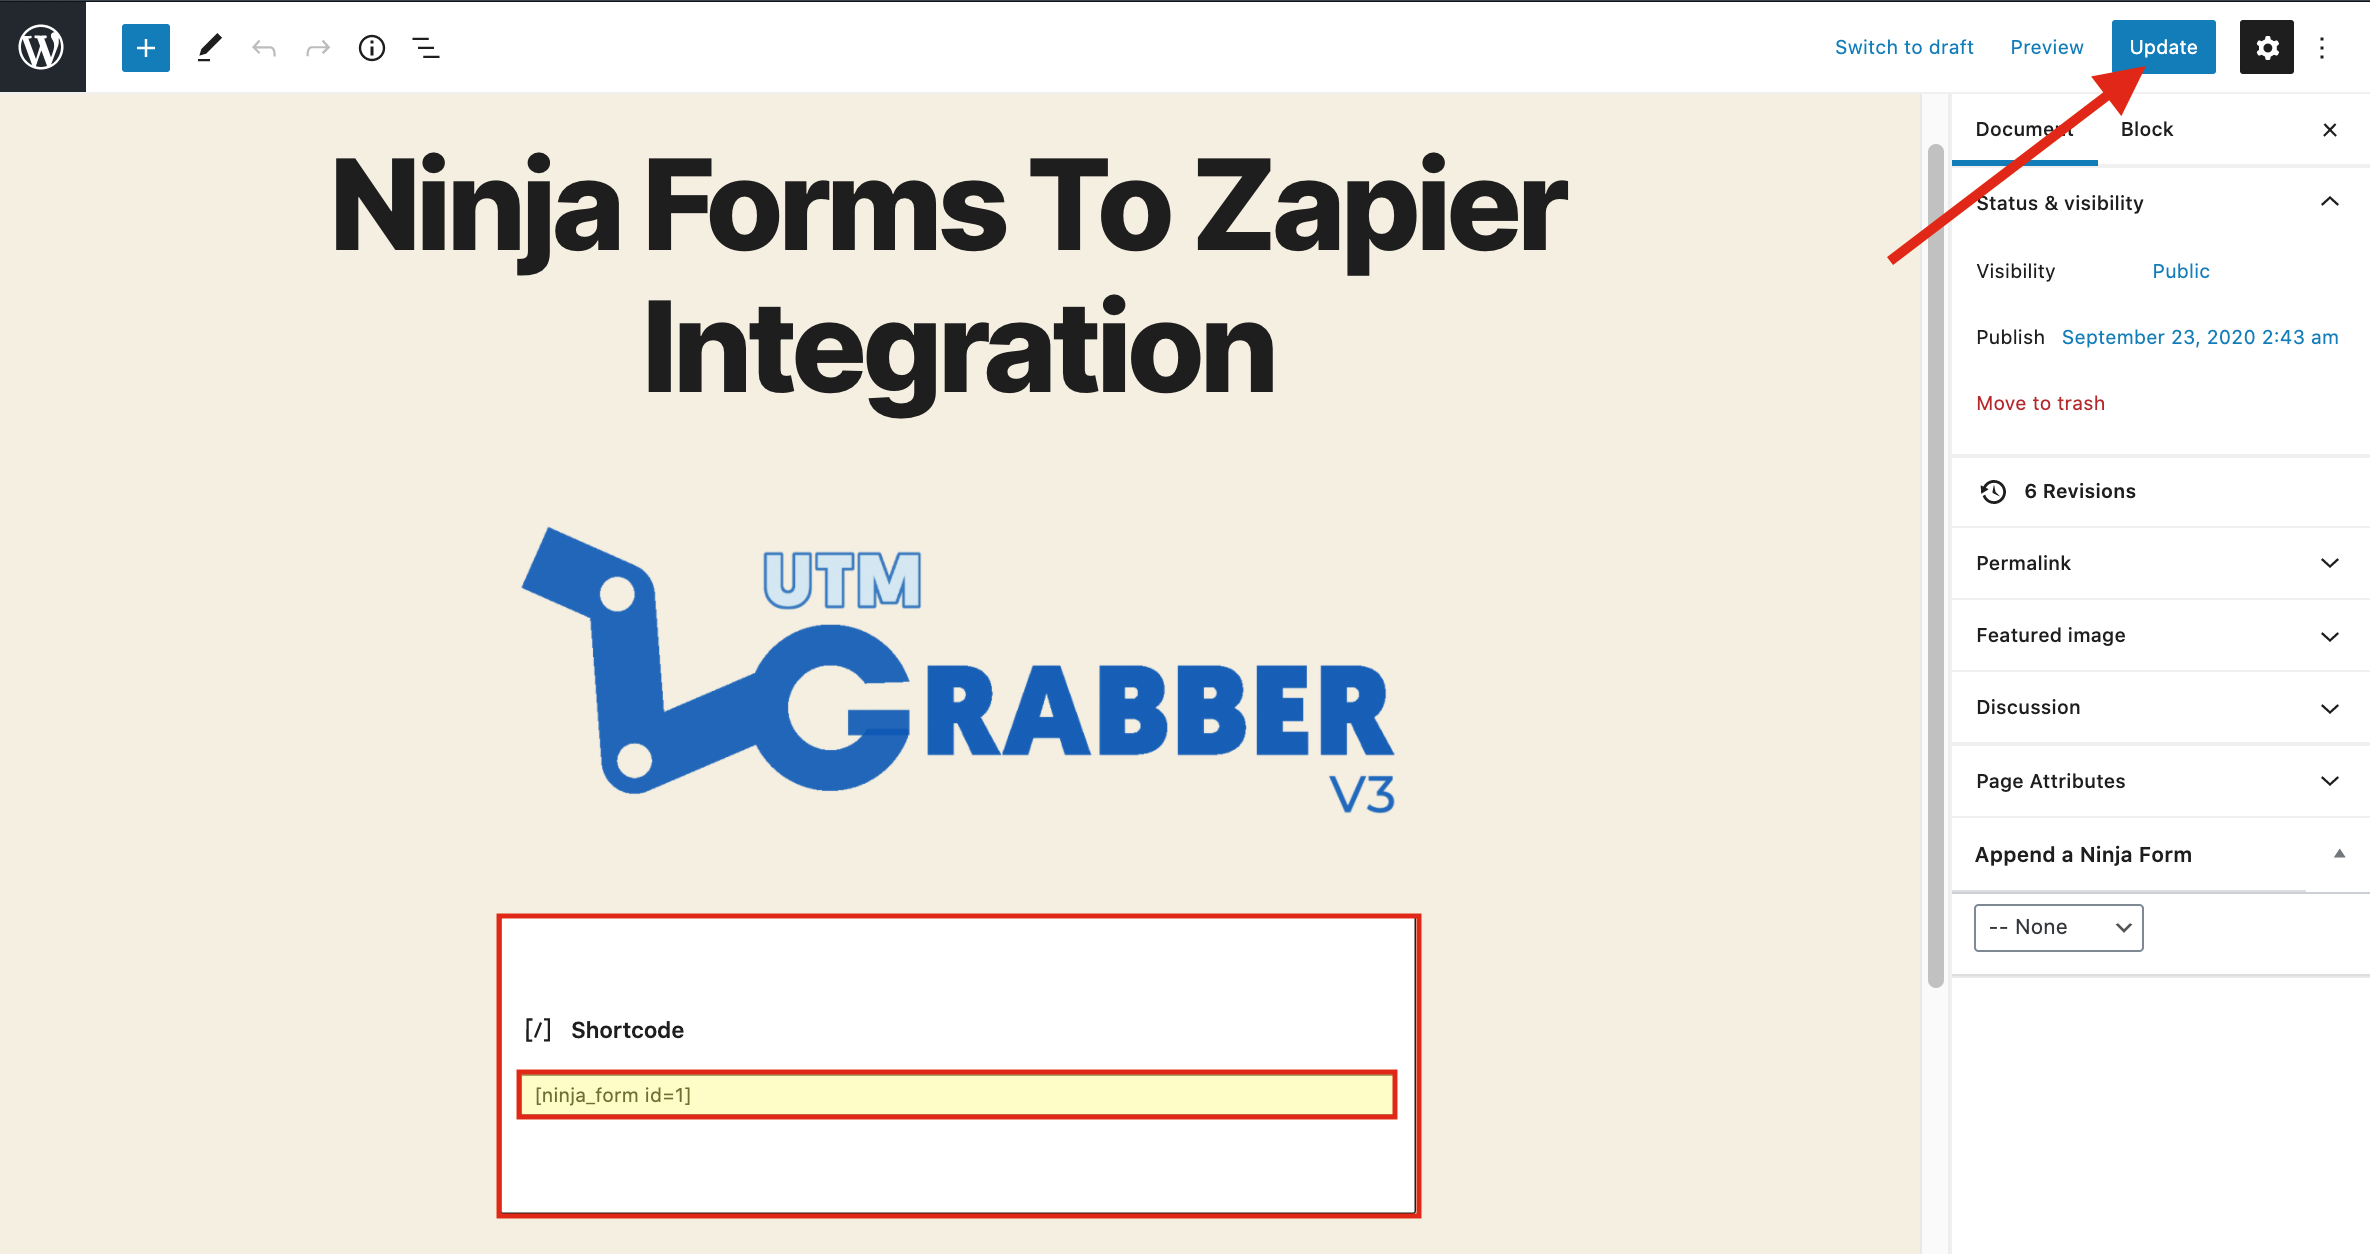
9-)Copy Your Ninja Form Shortcode
10-)Go to Pages and Open your Page
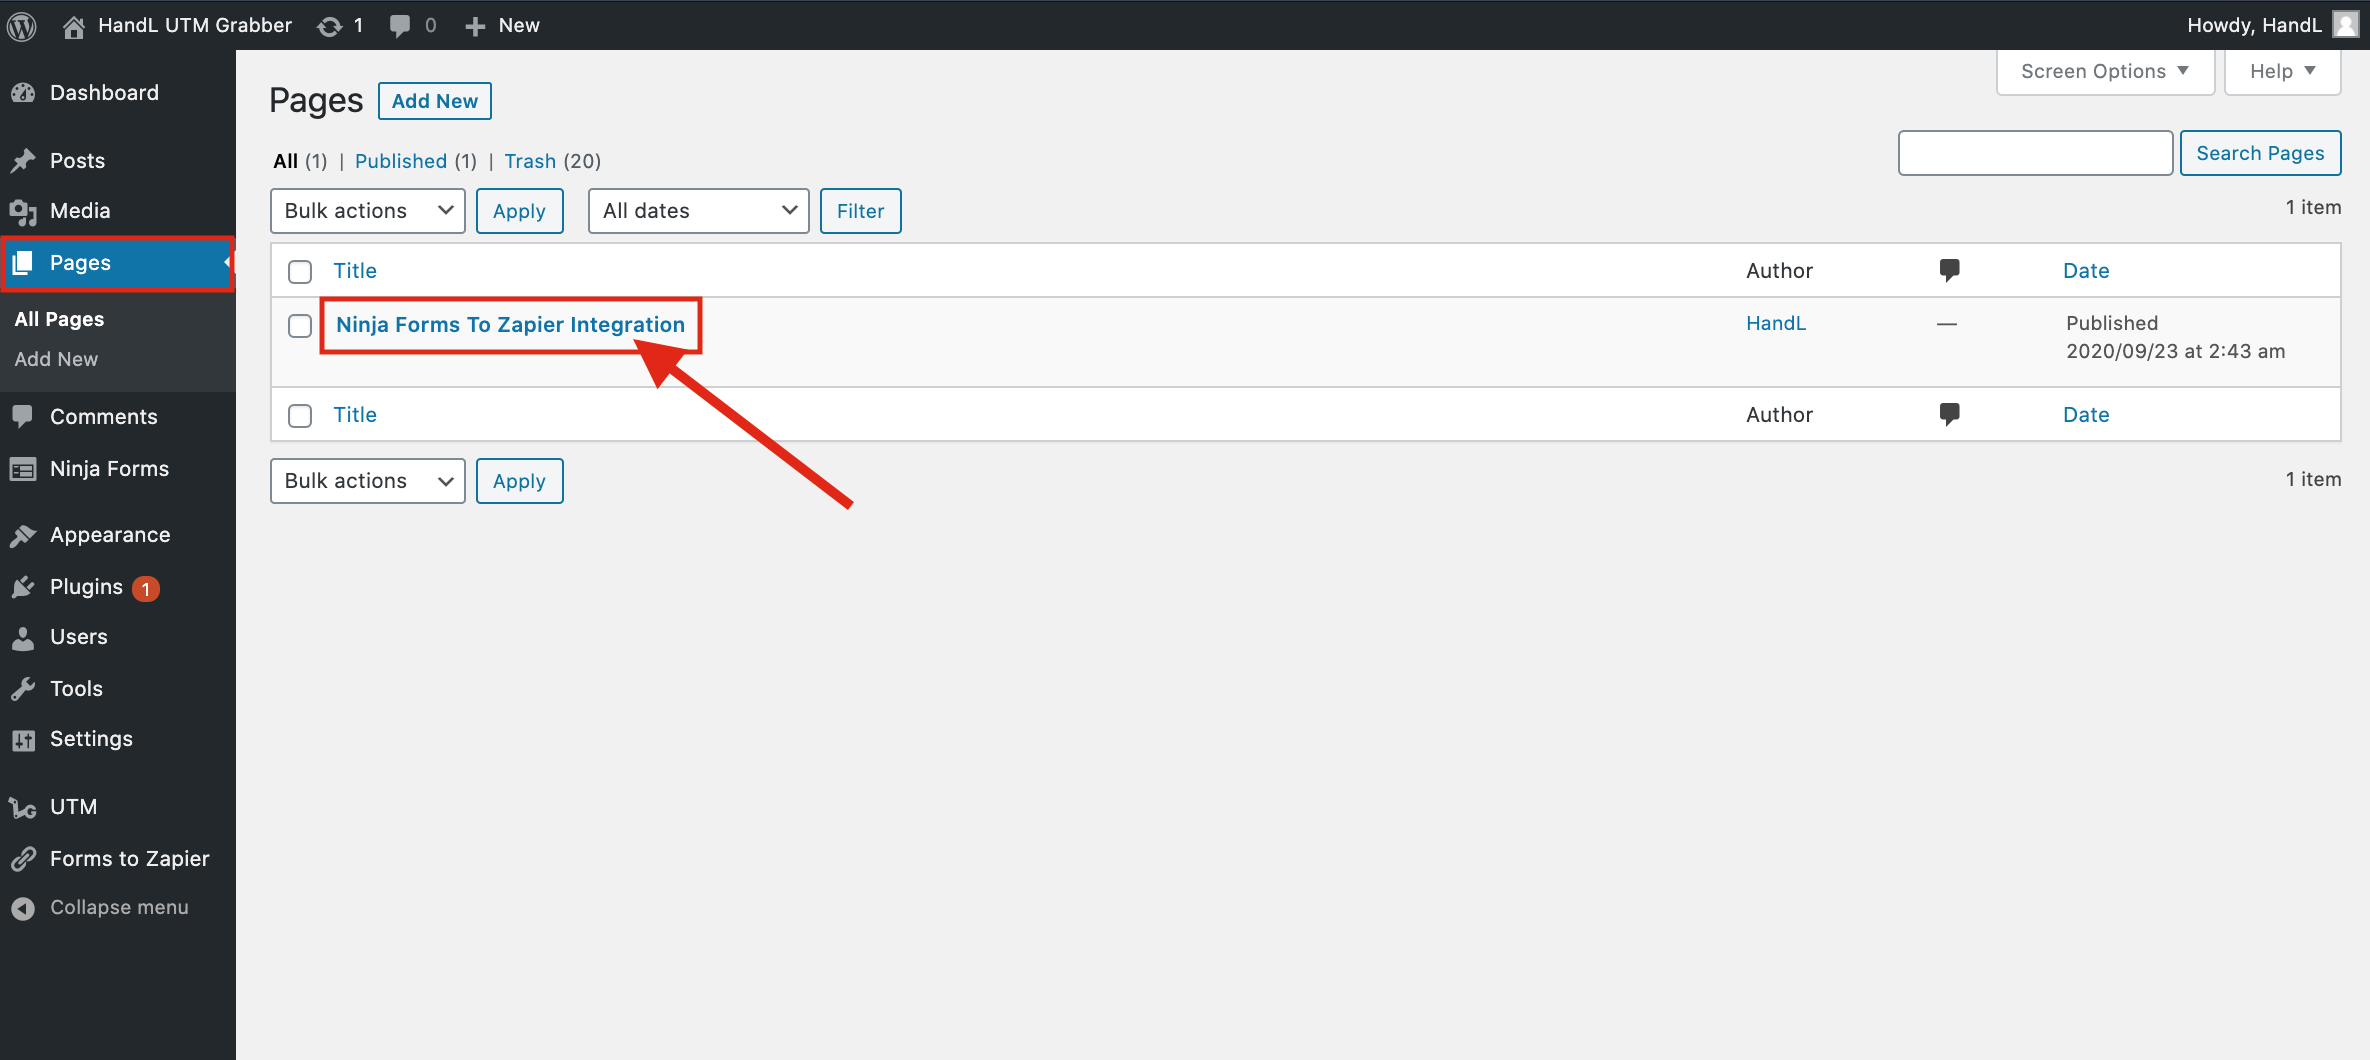
11-)Paste Your Shortcode and Publish
12-)Go to Campaign URL Builder and copy the URL that it generated to fill your UTM's for test it
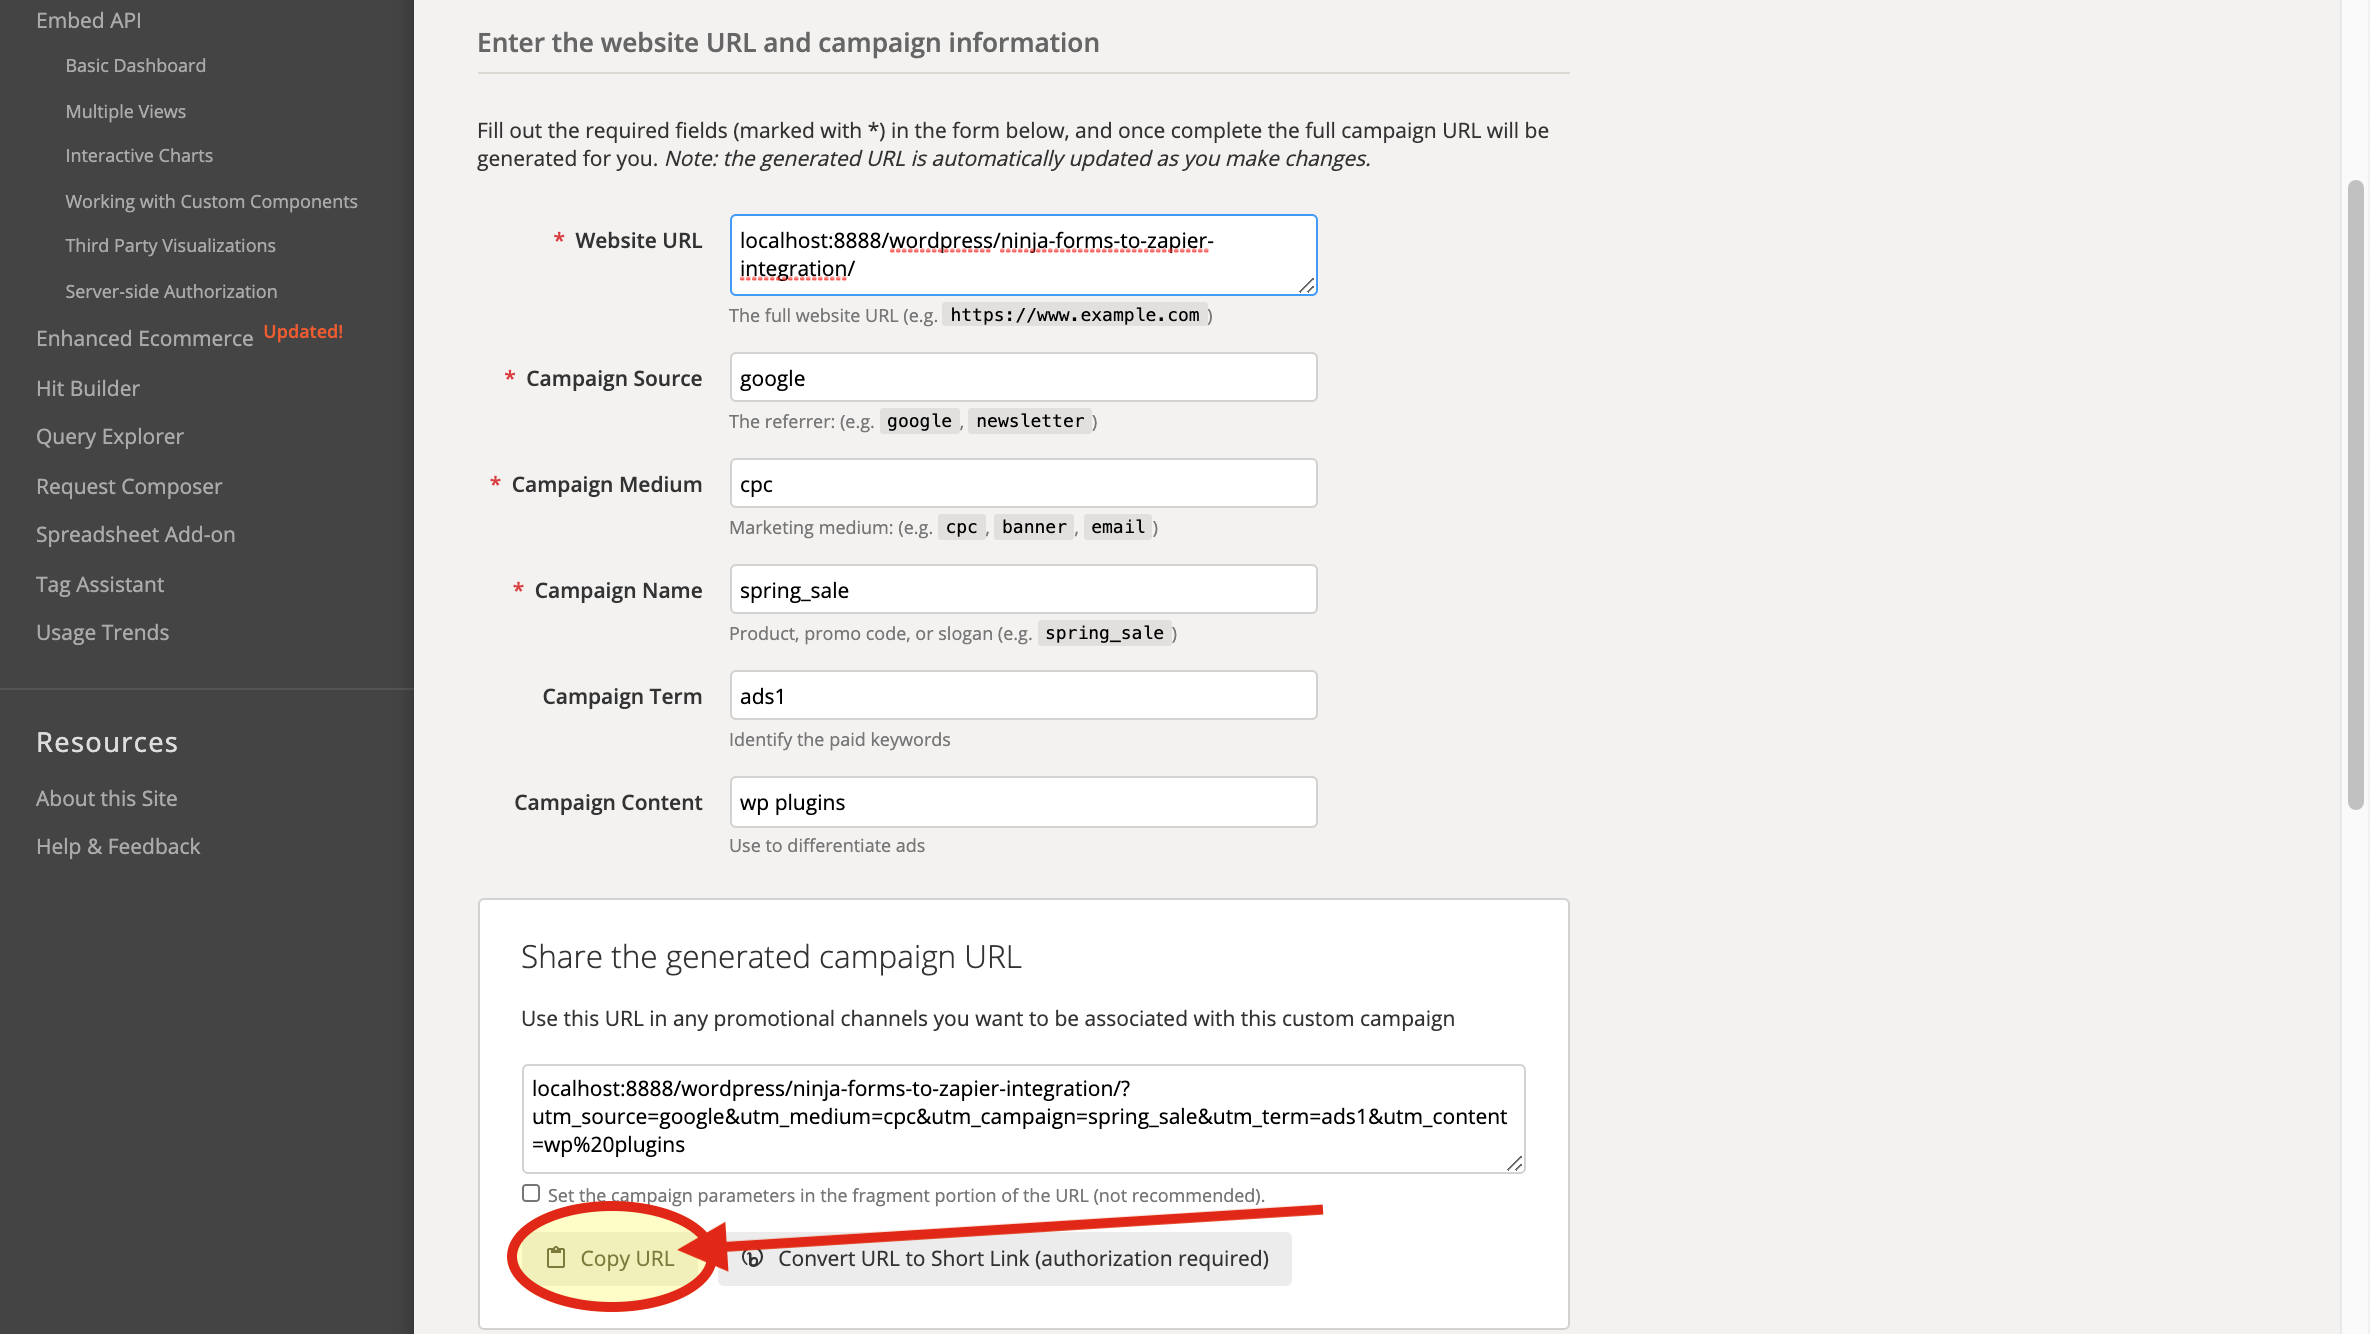
13-)Paste the URL

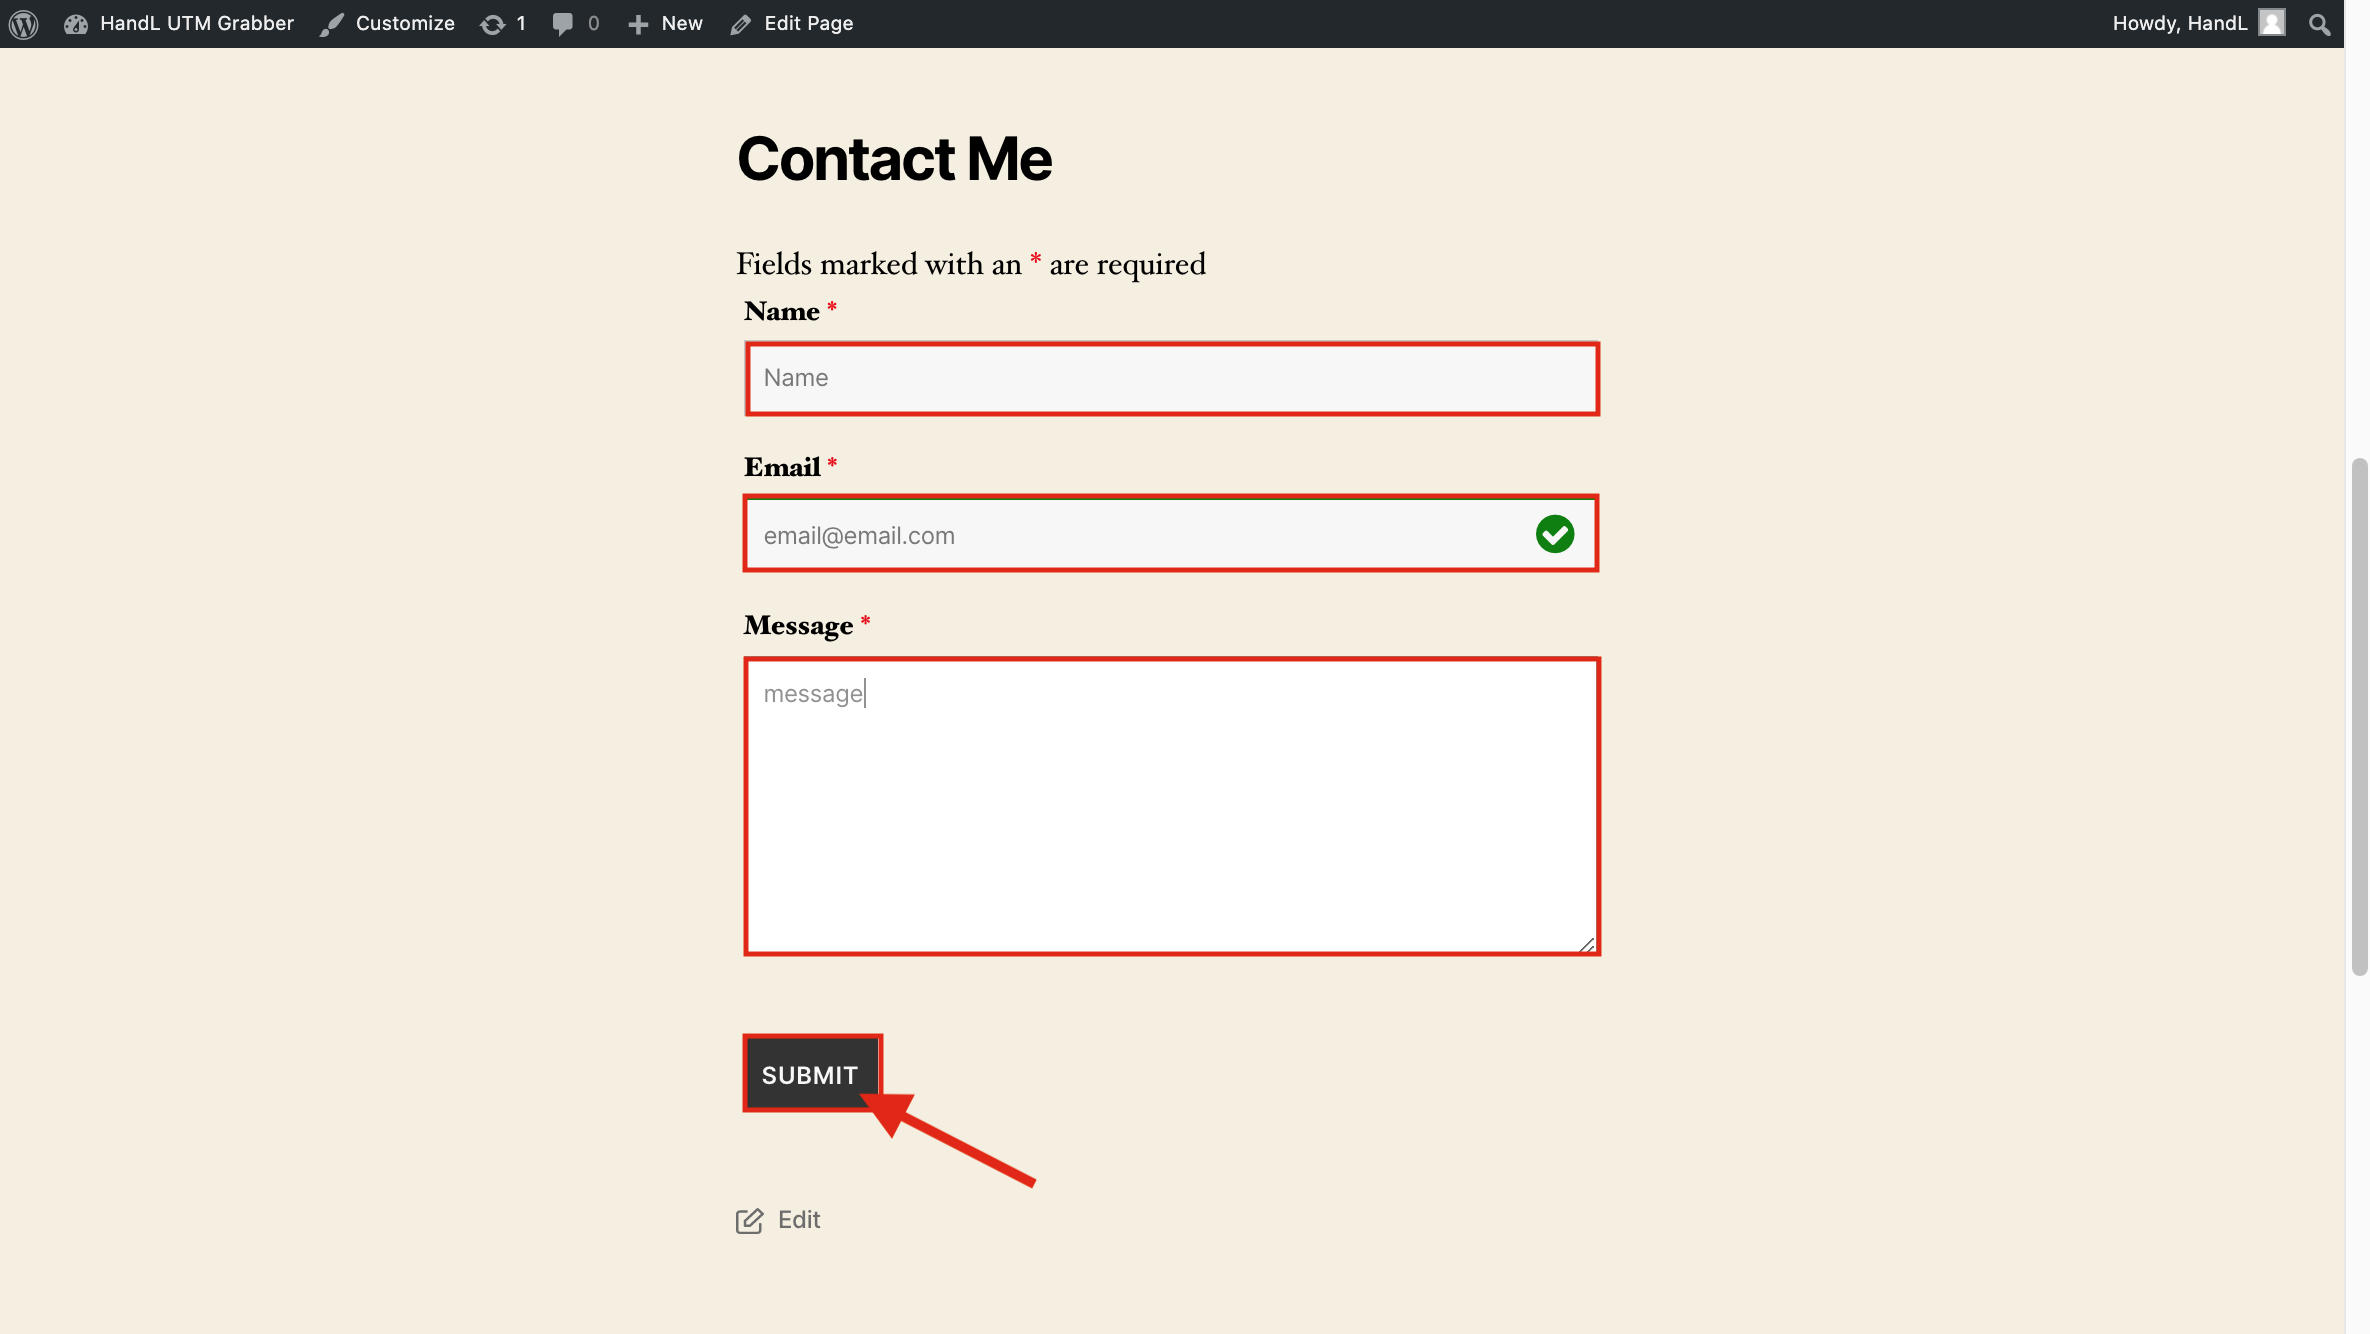
14-)Fill the blanks on your form
15-) Here is your result on Zapier