How to add custom parameters?
- Adding a Custom Parameter in HandL UTM Grabber
- How to Add a fbclid as a custom parameter to track and collect? in HandL UTM Grabber
- How to add a 'affid' as a custom parameter to track and collect? in HandL UTM Grabber
- Track and capture fbclid, _fbc and _fbp in HandL UTM Grabber
- Track and capture gclid, wbraid and gbraid in HandL UTM Grabber
Adding a Custom Parameter in HandL UTM Grabber
UTM attribution overview
This guide explains Adding a Custom Parameter in HandL UTM Grabber. It helps you capture UTM source, medium, campaign, term, content, click IDs, referrer, and landing page data and keep the marketing context needed for accurate reporting across forms, bookings, signups, and sales.
Overview
The Custom Parameters feature allows you to track additional URL parameters beyond the standard UTM parameters that HandL UTM Grabber tracks by default. This feature is particularly useful when you need to capture custom campaign parameters or third-party tracking parameters that aren't part of the standard UTM set.
Default Parameters
By default, HandL UTM Grabber tracks the following parameters here Native WP Shortcodes
Adding Custom Parameters
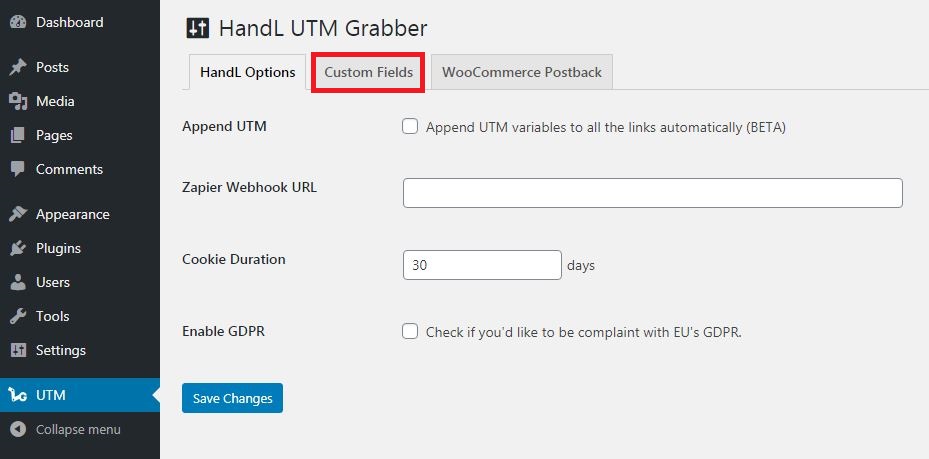
How to Access
- Navigate to your WordPress admin panel
- Go to HandL UTM Grabber settings
- Click on the "Custom Fields" tab

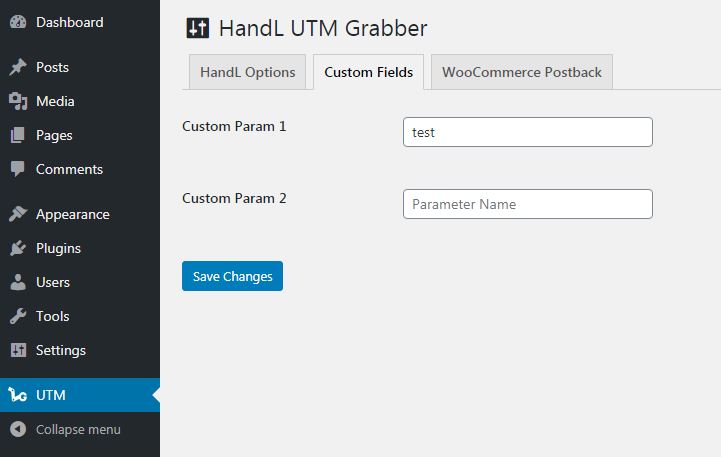
Configuration
- Enter your custom parameter names one by one in the provided input fields
- Each parameter should be entered without any special characters
- Click "Save Changes" to store your custom parameters
Important Notes
All native UTM parameters (utm_source, utm_medium, etc.) and standard tracking parameters (fbclid, gclid) are already tracked by default Only add parameters that aren't already included in the default tracking Make sure to read the documentation before using this feature, as you may not need it for standard tracking scenarios
How It Works
When custom parameters are configured:
- The plugin will automatically look for these parameters in:
- URL parameters
- Existing cookies
- Form submissions
- The parameters are:
- Captured when present in URLs
- Stored in cookies for later use
- Available via shortcodes
- Passed along with form submissions
Usage Examples
Example URL with Custom Parameter
https://yourdomain.com/page?custom_param=value
Using Custom Parameters in Shortcodes
[custom_param]
Dynamic Content Example
[custom_param_i]Your custom parameter value is: %s[/custom_param_i]
Technical Details
- Custom parameters are stored in WordPress options with the key 'custom_params'
- Parameters are automatically filtered to remove empty values
- The plugin ensures parameters are properly sanitized before storage
- Cookies are set with appropriate security flags and domain settings
- Parameters are made available to JavaScript via wp_localize_script
Best Practices
- Only add parameters you specifically need to track
- Use descriptive parameter names
- Test parameters before deploying to production
- Regularly review and clean up unused parameters
- Consider GDPR implications when tracking custom parameters
Limitations
- Parameter names should be URL-safe
- Values are stored as strings
- Cookie duration follows the global plugin settings
- Some parameters may be blocked by privacy settings or browsers
How to Add a fbclid as a custom parameter to track and collect? in HandL UTM Grabber
UTM attribution overview
This guide explains How to Add a fbclid as a custom parameter to track and collect? in HandL UTM Grabber. It helps you capture Facebook click IDs and conversion attribution data alongside standard UTM parameters and keep the marketing context needed for accurate reporting across forms, bookings, signups, and sales.
Video Tutorial
How to add a 'affid' as a custom parameter to track and collect? in HandL UTM Grabber
UTM attribution overview
This guide explains How to add a 'affid' as a custom parameter to track and collect? in HandL UTM Grabber. It helps you capture UTM source, medium, campaign, term, content, click IDs, referrer, and landing page data and keep the marketing context needed for accurate reporting across forms, bookings, signups, and sales.
Video Tutorial
please click right to the video below and open link in new tab
Track and capture fbclid, _fbc and _fbp in HandL UTM Grabber
UTM attribution overview
This guide explains Track and capture fbclid, _fbc and _fbp in HandL UTM Grabber. It helps you capture Facebook click IDs and conversion attribution data alongside standard UTM parameters and keep the marketing context needed for accurate reporting across forms, bookings, signups, and sales.
Add fbclid, _fbc and _fbp as custom parameters under UTM menu
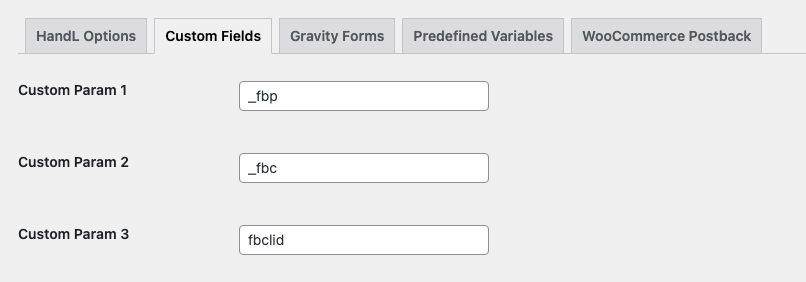
ad they will be tracked and captured just like any other UTM parameters. So easy... :)
Track and capture gclid, wbraid and gbraid in HandL UTM Grabber
UTM attribution overview
This guide explains Track and capture gclid, wbraid and gbraid in HandL UTM Grabber. It helps you capture UTM source, medium, campaign, term, content, click IDs, referrer, and landing page data and keep the marketing context needed for accurate reporting across forms, bookings, signups, and sales.
GCLID is already being tracked by default, so no action is required for that.
Add WBRAID and GBRAID as custom parameters under the UTM menu
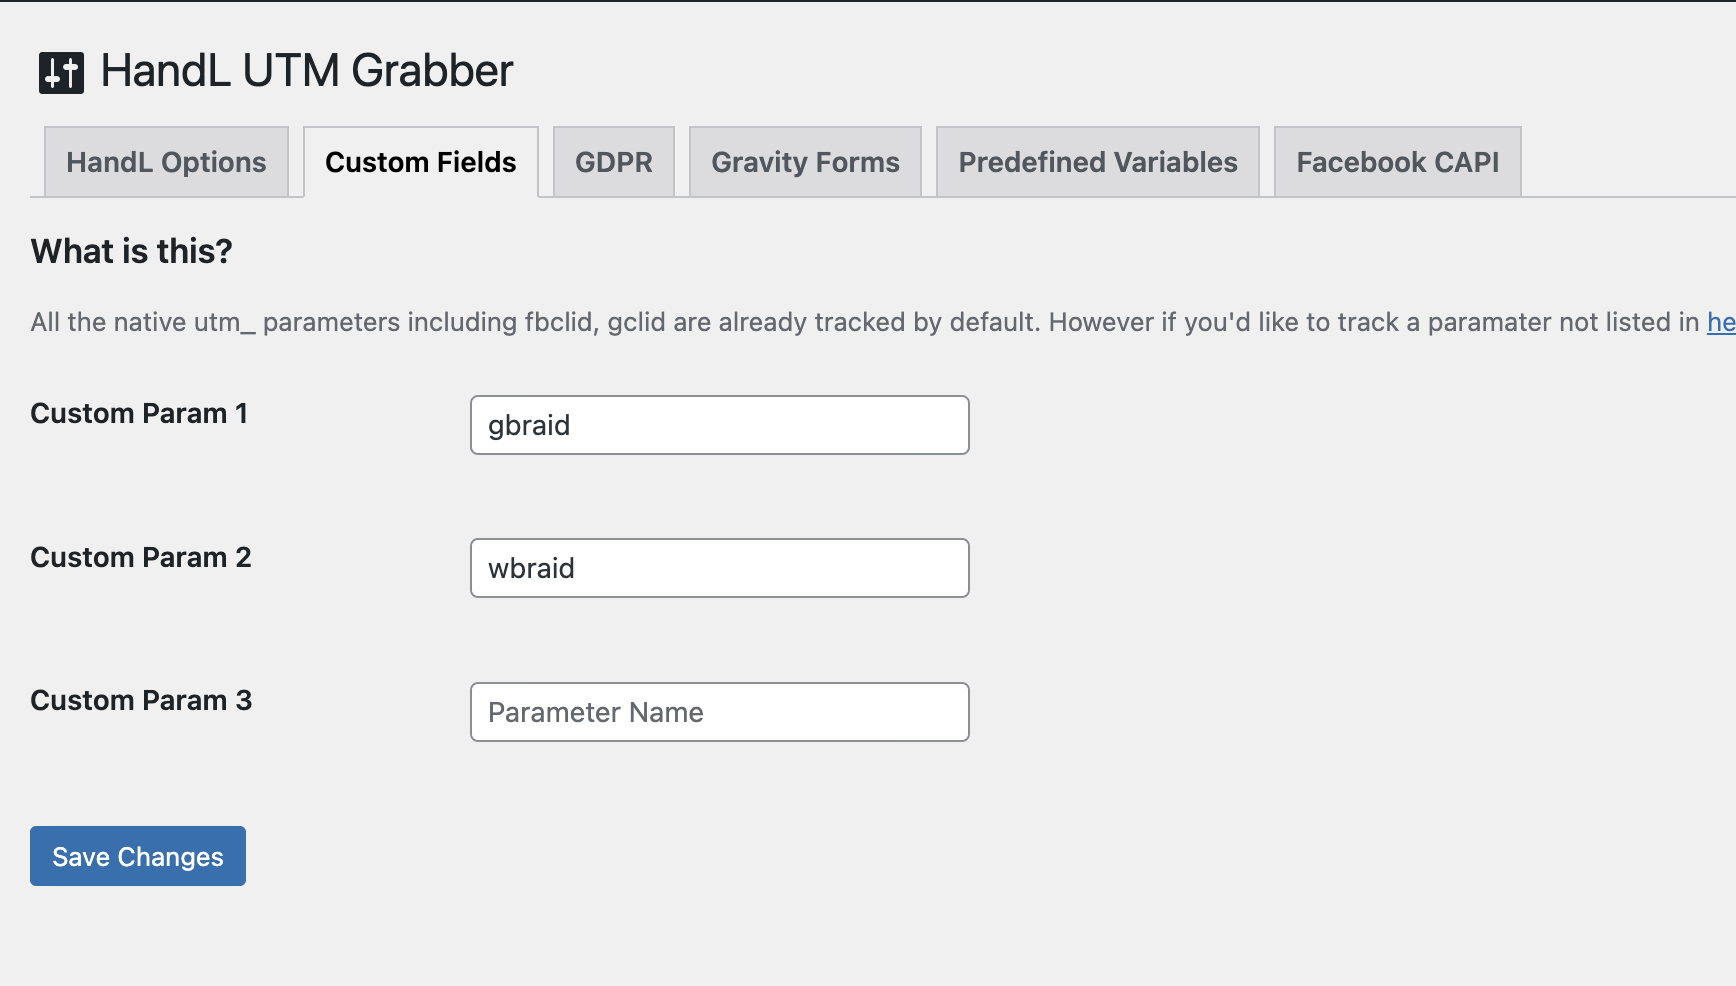
Add these parameters, and they will be tracked and captured just like any other UTM parameters. It's that easy!