Ninja Forms One Click Integration (Recommended)
Use One Click Integrations to add every HandL hidden tracking field to your Ninja Forms forms automatically. The full guide is below.
UTM attribution overview
This guide explains One Click Integrations with HandL UTM Grabber. It helps you capture UTM source, medium, campaign, term, content, click IDs, referrer, and landing page data and keep the marketing context needed for accurate reporting across forms, bookings, signups, and sales.
1. Open the Integrations tab
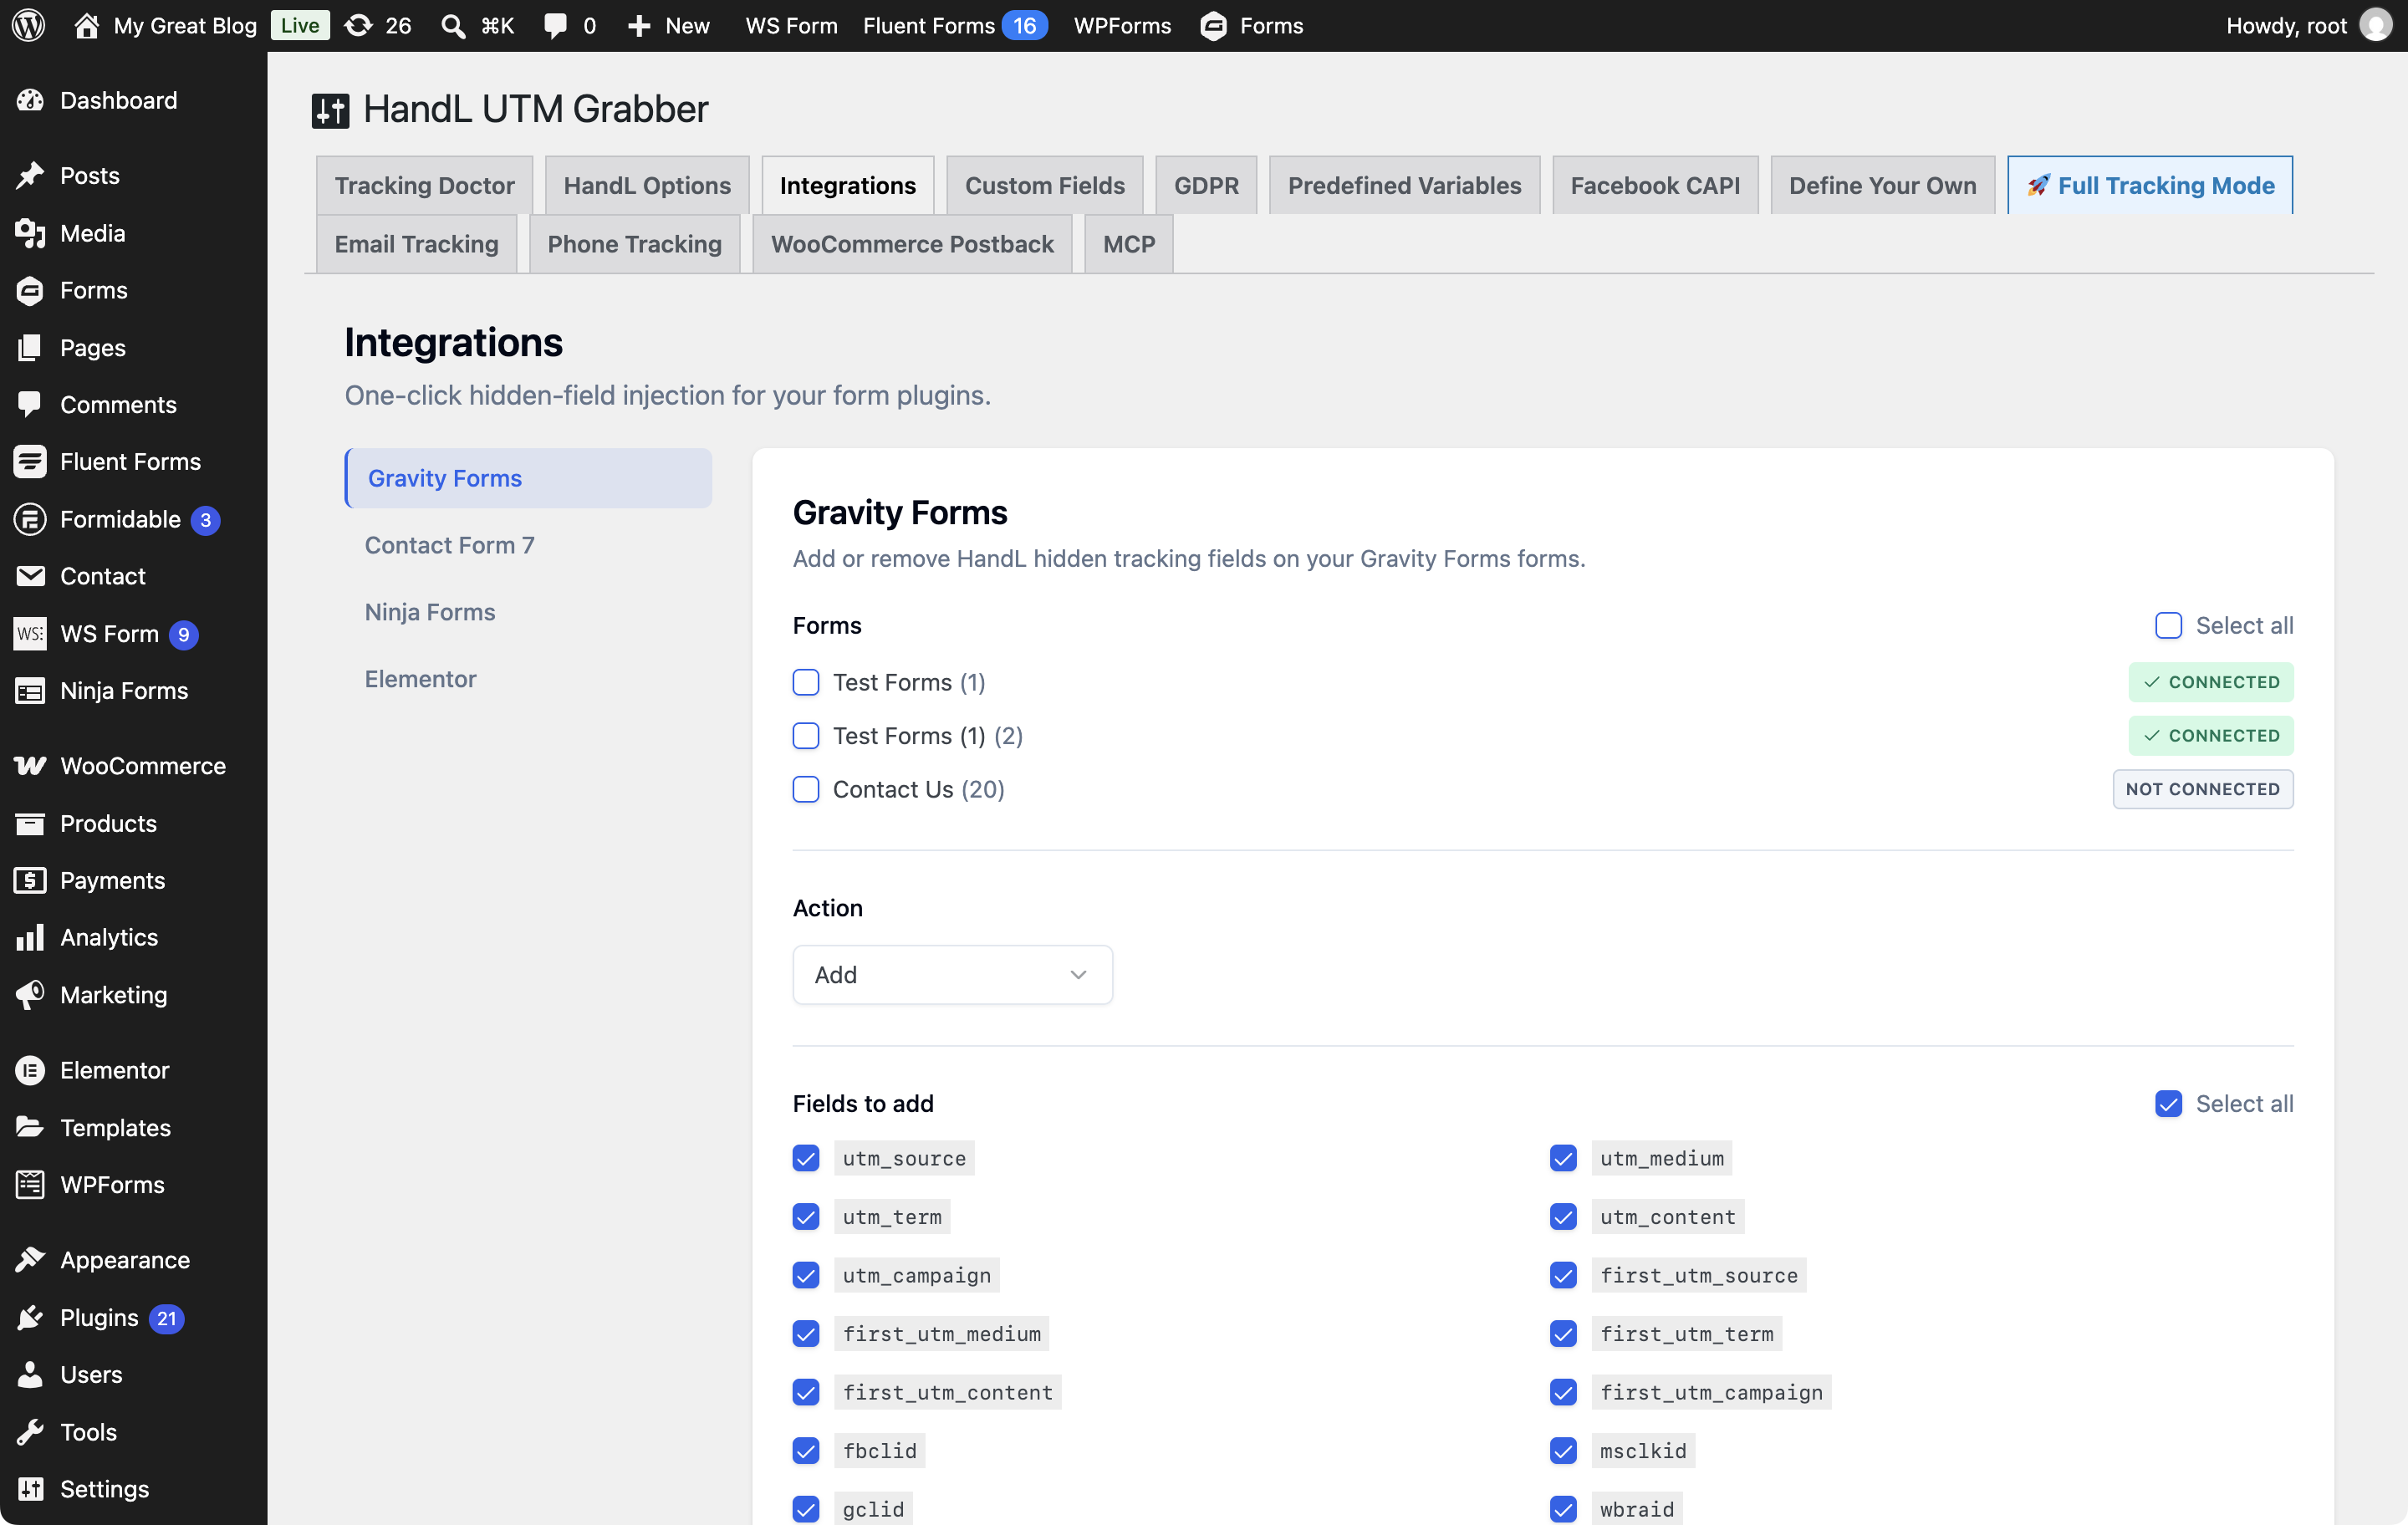
Use One Click Integrations with Gravity Forms, Contact Form 7, Ninja Forms, or Elementor. Other form plugins use the manual hidden field method in Native WP Shortcodes.
2. Find your form plugin
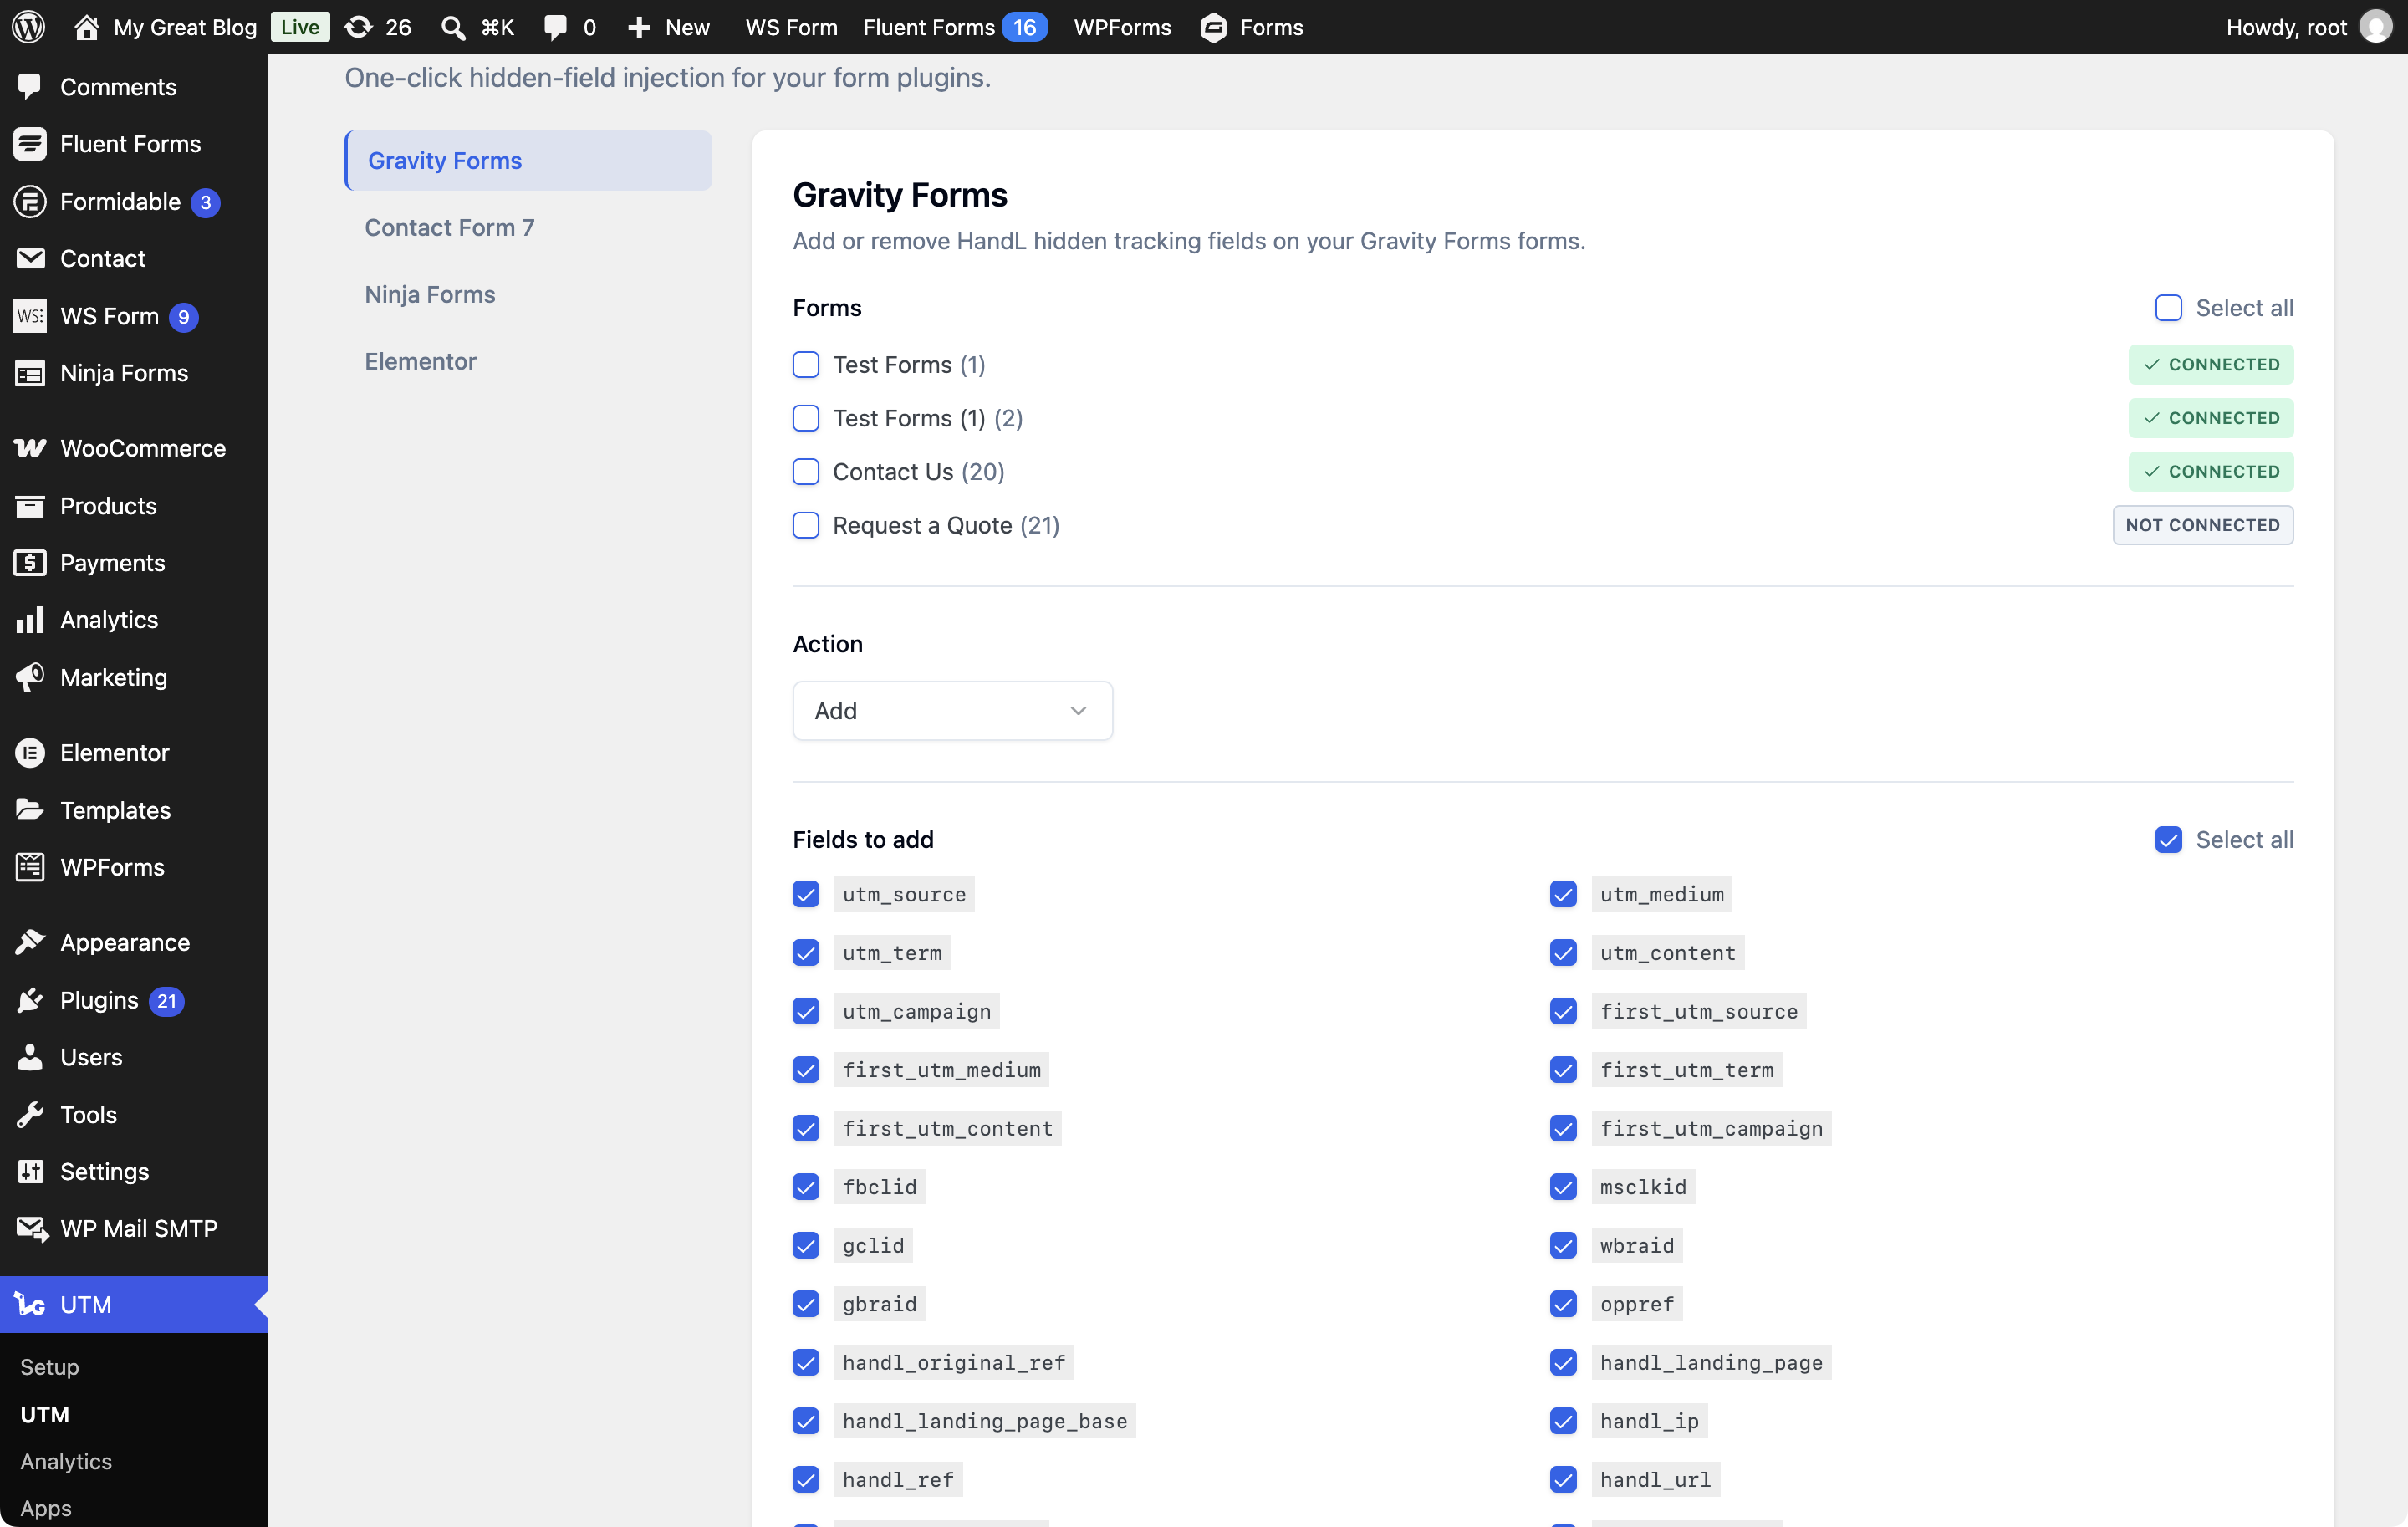
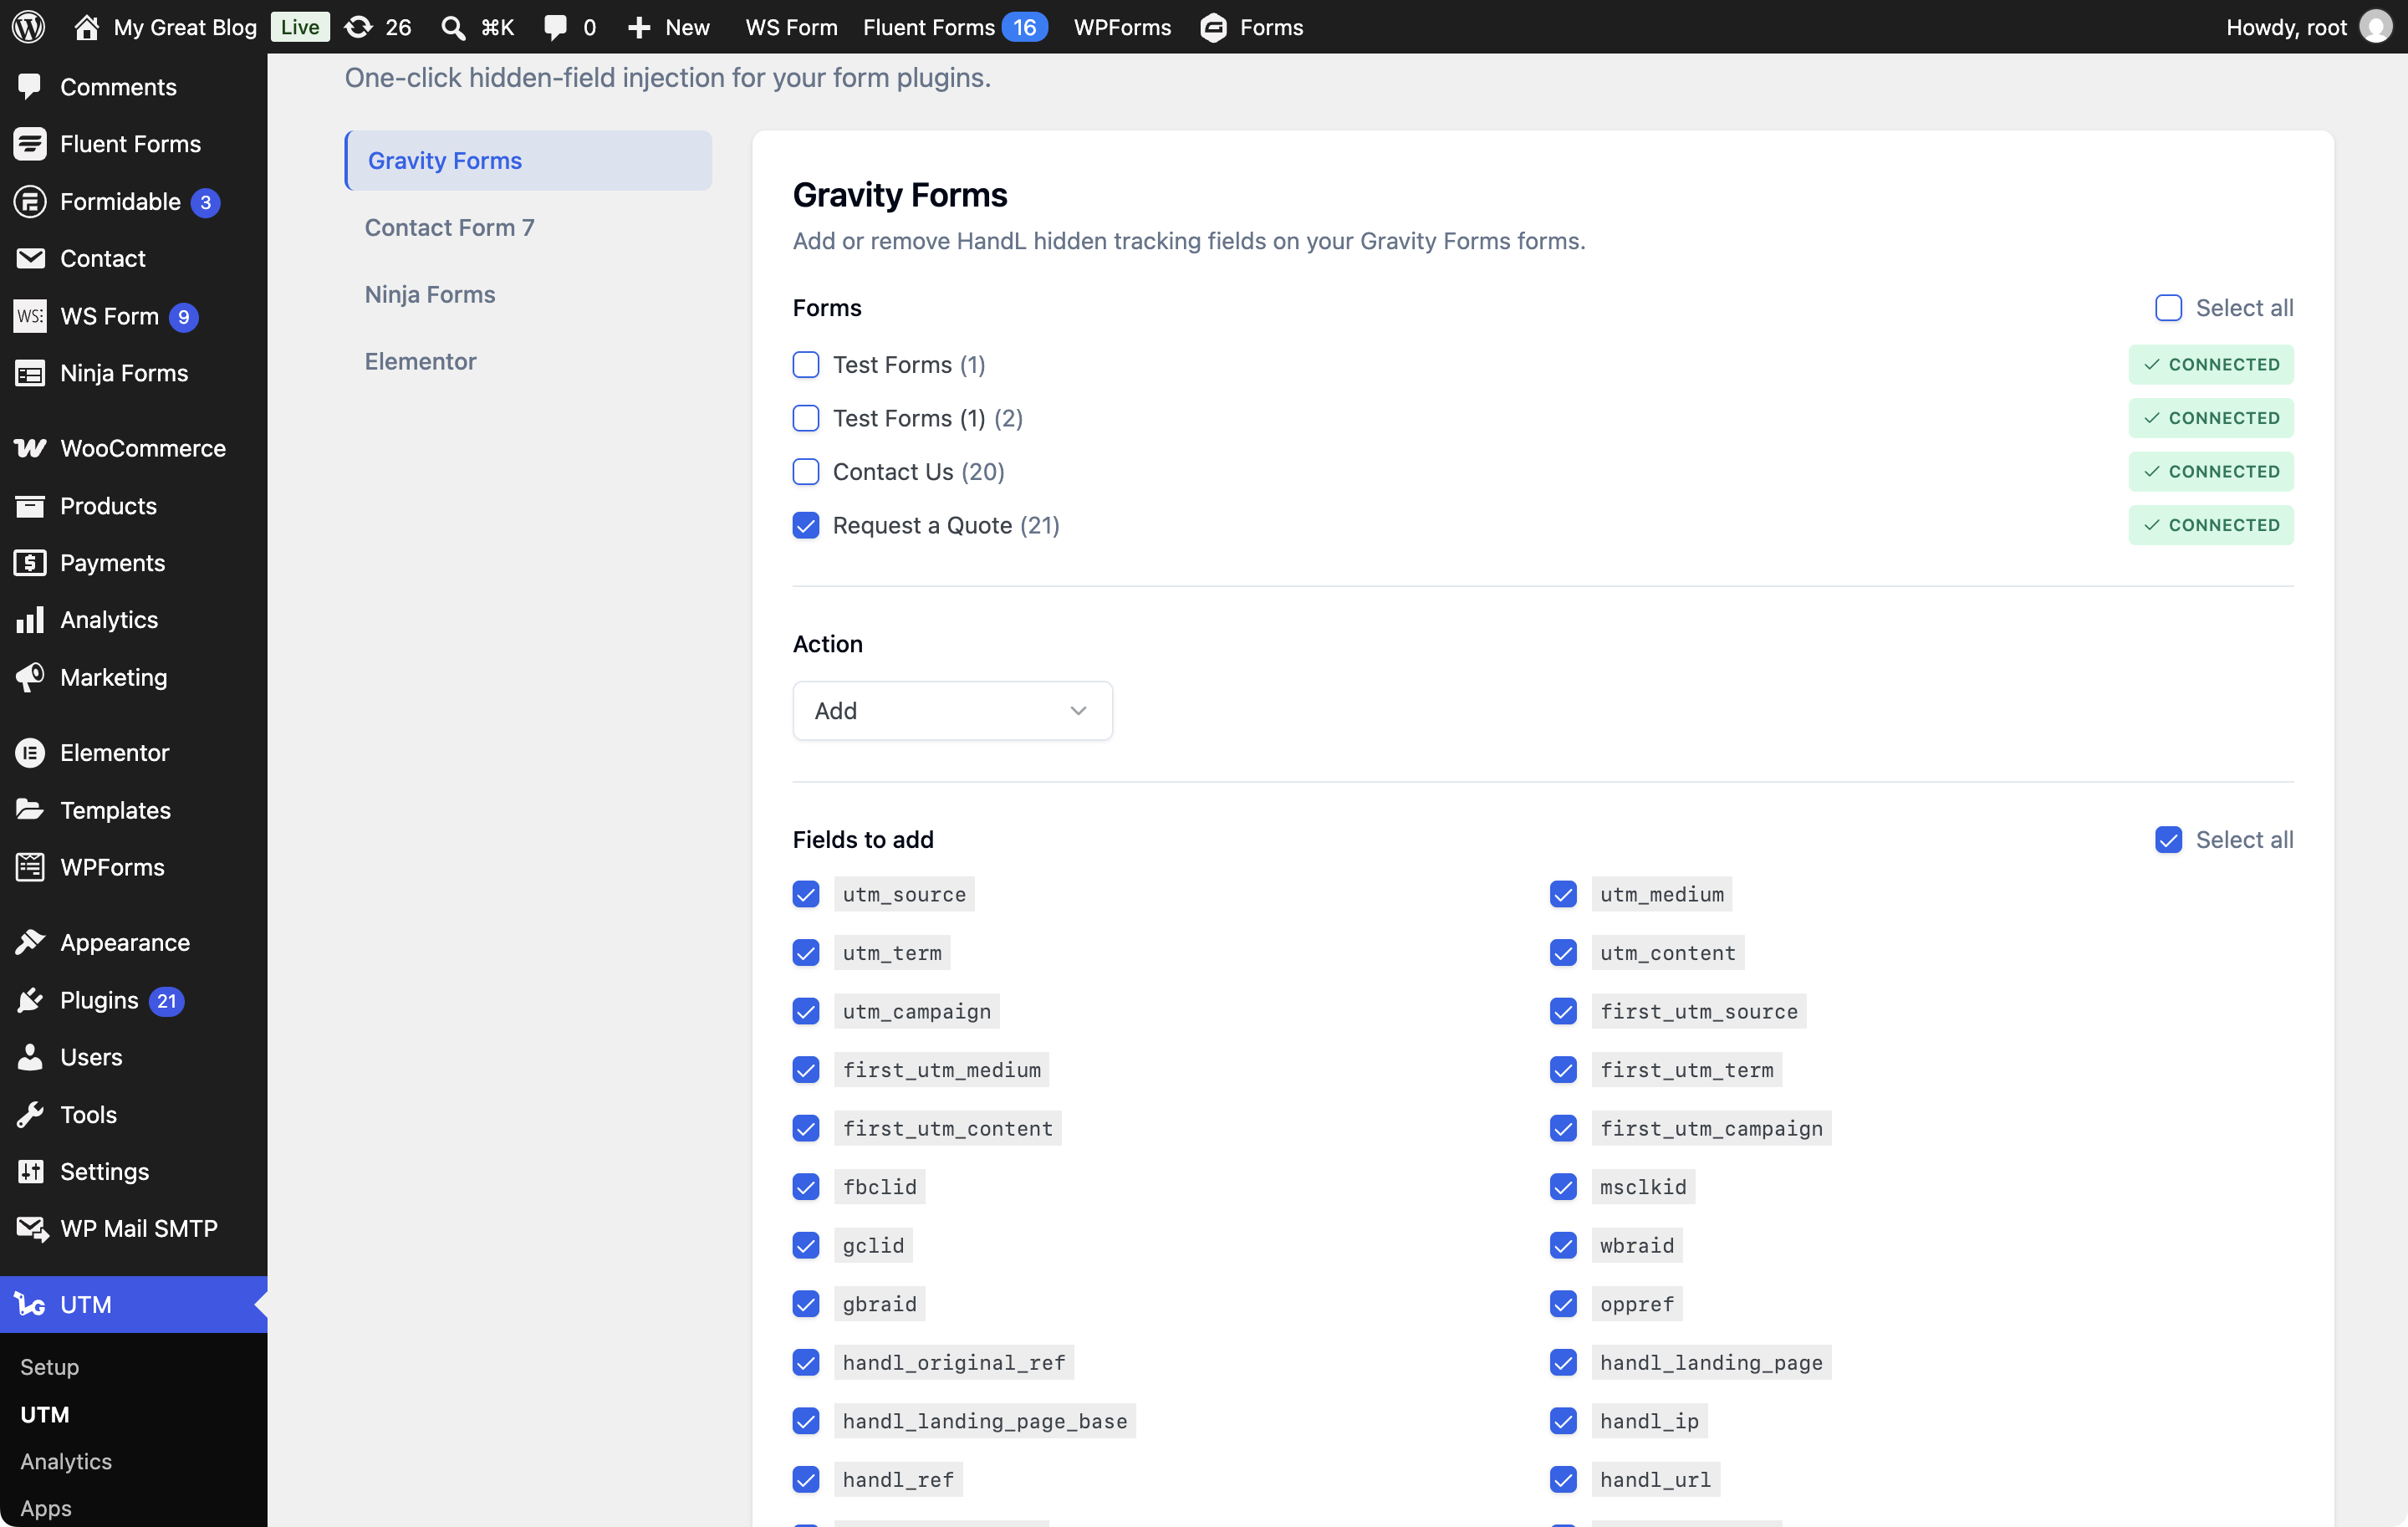
Open a plugin panel to see its forms. Each form shows Connected, Not connected, or N new field(s) available.
3. Select your forms
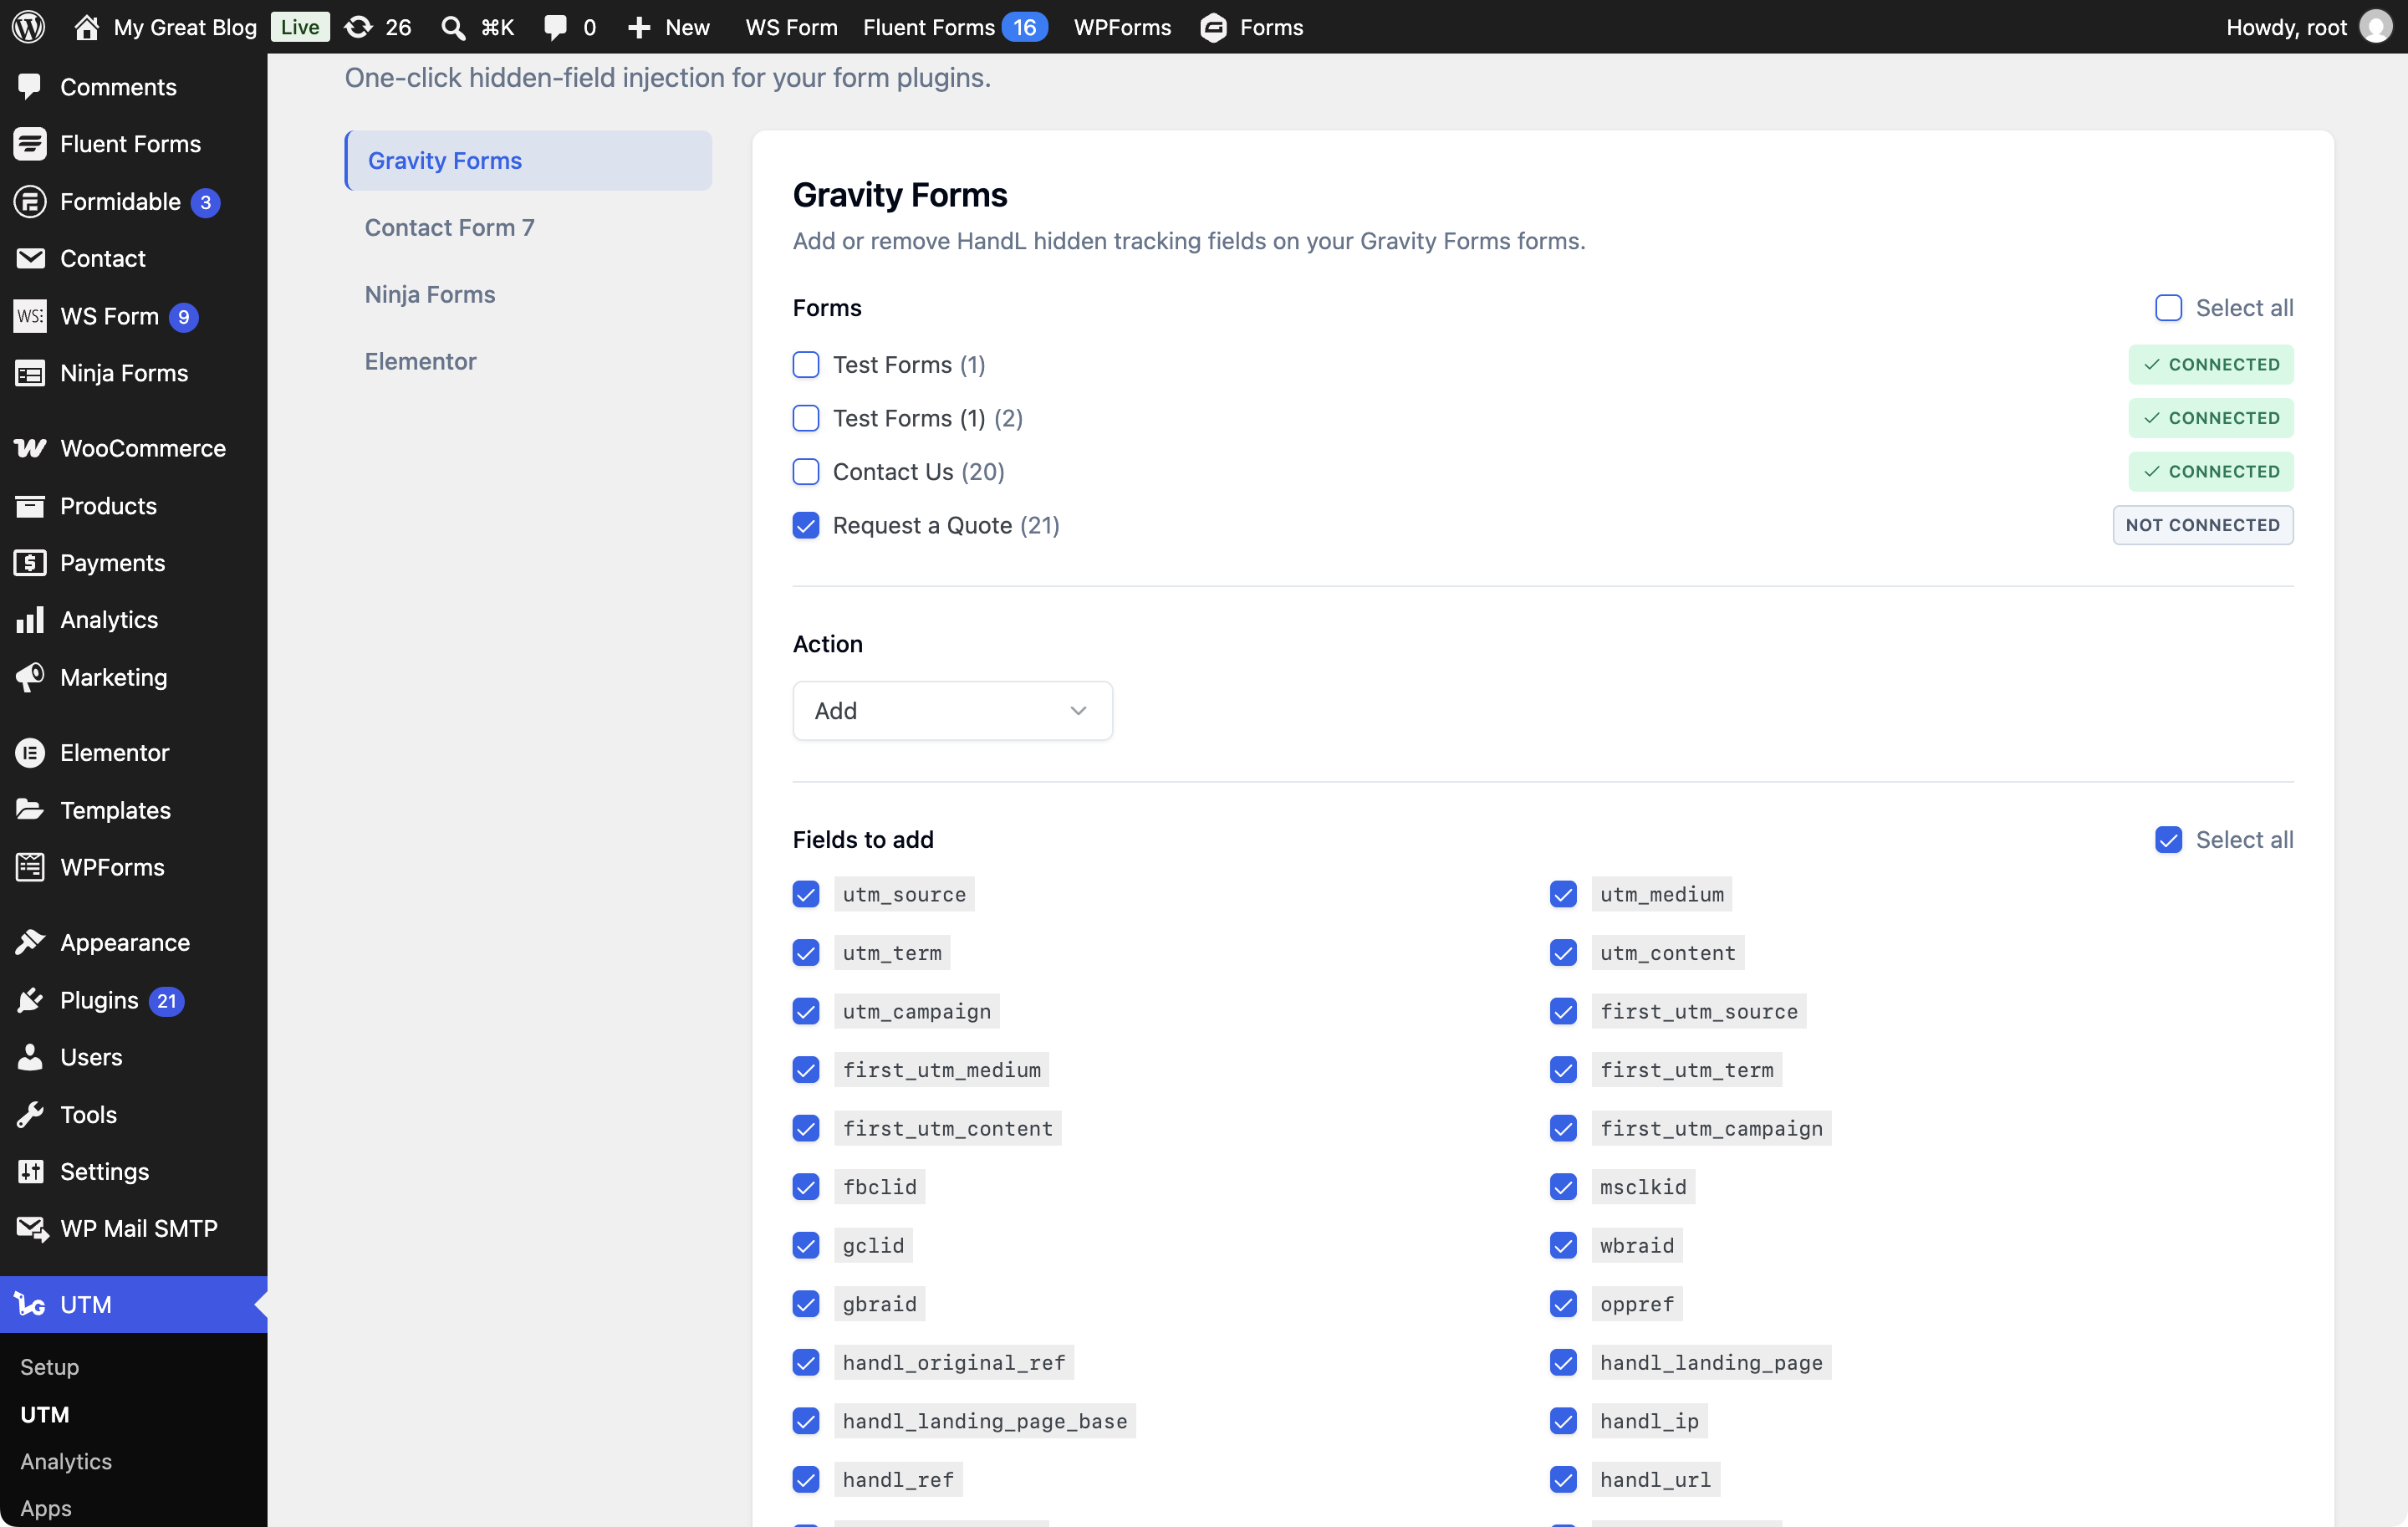
4. Click Save Changes
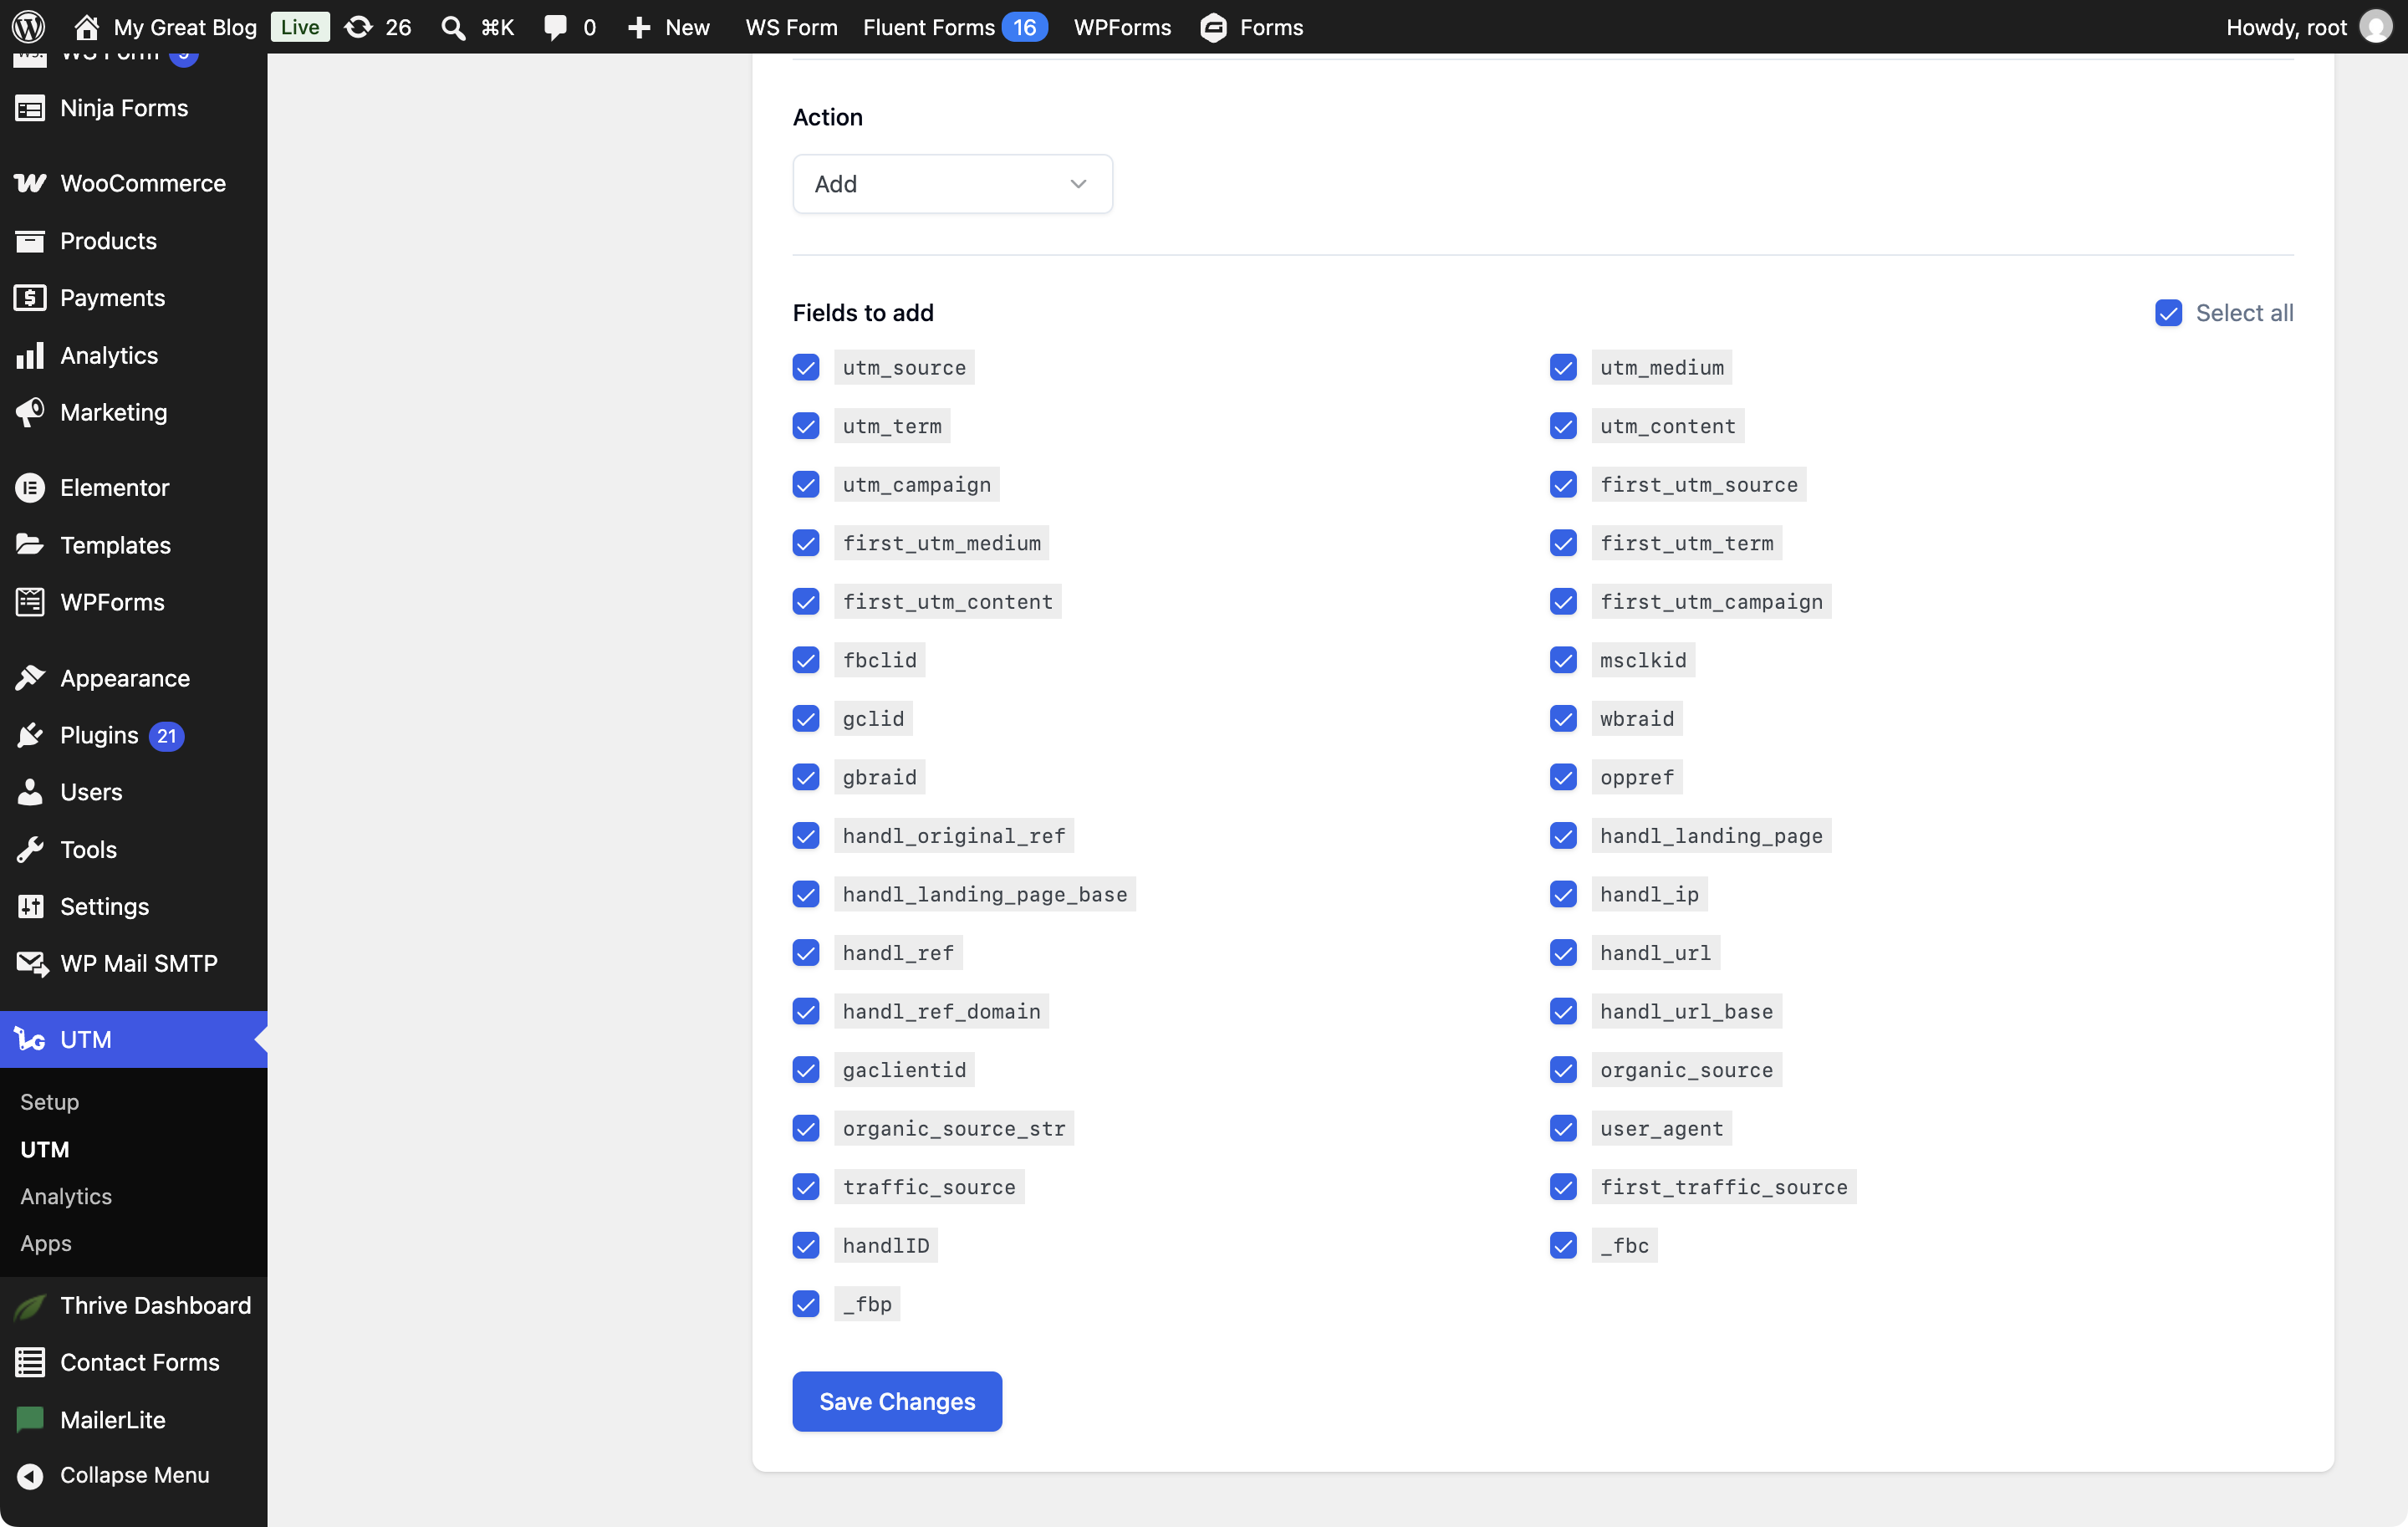
Keep Add selected, choose the tracking fields you need, and click Save Changes. The field list includes HandL tracking parameters and any fields from the Custom Fields tab. If your license is inactive, Save Changes is disabled and an alert asks you to activate it.
Choose Remove only when you intend to remove every HandL field from the selected forms, including fields you added manually. Remove hides the field list before you save.
5. Check the confirmation message
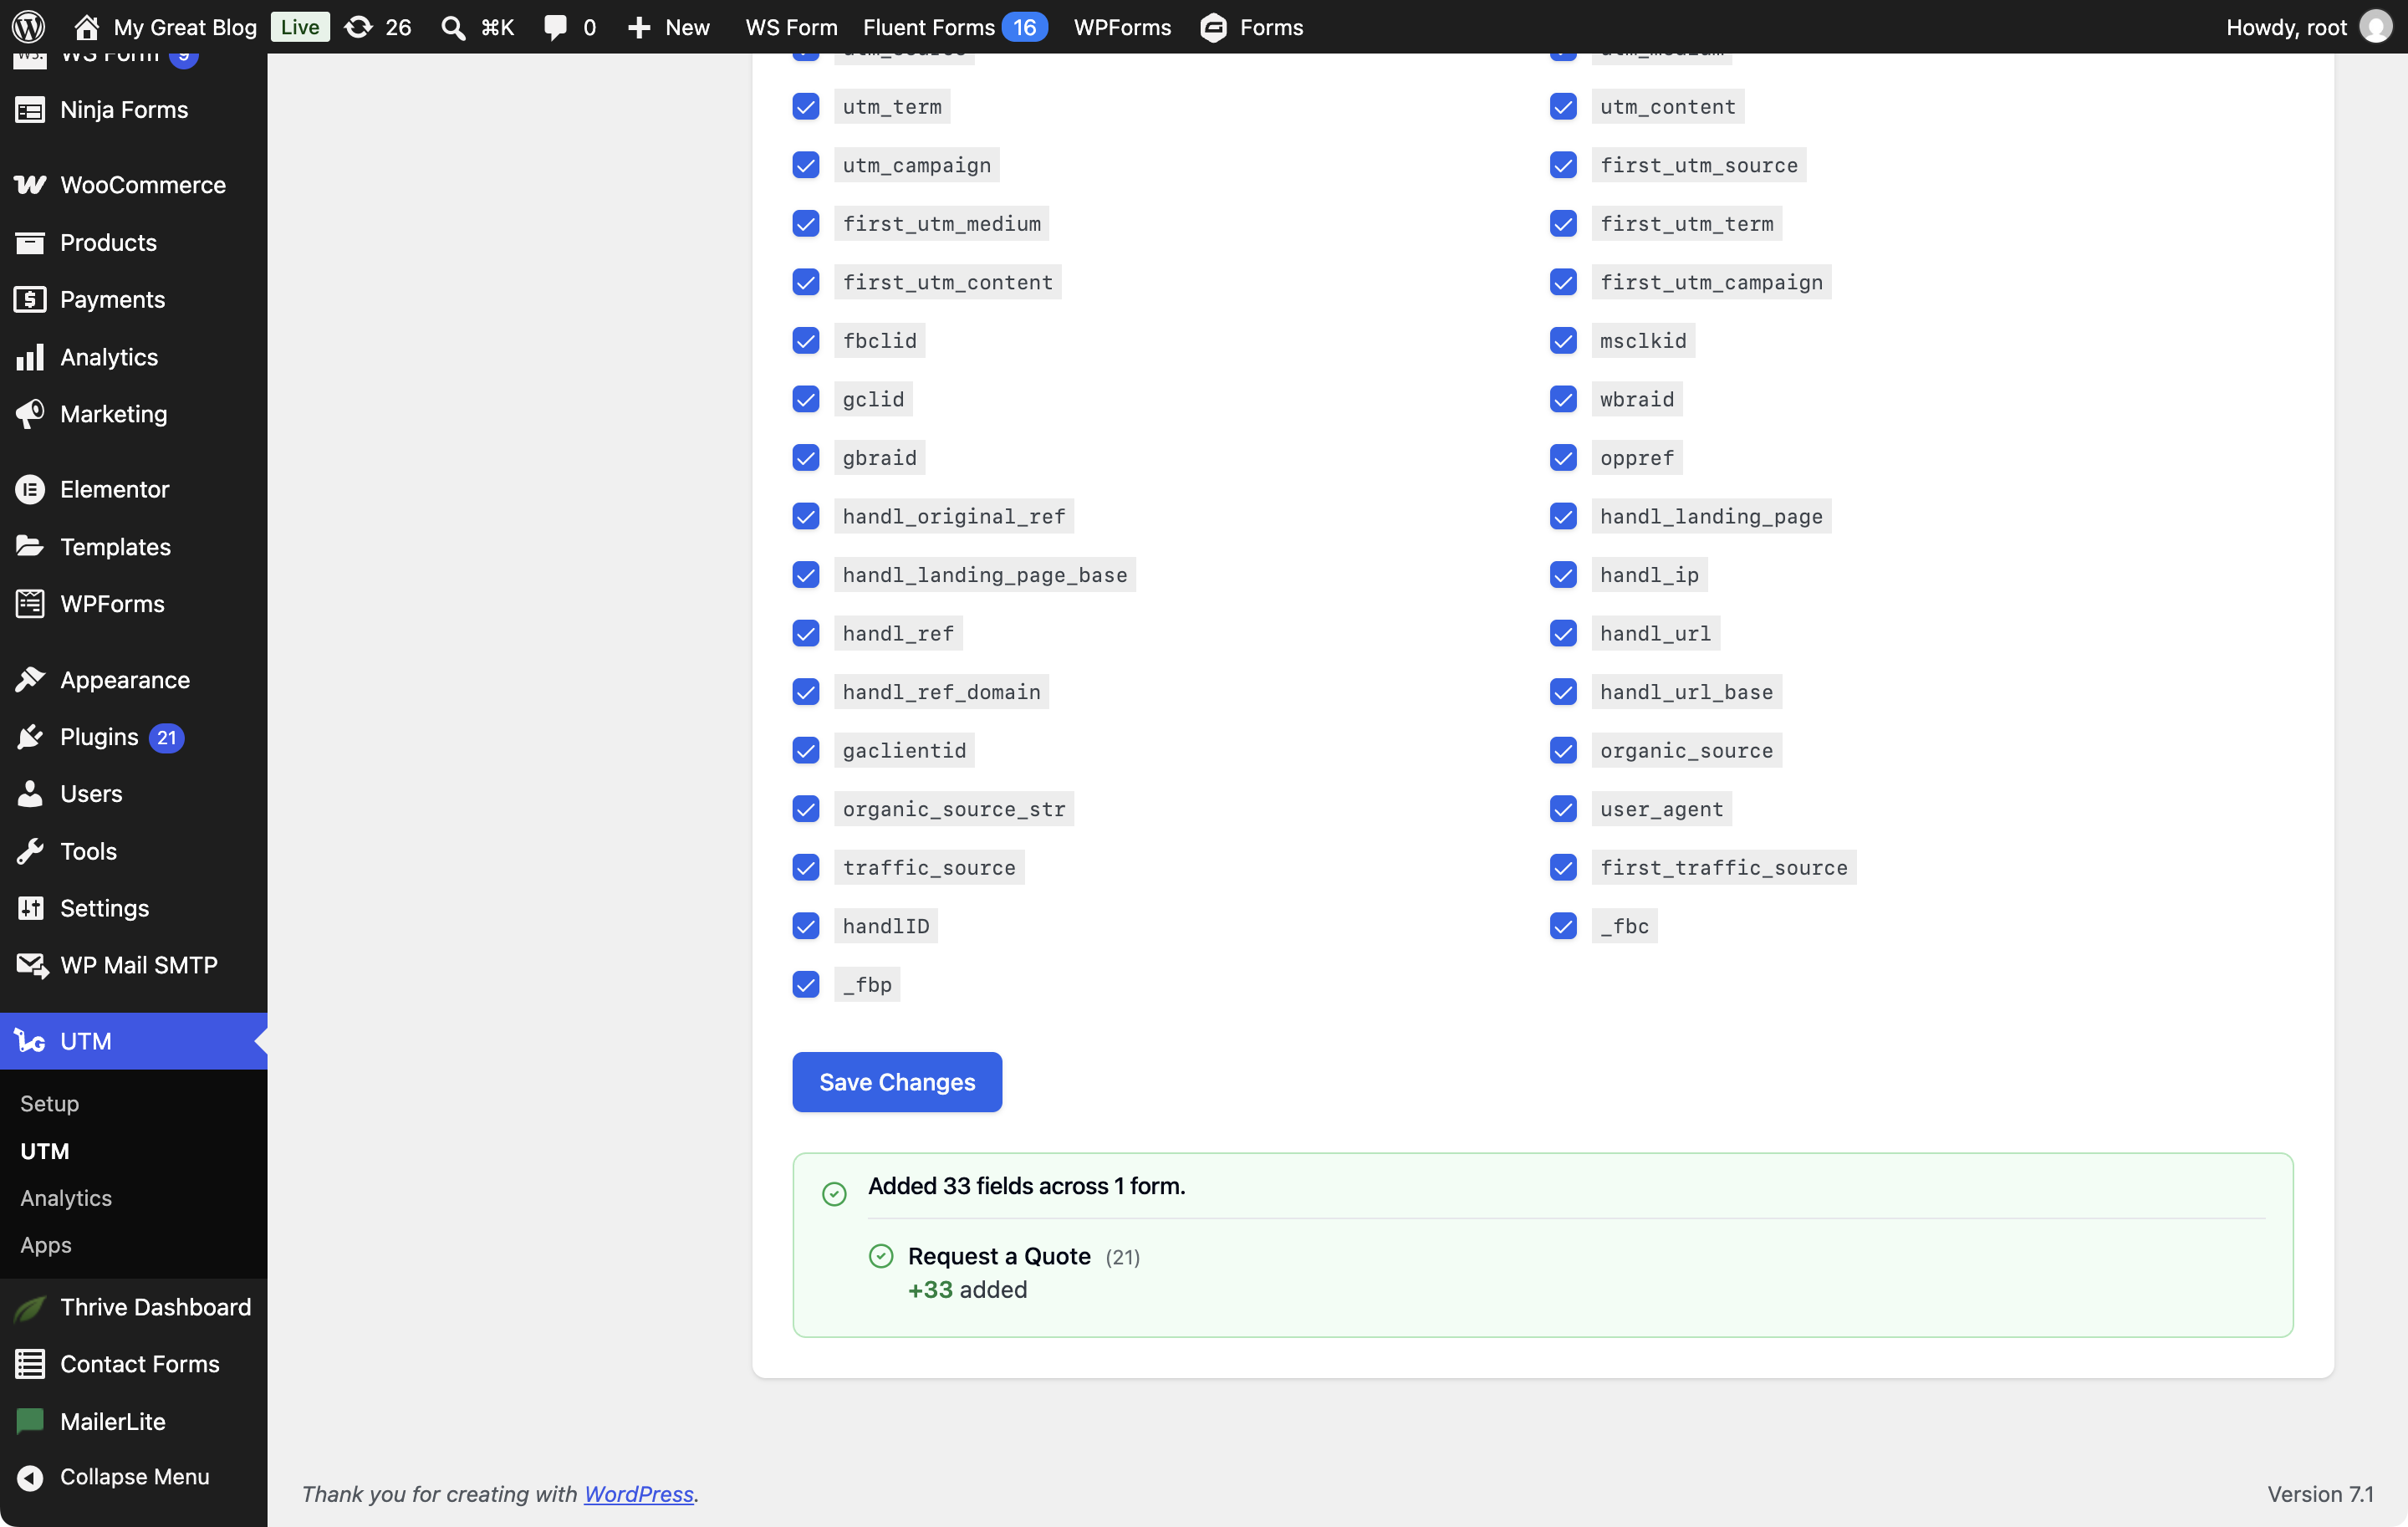
Review the green confirmation message. It summarizes added, existing, removed, unchanged, or failed fields for each form. The status badges refresh without a page reload.
6. Your forms are now connected
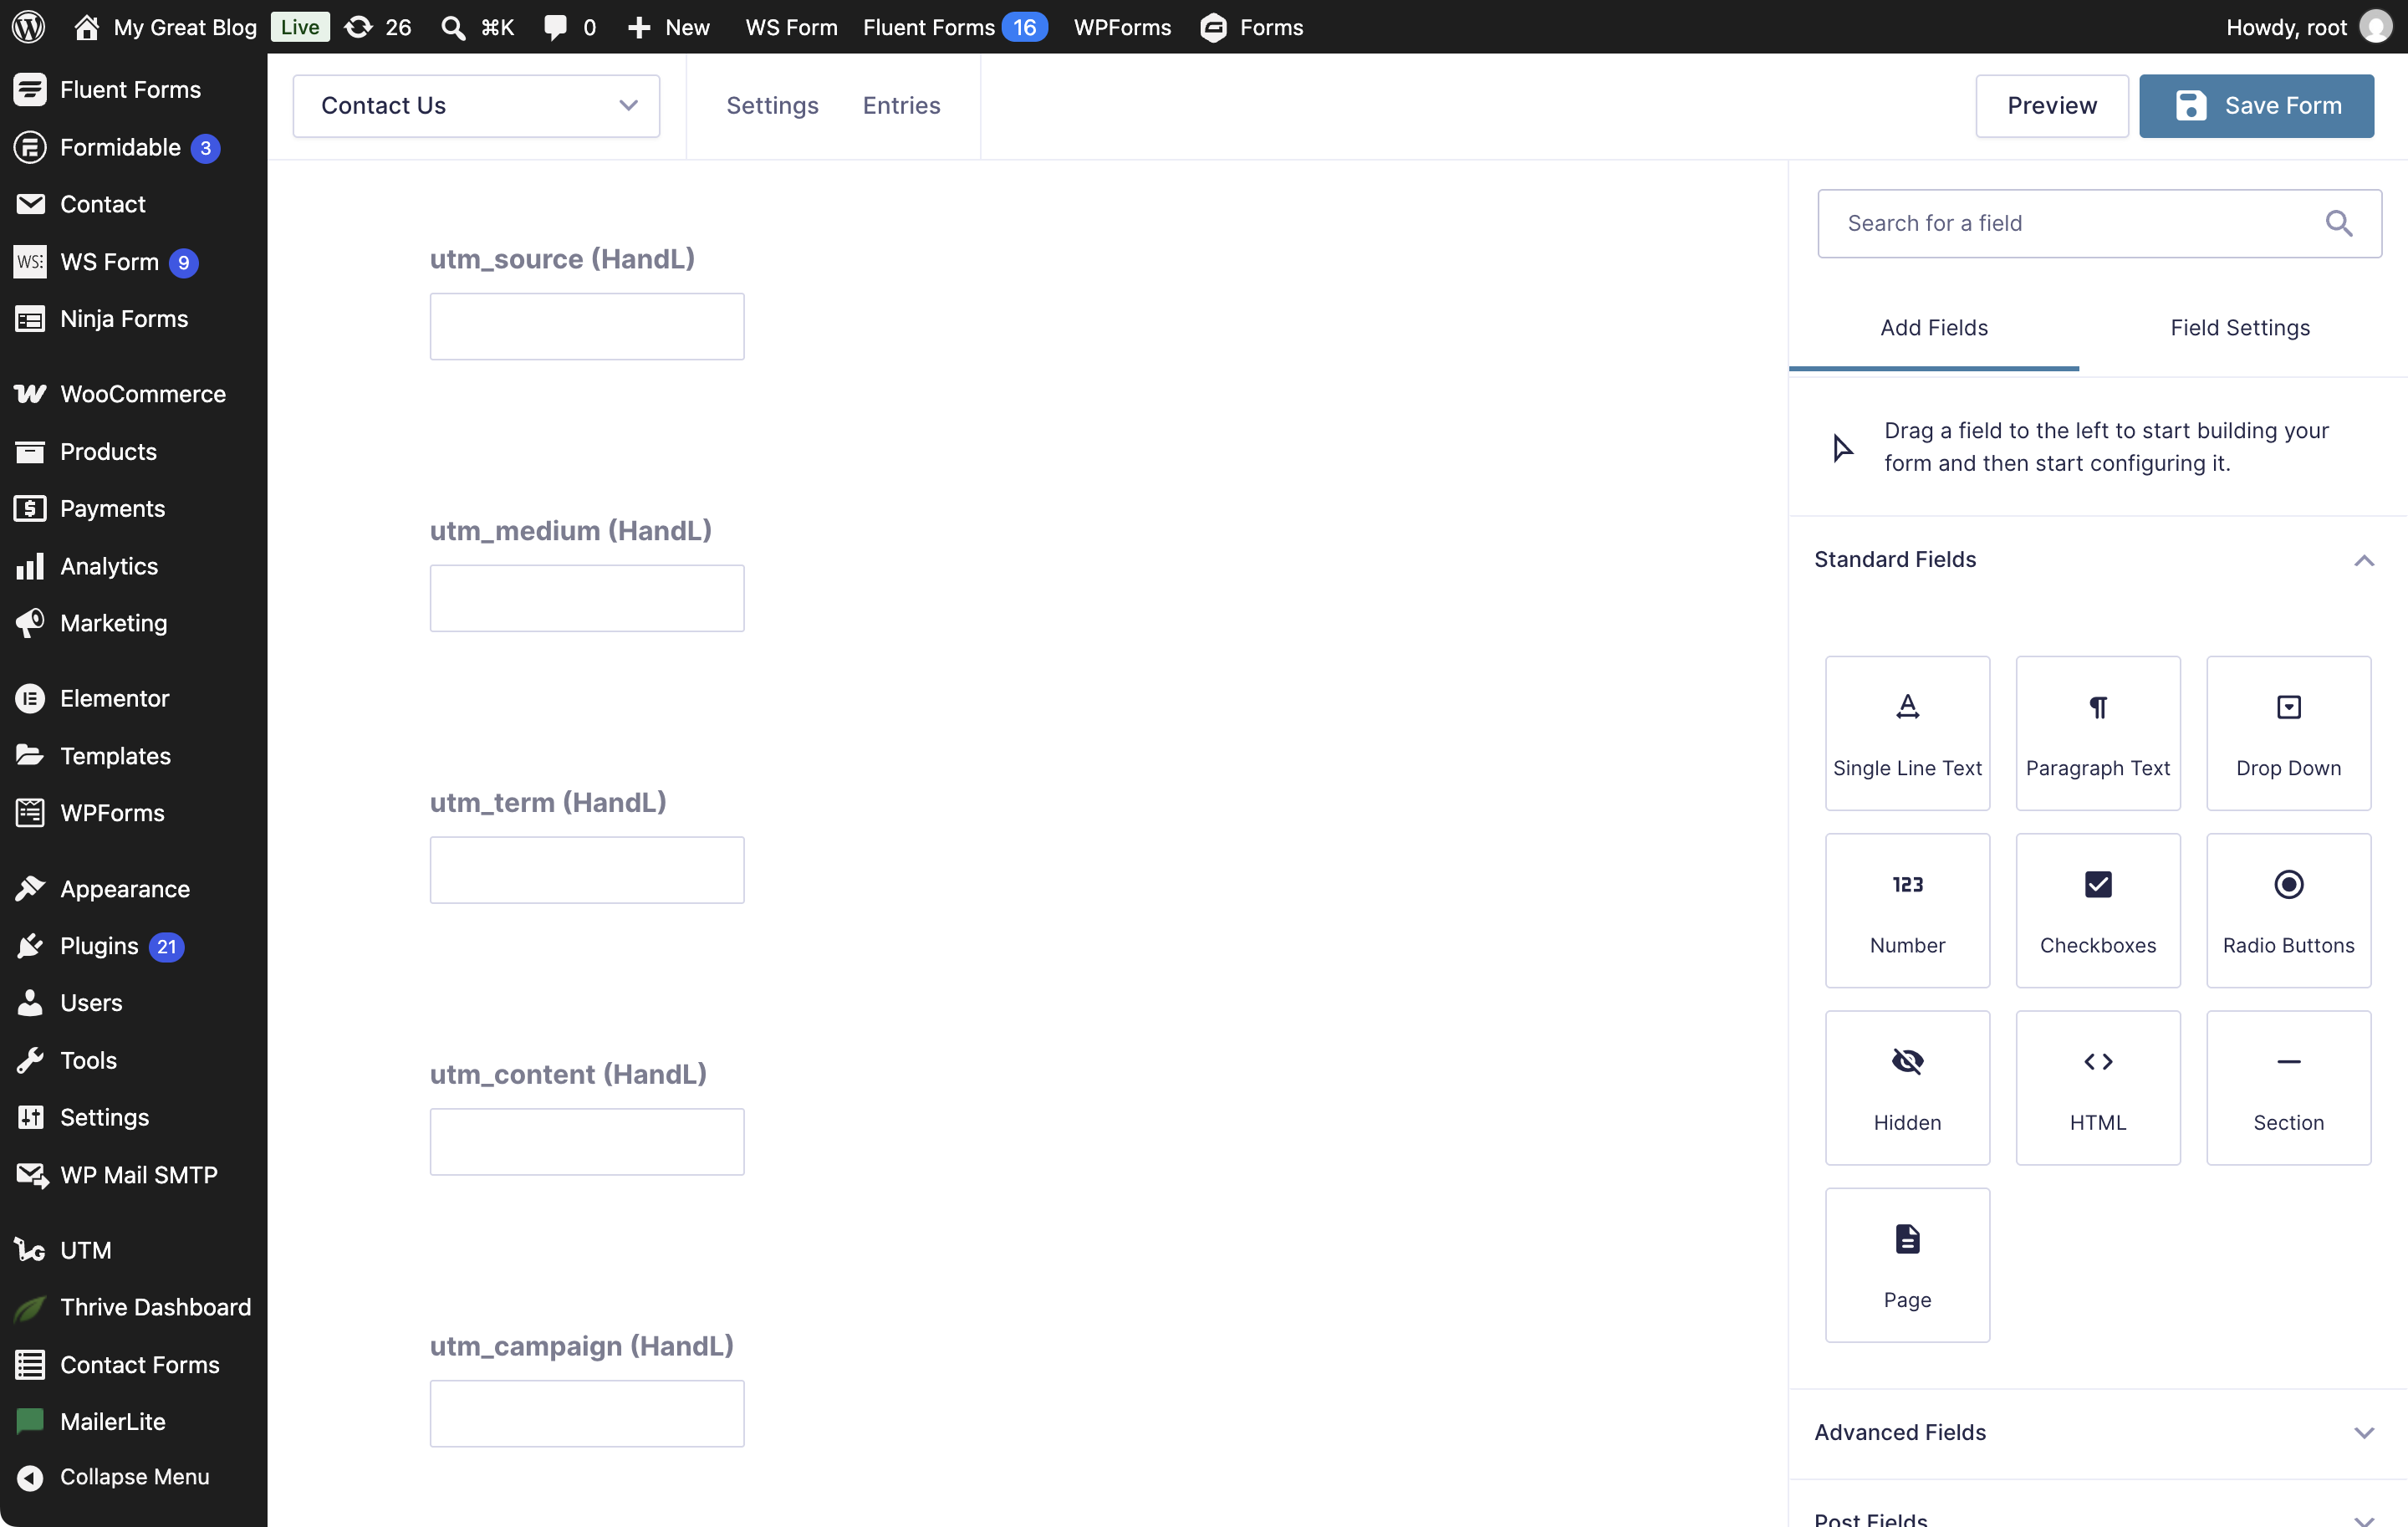
7. Tracking fields added to your form
8. Connect from the Setup wizard
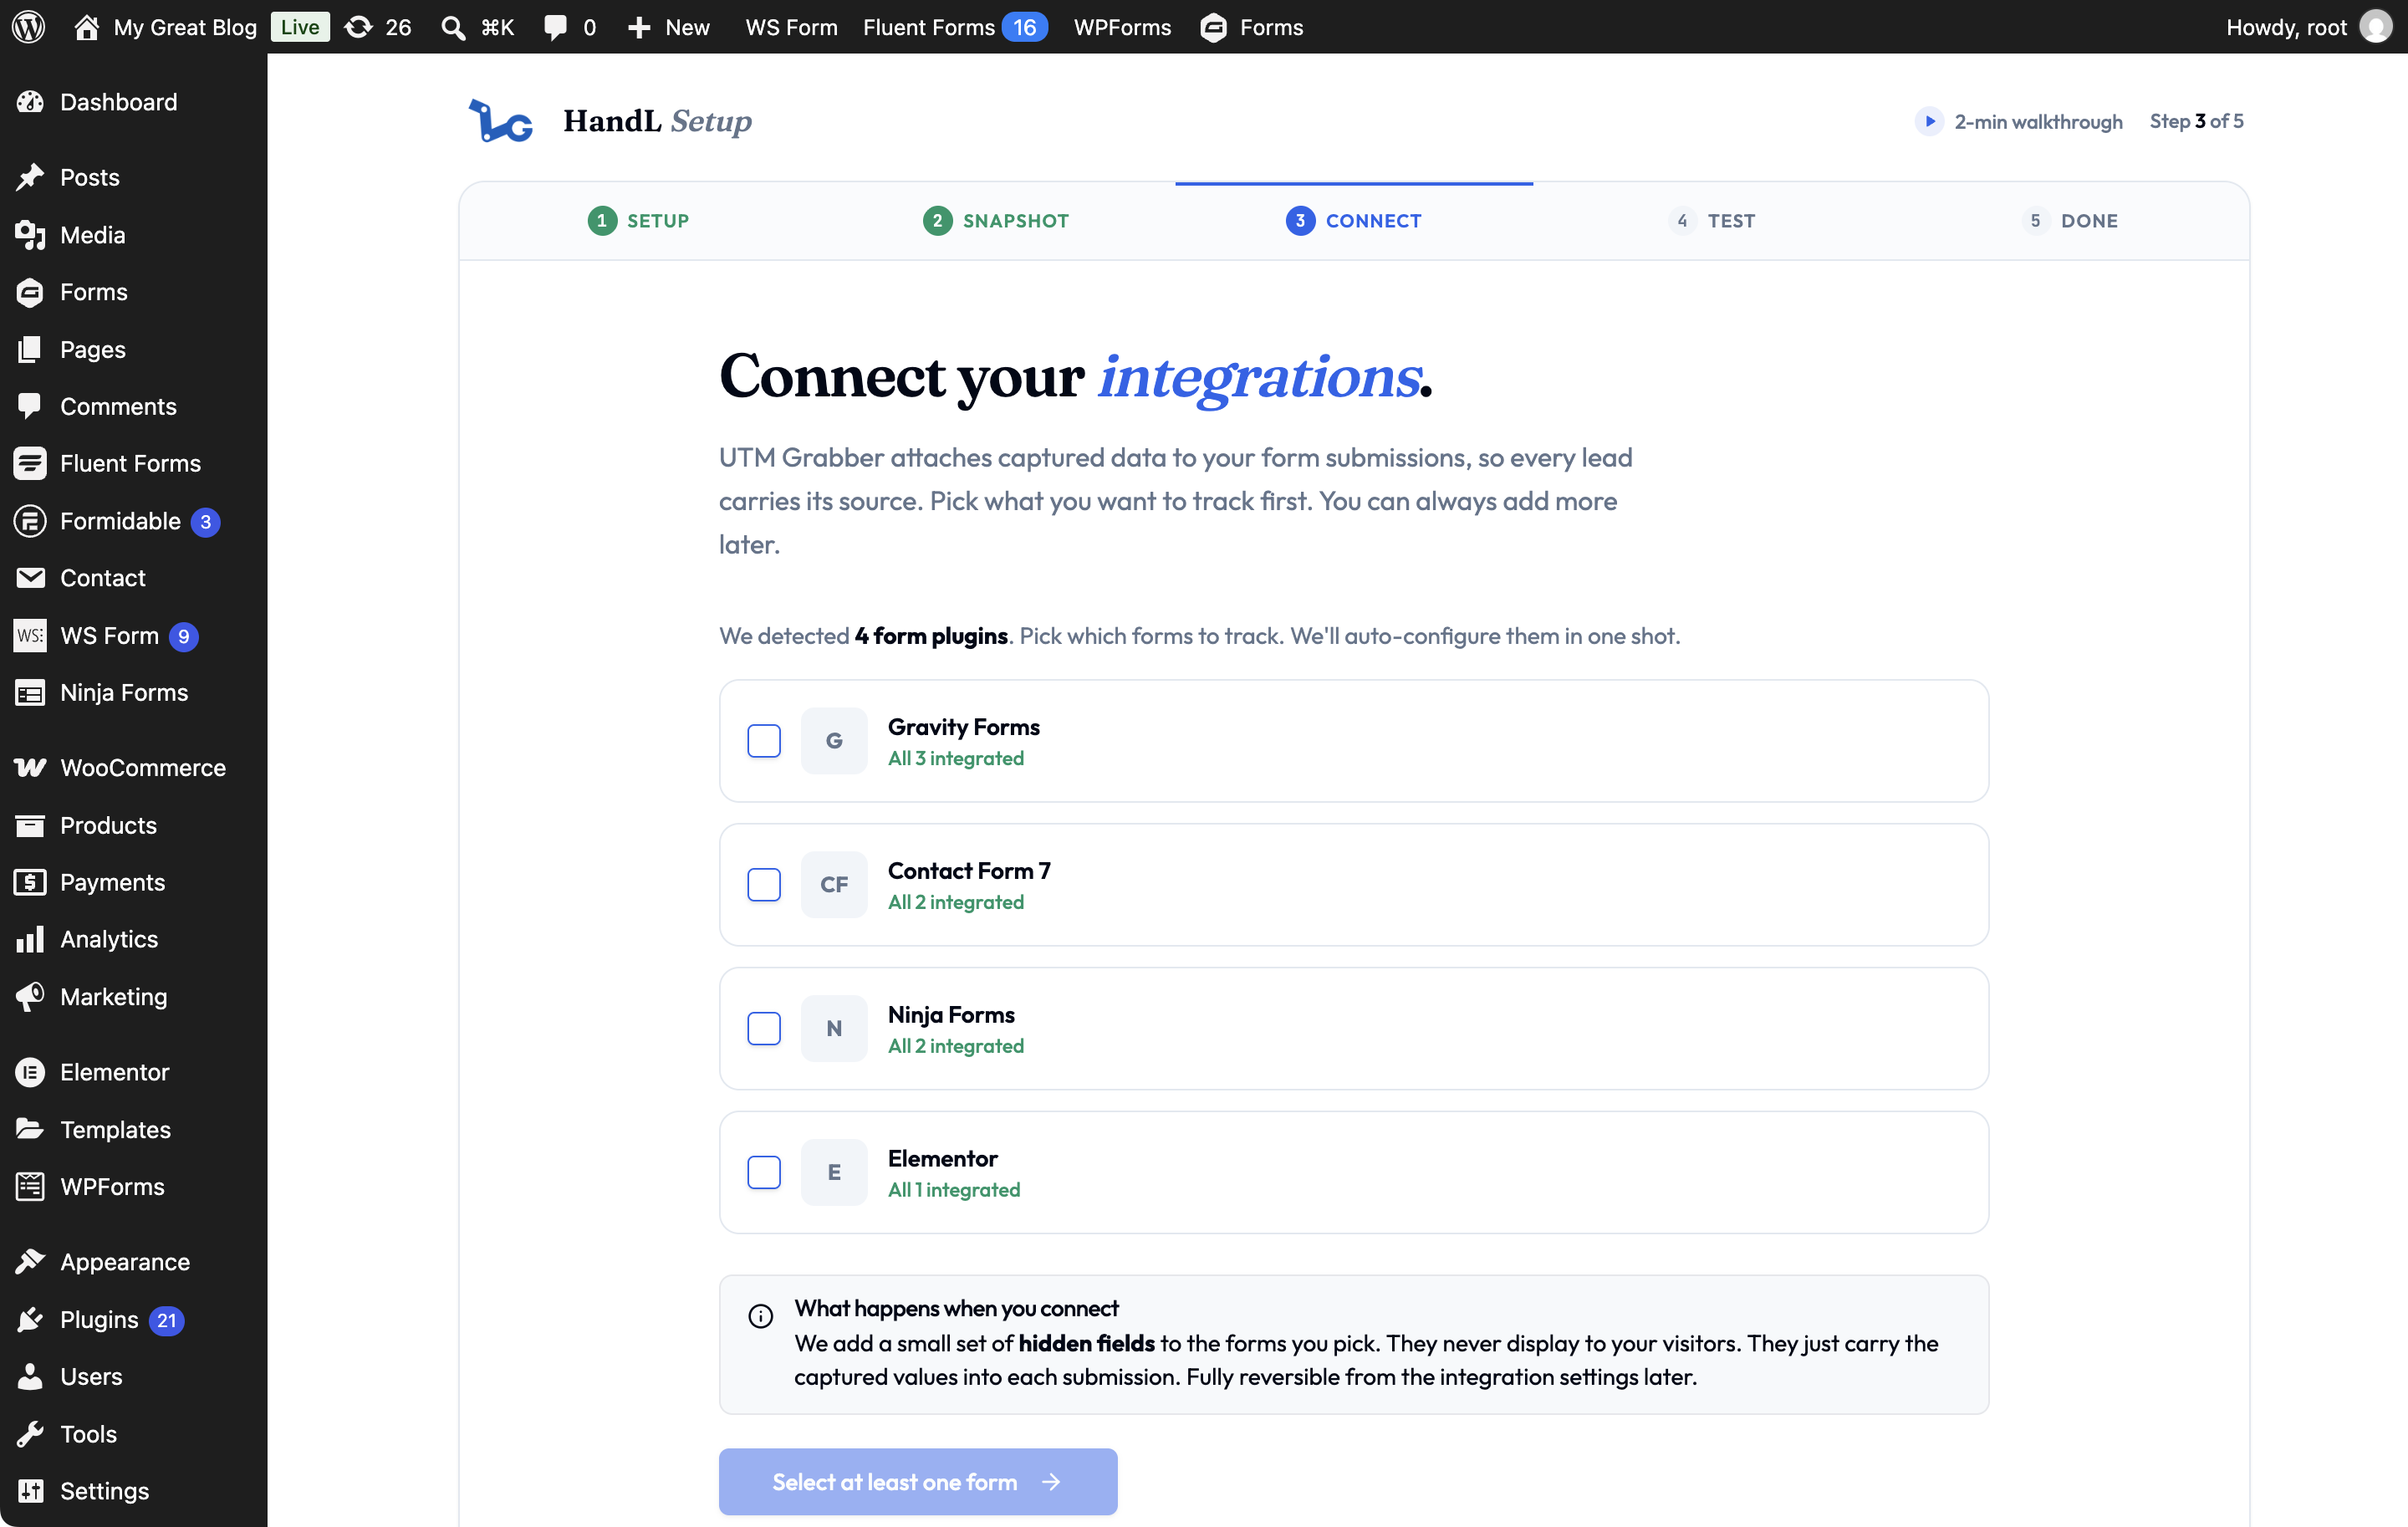
You can also select forms in the Connect your integrations step of the Setup wizard. Select at least one form to enable the next step.
Use this process for any supported form plugin shown in the Integrations tab. For other form plugins or manual setup, see Native WP Shortcodes.