OptimizePress and Infusionsoft Integration
Create custom fields in infusionsoft
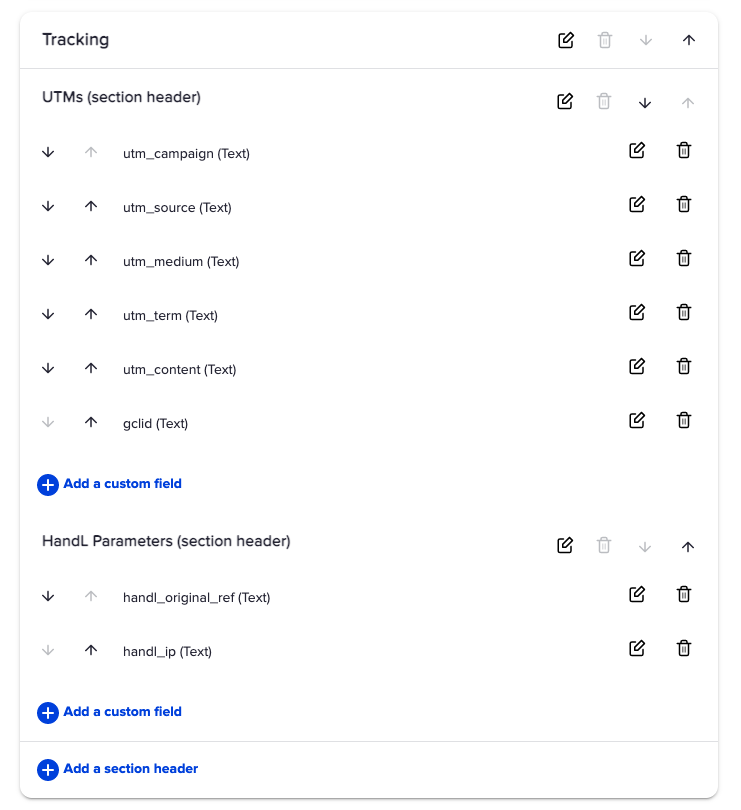
Create the custom fields as explained here. You can create onefield for each UTM variables and HandL parameters matching the nameing convention (it can be any name but it is easier to follow the naming convention for mapping) here Native WP Shortcodes
We recommend creating a seperate tab called "Tracking" and using subheader to seperate parameters for better visualization (shown in the image below)
Add the new custom fields in your form in Campaign
Create the webform as explained here https://help.infusionsoft.com/help/create-a-web-form in the Campaign.
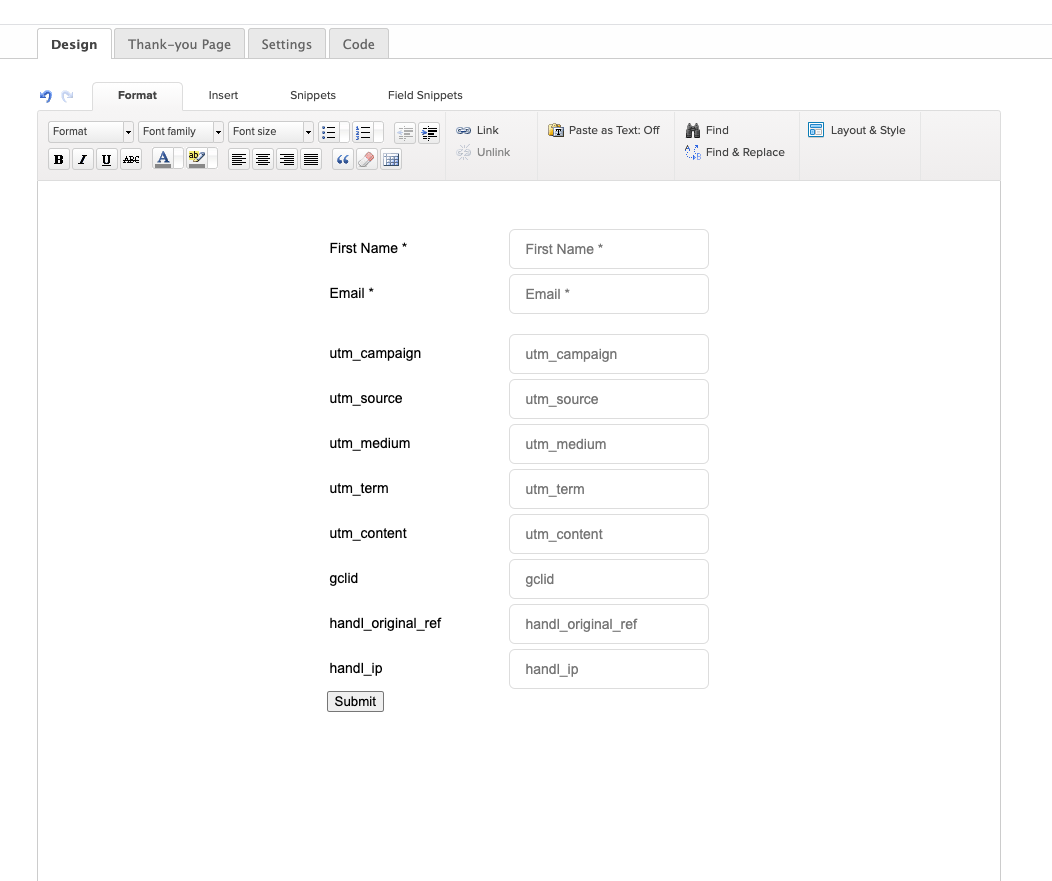
Include custom fields as text fields (not hidden - we'll hide them in OptimizePress) using Field snippet section as shown in the image below.
Publish the campaign
Create your automation in the campaign and publish the campaign to persist the changes.
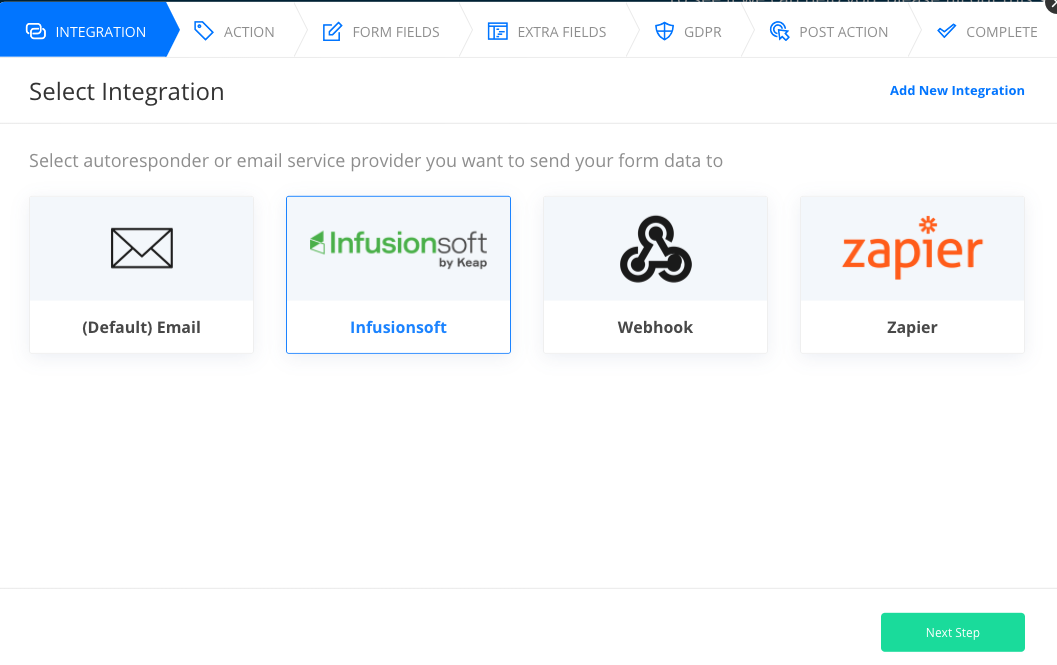
Create your optin form in OptimizePress and Select Integration as "Infusionsoft"
Shown in the image below
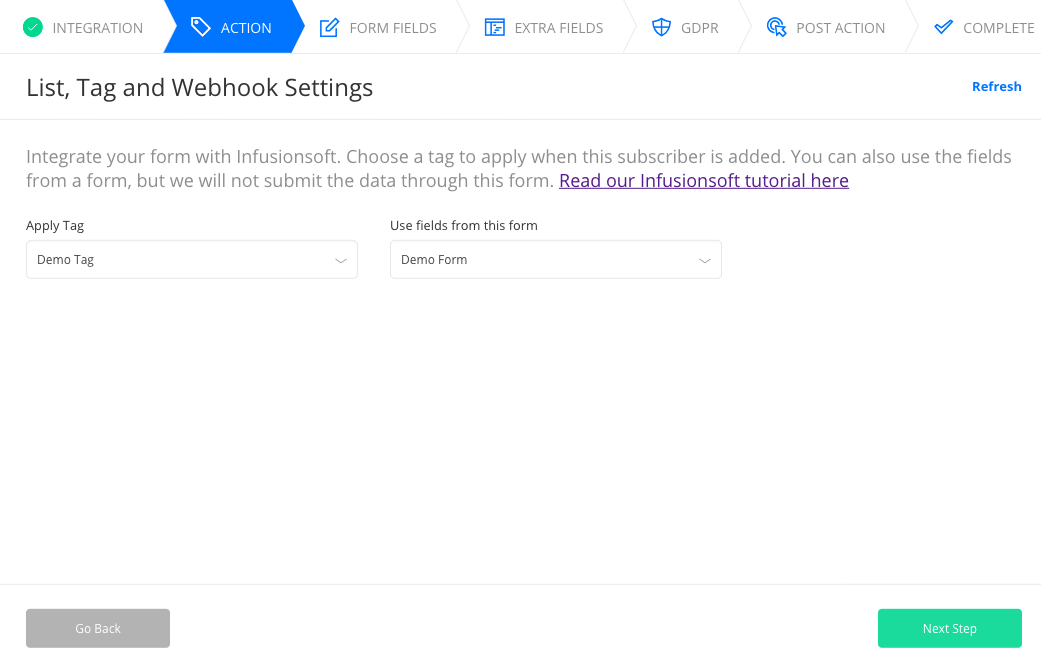
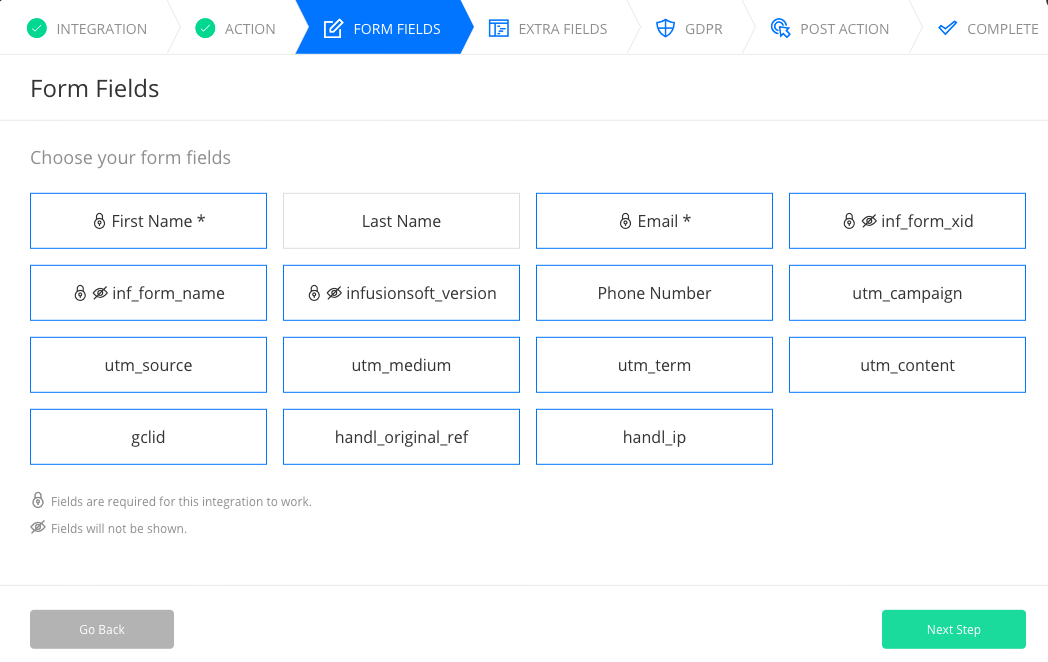
Select tag and form in Action
Select all the custom fields
and click next until complete
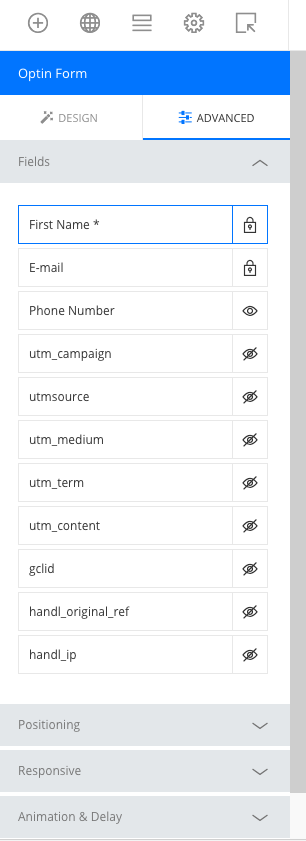
Select Optin Form > Settings > Advanced Options
Mark the fields as invisible, they will disappear in the form visual
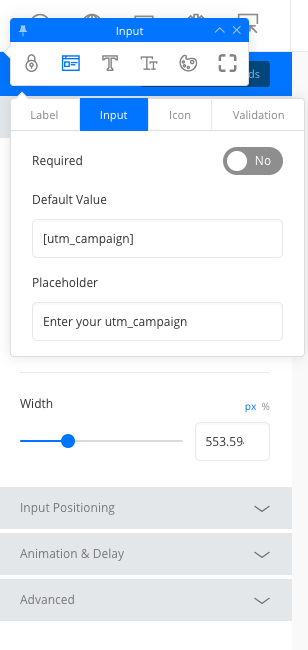
Click each input and > Input Settings > Default Value
Type the corresponding shortcode name for each individual field. You can see the list of shortcodes available here Native WP Shortcodes
Below image shows for utm_campaign, similarly you can do it for all the samples.
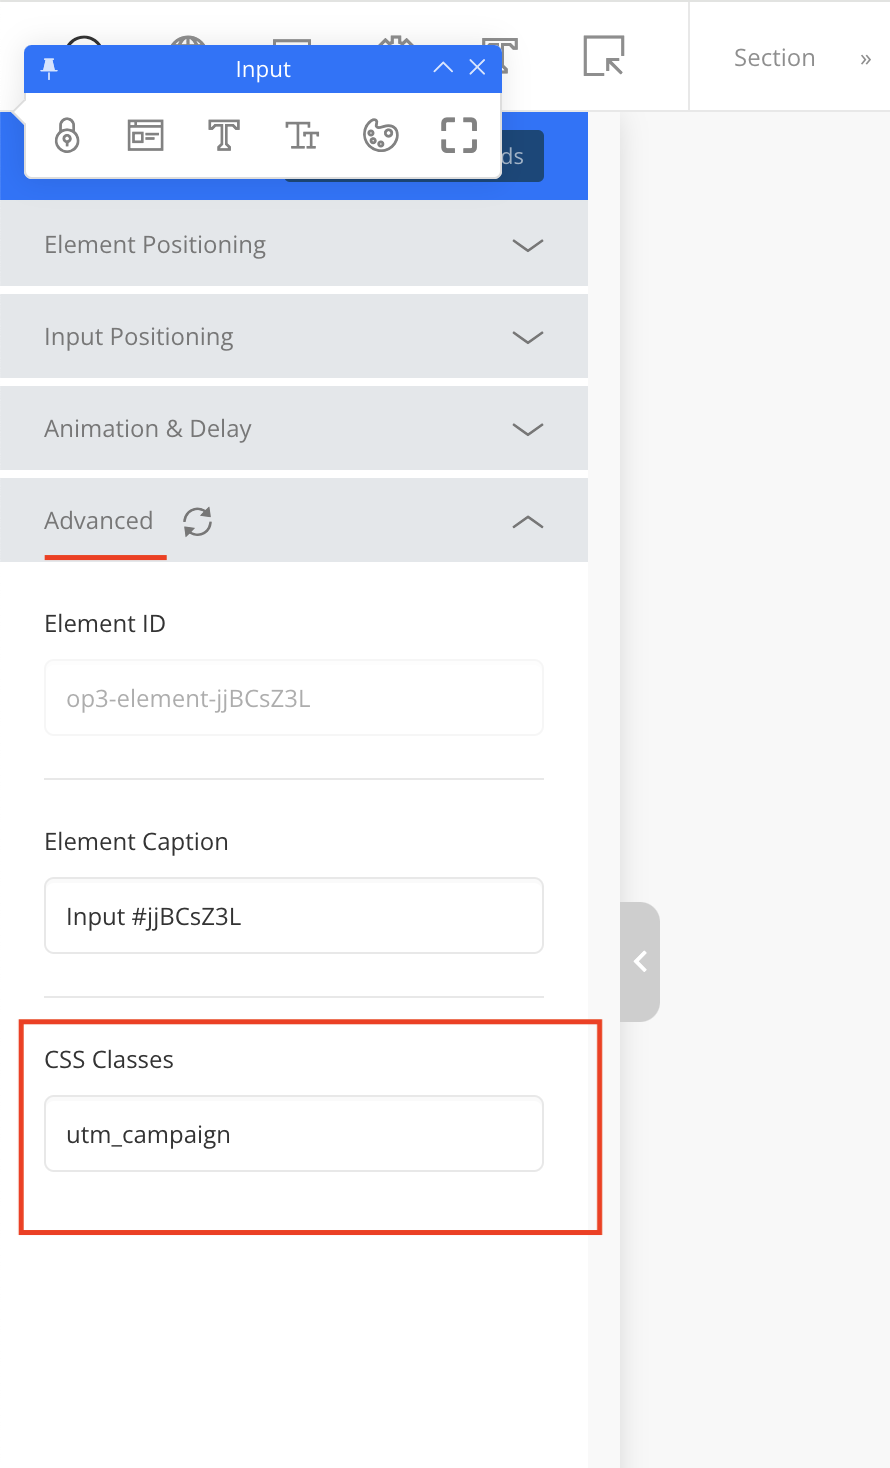
We also recommend adding CSS class for each field as shown below.
Save the page in OptimizePress, and you are done!
