
Native Elementor Form Support - HandL UTM Grabber Guide
UTM attribution overview
This guide explains Native Elementor Form Support - HandL UTM Grabber Guide. It helps you capture UTM source, medium, campaign, term, content, click IDs, referrer, and landing page data and keep the marketing context needed for accurate reporting across forms, bookings, signups, and sales.
This is our preferred way of collecting UTMs into your Elementor Form. There are two ways to wire it up — the Parameters dynamic tag (Method 1) or simply naming the field ID after the parameter (Method 2). Both capture the same values on submission, but the field ID matters: when it matches the parameter name, HandL also fills the field client-side in the visitor's browser (see Method 2).
Method 1 — the Parameters dynamic tag
First add your field just like any other field to your form
Set the field Type to Hidden and give it a label (e.g. utm_campaign).
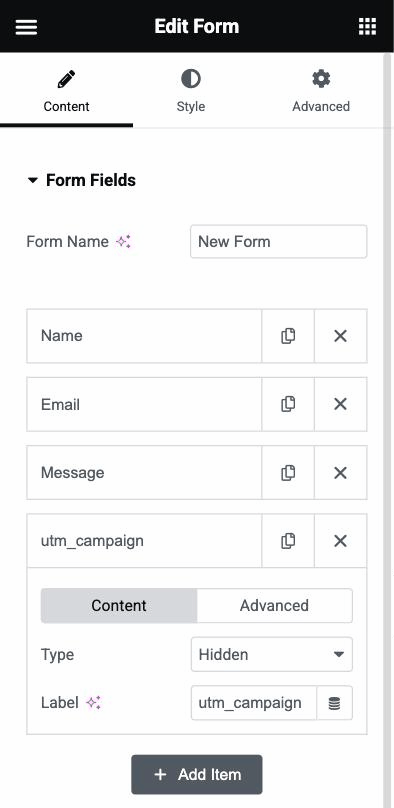
Go to the field's Advanced tab and click the Dynamic Tags icon on "Default Value"
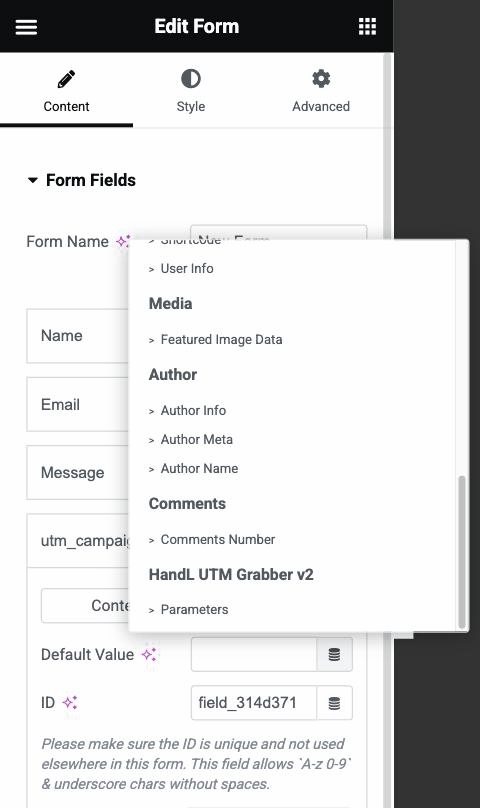
Pick Parameters under the HandL UTM Grabber group at the bottom of the list.
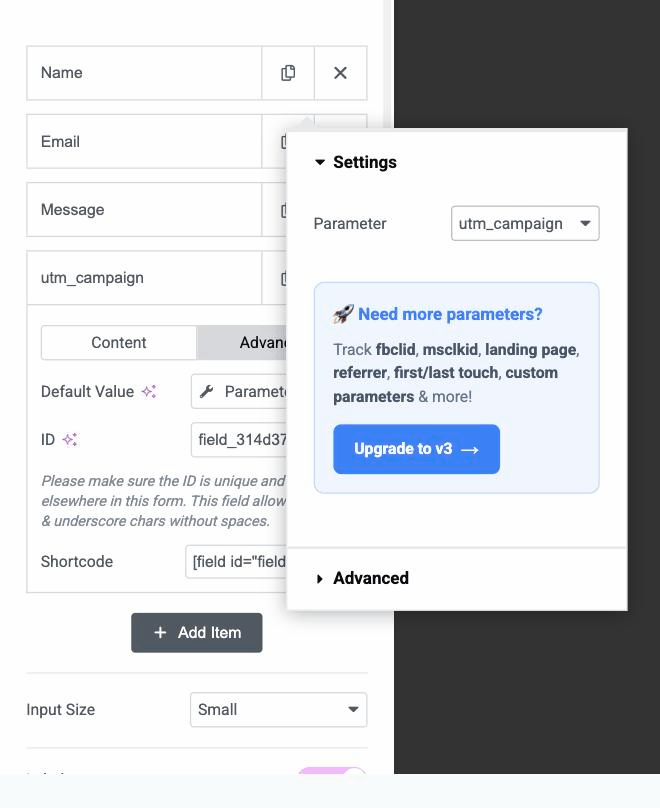
Click the Parameters tag and choose the parameter you want to capture
The Default Value now shows the Parameters tag — that's it!
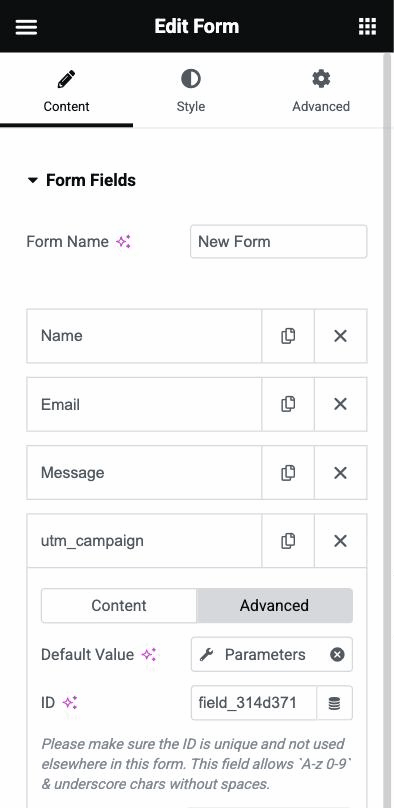
Tip: also set the field's ID (on the Advanced tab) to the parameter name, e.g. utm_campaign. A matching ID enables client-side tracking (see Method 2).
Method 2 — set the field ID to the parameter name
If you prefer to skip dynamic tags, add the same Hidden field and simply set its ID (on the field's Advanced tab) to the exact parameter name, e.g. utm_campaign. Leave Default Value empty — HandL automatically fills any hidden field whose ID matches a tracked parameter.
Setting the ID to the parameter name is what enables client-side tracking. HandL's script fills the field directly in the visitor's browser, so every visitor submits their own values even when the page is served from a full-page cache (WP Rocket and similar).
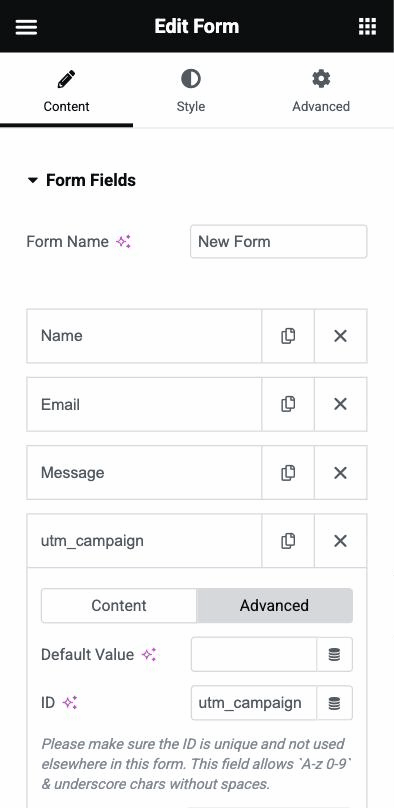
A bonus of Method 2: your Elementor submissions, email actions, and webhooks reference the field by a readable key (e.g. [field id="utm_campaign"]) instead of an auto-generated one like field_314d371.
How it works
With either method, the hidden field is pre-filled from the visitor's tracking data when the page loads, and the value is captured with every form submission, no extra configuration needed.